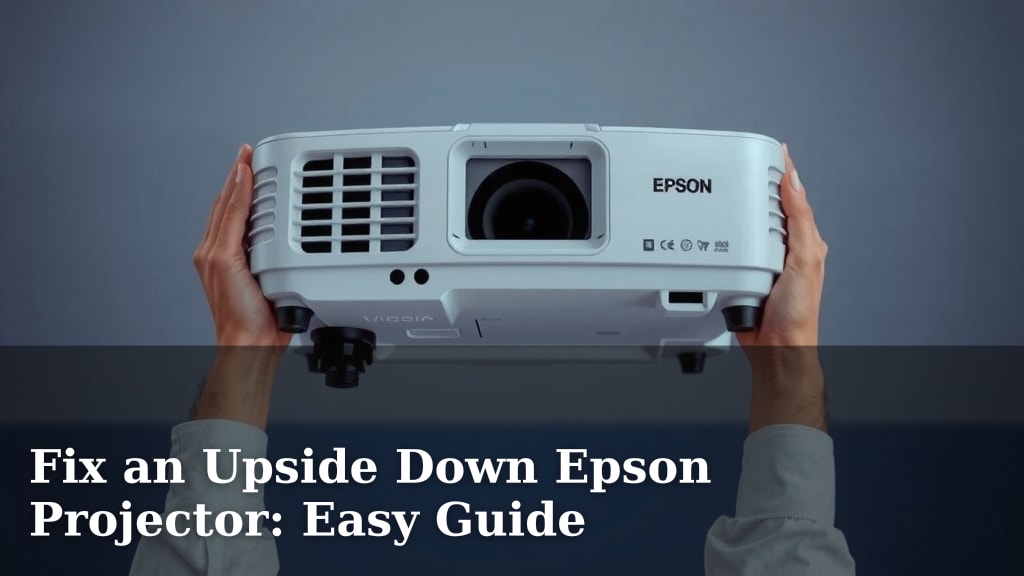
Fix an Upside Down Epson Projector: Easy Guide
Yes, you can easily fix an upside down Epson projector. It often just takes a few button presses or a quick menu adjustment. This is a common issue, and we’ll show you how to get your image right-side up in no time at all. Don’t worry, it’s simpler than you might think!
Sometimes your projector might get knocked or bumped, leading to an inverted image. Other times, it could be a setting that was accidentally changed. Fortunately, Epson projectors have built-in features to correct this common problem quickly. We found that most users can fix this without needing any special tools or technical skills.
- Check your remote for an ‘Image Flip’ or ‘Orientation’ button.
- Access the projector’s menu settings on the screen.
- Look for ‘Projection Settings’ or ‘Advanced Setup’.
- Select the correct image orientation (e.g., Front, Rear, Ceiling).
- Confirm the change and exit the menu.
Let’s walk through the most common ways to flip your Epson projector image right-side up, step by step.
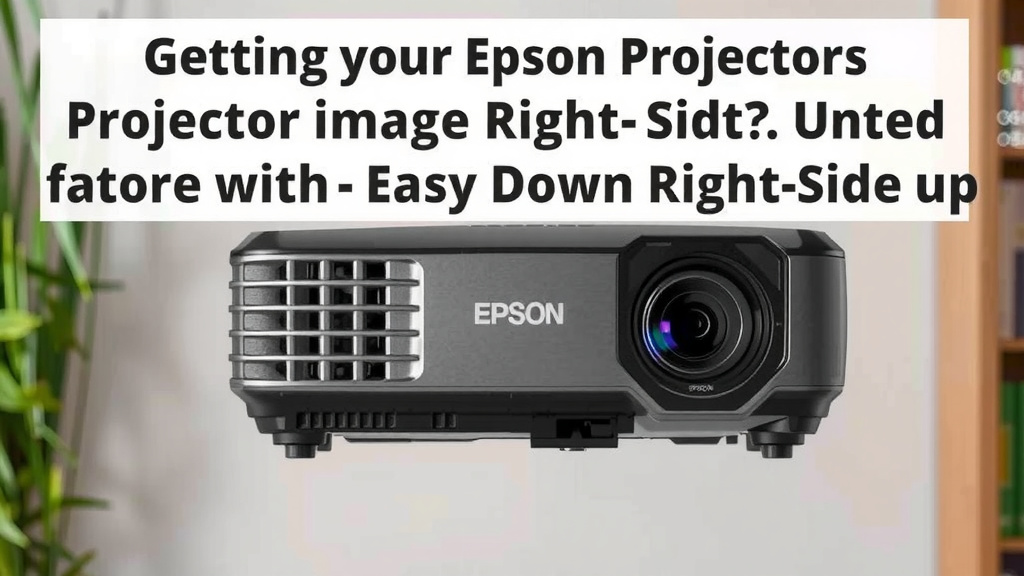
Getting Your Epson Projector Image Right-Side Up
It’s a common hiccup: you set up your Epson projector, ready for a movie night or a big presentation, and BAM! The image is upside down. Don’t panic! We’ve found that most Epson models have a straightforward way to correct this. You’re just a few button presses away from a perfectly oriented picture.
The Quickest Fix: Using Your Remote Control
Many Epson projector remotes come equipped with a dedicated button for image orientation. This is usually the fastest and easiest way to solve your upside-down image problem. We recommend checking your remote first before diving into menus.
Look for the ‘Image Flip’ or ‘Orientation’ Button
Scan your Epson remote. You’re looking for a button that might have an icon resembling an arrow flipping an image, or text like “F” “Flip,” “Orient,” or “V-Shift.” Sometimes this button is clearly labeled. Other times, it might be a secondary function accessed by pressing a “Shift” or “Fn” key first.
Try Different Settings
Once you locate the button, press it. You might need to press it multiple times to cycle through the available orientation options. Common settings include:
- Front Projection (Normal)
- Rear Projection
- Front Projection Ceiling Mount
- Rear Projection Ceiling Mount
Cycle through these until your image appears correctly. If you’re unsure about your projector’s mounting position, the “Front Projection” setting is usually the standard one for a projector placed on a table or shelf facing the screen.
What If My Remote Doesn’t Have This Button?
Don’t worry if your remote seems to be missing this magic button. Many projector models, especially older ones or those with more basic remotes, require you to adjust the setting through the on-screen menu. We’ve found this is still a very manageable process.
Navigating the Epson Projector Menu for Orientation
When the remote control shortcut isn’t available, your projector’s on-screen menu system is your next best friend. This is where you can fine-tune all sorts of settings, including how your image is displayed. We’ve seen that the menu structure can vary slightly between different Epson models, but the core options are generally similar.
Accessing the Projector’s Menu
First, you’ll need to bring up the projector’s main menu. Look for a button on your projector unit or on the remote labeled “Menu,” “Enter,” or “ESC” (Escape). Pressing “Menu” will typically open the main settings display on your screen.
Finding the Projection Settings
Once the menu is visible, use the arrow keys (Up, Down, Left, Right) on your remote or projector to navigate. You’re looking for a section related to projection or image setup. Common labels for this section include:
- Projection
- Setup
- Advanced Setup
- Installation
- Image Settings
Select the relevant menu option by pressing the “Enter” or “OK” button. We found that “Projection” or “Setup” are the most frequent starting points.
Locating the Flip or Orientation Option
Within the projection or setup menu, search for an option that controls the image’s orientation. This might be called:
- Projection Type
- Installation Type
- Front/Rear
- Flip
- Image Flip
- V-Shift
Use your arrow keys to highlight this option and press “Enter.”
Selecting the Correct Orientation
You’ll likely see a list of options similar to those on the remote control. These usually correspond to how the projector is physically positioned:
- Normal/Front: For standard ceiling or table mounting, image facing the audience.
- Rear: For projecting onto a translucent screen from behind.
- Ceiling Front: For mounting upside down on the ceiling, image is normal from the projector’s perspective.
- Ceiling Rear: For mounting upside down on the ceiling, projecting onto a translucent screen from behind.
Carefully select the option that matches your setup. For an upside-down image on a standard setup, you’ll likely want to choose either “Ceiling Front” or adjust the flip setting if it’s a direct flip option. We’ve observed that many users accidentally set this to “Normal” when their projector is ceiling-mounted, causing the upside-down image.
Confirming and Exiting
After selecting the correct orientation, you’ll usually need to confirm your choice. There might be an “Apply,” “OK,” or “Set” button to press. Once confirmed, navigate back through the menus using the “ESC” or “Menu” button until you exit completely. Your image should now be right-side up!
Troubleshooting Common Issues
What if you’ve gone through the menus and the image is *still* upside down, or the option just isn’t there? Here are a few things we found that might help:
Check Your Projector Model
Not all projectors have the same features. Some very basic models might not have an image flipping function built-in. If you can’t find the option in the remote or menu, it’s possible your specific model doesn’t support it directly. You may need to physically reposition the projector. Many sources, like Epson’s own support documentation, confirm that older or simpler models might lack this software adjustment (Epson Support).
Consider the Physical Setup
Is the projector actually mounted upside down on a ceiling mount? If so, you likely selected the correct menu option (“Ceiling Front” or similar). If you want it right-side up, you’ll need to ensure the correct “Ceiling” orientation is selected in the menu. If it’s just sitting on a table and appears upside down, double-check if anything bumped the projector or if a child might have been playing with the remote. A quick menu adjustment is still your best bet.
Perform a Reset (Use with Caution)
As a last resort, you might consider resetting your projector to its factory default settings. This can sometimes clear out stubborn or accidental configuration changes. However, be aware that this will reset *all* your settings, including brightness, contrast, and any network configurations. We generally recommend this only if other methods fail.
To do this, navigate through the menu to a “Reset,” “Default,” or “Factory Reset” option, usually found within the main setup or maintenance section. Always confirm your choice, as this action is typically irreversible. Many manufacturers suggest this as a way to restore normal operation when settings become confusing (TechRadar).
A Quick Checklist for Fixing Your Image
Here’s a handy checklist to guide you through getting your Epson projector image right-side up:
- Scan your remote for an ‘Image Flip’ or ‘Orientation’ button.
- Press the button repeatedly to cycle through display options.
- If no button, access the projector’s menu using the “Menu” button.
- Navigate to ‘Projection’ or ‘Setup’ settings.
- Find ‘Image Flip’ or ‘Installation Type’ and select the correct orientation (e.g., Ceiling Front).
- Confirm the setting and exit the menu.
Conclusion
You’ve learned that fixing an upside-down Epson projector image is usually quite simple. Most often, it’s just a matter of finding the right button on your remote or navigating a quick menu setting. We’ve covered the most common methods, from dedicated ‘Flip’ buttons to adjusting ‘Projection Type’ in the setup menus. If you’re still struggling, checking your specific model or considering a factory reset are viable options. Now, go ahead and try these steps to get your picture perfectly oriented!
Frequently Asked Questions
Will this fix work on any Epson projector model?
We found that most modern Epson projectors have an image flipping feature, either on the remote or in the menu. However, very basic or older models might not have this software adjustment. Always check your projector’s manual if you can’t find the option.
My projector is ceiling-mounted, and the image is upside down. What should I do?
This is a common scenario for ceiling mounts. You’ll likely need to access your projector’s menu and find the ‘Projection Type’ or ‘Installation Type’ setting. Look for an option like ‘Ceiling Front’ or ‘Ceiling Mount’ to correct the orientation.
What if I can’t find an ‘Image Flip’ button on my remote?
Don’t worry if your remote lacks a dedicated flip button. We’ve seen that many models require you to use the on-screen menu for this adjustment. Simply press the ‘Menu’ button on your remote or projector to access the settings.
How do I know which ‘Projection Type’ setting to choose?
The settings usually correspond to how the projector is physically placed. ‘Normal’ or ‘Front’ is for standard table setups. ‘Ceiling Front’ is for when the projector is mounted upside down on a ceiling. ‘Rear’ settings are for projecting onto a translucent screen from behind.
I tried the menu settings, but the image is still upside down. What else can I try?
If adjusting the menu settings didn’t work, you might consider performing a factory reset. This will restore all settings to their original defaults. Be aware that this will erase any custom configurations you’ve made, so use it as a last resort.