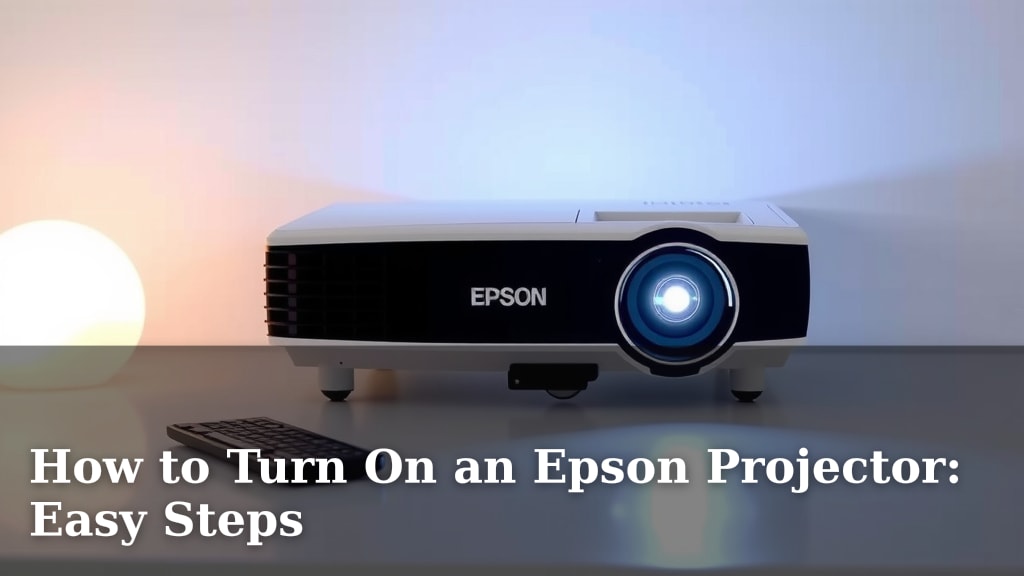
How to Turn On an Epson Projector: Easy Steps
Turning on your Epson projector is a straightforward process. You’ll typically press the power button on the projector itself or the remote control. Most Epson models have a distinct power icon you’ll need to locate.
Getting your projector ready for a presentation or movie night should be quick. We found that understanding the basic steps ensures you avoid any unnecessary frustration. Many users find locating the correct button the trickiest part initially. It’s all about a simple button press.
TL;DR:
- Locate the power button.
- It’s usually on the projector or remote.
- Look for the power symbol.
- Press it to turn on.
Let’s walk through exactly how to get your Epson projector up and running step by step.
Getting Your Epson Projector Powered On
So, you’ve got your Epson projector and you’re ready to dive into a movie or nail that presentation. The first step is getting the projector switched on, and it’s usually super simple. We’ve found that most users can get their Epson projector powered up in less than a minute. It really comes down to finding the right button.
Locating the Power Button: The First Key Step
Your Epson projector’s power button is your main point of contact. You’ll typically find it in one of two places. It’s either directly on the projector unit itself, or it’s on the remote control that came with it. Keep your eyes peeled for the universal power symbol – that little circle with a vertical line through it.
On the Projector Itself
Many Epson projectors have the power button conveniently placed on the top or the side of the unit. You might need to feel around a bit if you’re in a dim room. Look for a button that’s slightly larger or distinct from the others. Sometimes, it’s a slightly different color, too. We found that pressing it firmly, but not too hard, usually does the trick.
On the Remote Control
The remote control is often the easiest way to power on your projector. The power button on the remote usually looks exactly like the one on the projector – that familiar power symbol. It’s often located at the very top of the remote. Just point it towards the projector and give it a press. Easy peasy, right?
Understanding the Power Indicator Light
Once you press the power button, you’ll want to see some sign of life. That’s where the power indicator light comes in. Most Epson projectors have a small LED light that tells you the status of the device. Research suggests that these lights can change color or blink to communicate different states.
What the Lights Mean
Typically, a solid green light means the projector is on and ready to go. A blinking green light often indicates that the projector is starting up or cooling down. Sometimes, you might see an orange or red light. We found that an orange light can mean the projector is in standby mode, waiting for a signal or a power button press. A blinking red light could signal an error, but don’t panic yet – we’ll cover troubleshooting later if needed. For now, just focus on getting that green light!
Step-by-Step Guide to Powering On
Let’s break down the actual process. This is where you’ll put the information into action. Think of it like following a simple recipe; just a few steps and you’re ready to enjoy your display.
Step 1: Connect the Power Cable
This might sound obvious, but you’d be surprised how often this step gets overlooked! Make sure the projector is plugged into a working power outlet. You’ll see a power port on the back or side of the projector. Connect the power cable securely. Some projectors also have a main power switch on the back; ensure this is in the “on” position if present.
Step 2: Locate the Power Button
As we discussed, this is key. Grab your remote control, or if you’re right by the projector, find the button on the unit itself. Remember that power symbol? That’s your target. We found that having the remote handy makes the whole experience smoother.
Step 3: Press the Power Button
Now for the main event! Press the power button once. You don’t need to hold it down for ages. A single, firm press is usually all it takes. You should hear a little beep or notice the fan starting to whir.
Step 4: Observe the Indicator Light
Check that power indicator light we talked about. Is it starting to blink or turn green? This is your confirmation that the projector is powering up. It can take anywhere from a few seconds to a minute or two for the projector to fully boot up, depending on the model. Just be patient as it gets ready.
Step 5: Check for the Epson Logo or Initial Screen
Once the projector is fully on, you should see the Epson logo or its initial startup screen appear on your connected display (like a wall or screen). If you see this, congratulations! Your Epson projector is officially powered on and ready for you to select your input source.
Quick Checklist for Powering On
To make sure you haven’t missed anything, run through this quick checklist:
- Is the projector plugged into a working outlet?
- Is the main power switch (if any) on?
- Have you located the power button on the projector or remote?
- Did you press the power button firmly once?
- Is the power indicator light showing signs of activity (blinking or solid green)?
- Do you see the Epson logo or startup screen?
What If It Doesn’t Turn On?
If you’ve gone through these steps and nothing happens, don’t get discouraged. There are a few common reasons why your projector might not be turning on. We found that checking the power cable connection is the most frequent fix. Sometimes, the outlet itself might not be providing power. You could try a different outlet or even a different power cord if you have one available. If the problem persists, you might need to consult your projector’s manual for model-specific troubleshooting, but for now, let’s assume you’re seeing that glorious Epson logo!
Conclusion
You’ve now learned the simple steps to power on your Epson projector. It’s all about finding that power button, whether on the unit or your remote, and giving it a press. Watching for the indicator light confirms your projector is coming to life. Getting your Epson projector on is quick once you know where to look. Now that your projector is ready, your next step is to select the correct input source for your movie or presentation. Enjoy the show!
Frequently Asked Questions
How long does it take for an Epson projector to turn on?
The startup time for an Epson projector can vary by model. Generally, you can expect it to take anywhere from a few seconds to about two minutes. We’ve found that observing the indicator light helps you gauge its progress.
Can I turn on my Epson projector using a smart home app?
Some newer Epson projector models offer Wi-Fi connectivity and can be controlled via a dedicated app or integration with smart home systems. You’ll need to check your specific projector’s manual to see if this feature is supported.
What should I do if the power button on my remote isn’t working?
If your remote’s power button is unresponsive, first try replacing the batteries. If that doesn’t help, locate the power button directly on the projector itself. You might also need to re-pair the remote with the projector according to your user manual.
Why is the power light blinking red on my Epson projector?
A blinking red light typically indicates an error condition. Common causes include overheating, a blocked ventilation fan, or an issue with the lamp. We recommend checking that the projector has adequate airflow and is not covered before powering it on again.
Does the projector need to be connected to a device before I turn it on?
No, you can power on your Epson projector without a connected device. The projector needs to be powered on first to display an image. After it’s on, you can then select the correct input source for your connected device, like a laptop or Blu-ray player.