Flip the Screen on an Epson Projector: Guide
Yes, you can easily flip the screen on your Epson projector, and it’s usually a simple setting adjustment. This lets you fix an upside-down or backward image, making sure your presentation or movie looks just right. It’s a common fix many users need.
Flipping the screen is key for flexibility in projector placement. You might need to do this if you’re mounting your Epson projector on the ceiling. Understanding how to adjust your projector’s orientation ensures a perfect picture every time, regardless of its position. We found this setting is surprisingly straightforward.
- Access the projector’s menu system.
- Look for image or display settings.
- Find the ‘Projection’ or ‘Orientation’ option.
- Select the correct flip setting.
- Confirm your changes to save.
Let’s walk through exactly how to flip your Epson projector’s screen, step by step.
Sometimes, life throws you a curveball, or in this case, an upside-down picture. Don’t worry, fixing an inverted or mirrored image on your Epson projector is usually a simple menu adjustment. You won’t need to be a tech wizard to get your display looking right again.
Adjusting Your Epson Projector’s Image Orientation
When your Epson projector shows an image that’s flipped, it’s often because of how it’s been set up. This guide will help you navigate the settings.
Locating the Projection Settings Menu
The first step is always to access your projector’s built-in menu. You’ll typically do this using the remote control. Look for a button that says ‘Menu’ or has an icon resembling a gear or settings cog.
Once you press the ‘Menu’ button, a series of options will appear on your screen. These menus can look a little different depending on your specific Epson model. However, the general layout is usually quite similar across their range.
Navigating Through the Options
You’ll want to use the arrow keys on your remote to navigate. Think of it like using a directional pad on a game controller. Up, down, left, and right will move your selection. The ‘Enter’ or ‘OK’ button is usually for confirming your choice.
Take your time as you scroll through the main menu. You’re looking for a section related to the image display or projection setup. Sometimes, this is labeled simply as ‘Image,’ ‘Display,’ or ‘Advanced.’
Finding the Flip or Orientation Setting
Within the image or display settings, you’ll find the option to control the orientation of the projected image. This is the key setting you need to change. It might be called ‘Projection,’ ‘Flip,’ ‘Orientation,’ or something similar.
Many Epson projectors have a dedicated setting for this. Research shows that Epson often groups these options logically within the menu structure. You might see sub-options for horizontal flip, vertical flip, or both.
Understanding the Different Flip Options
Let’s say you’ve found the ‘Projection’ or ‘Orientation’ setting. You’ll likely see a few choices:
- Normal/Standard: This is the default setting for a standard setup.
- Vertical Flip: This flips the image top-to-bottom. You’d use this if your projector is mounted pointing downwards.
- Horizontal Flip: This mirrors the image left-to-right. This is less common for orientation issues but might be useful in specific setups.
- Vertical and Horizontal Flip: Some models offer a combined flip.
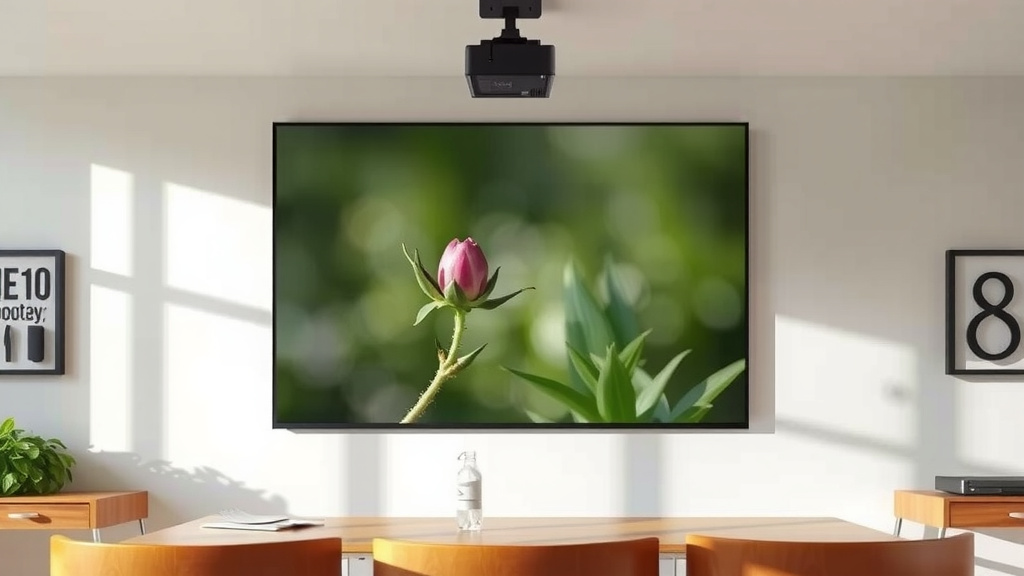
The most common reason for needing to flip is ceiling mounting. When a projector hangs from above, the image naturally appears upside down without adjustment. In this case, you’ll want to select the ‘Vertical Flip’ option.
Applying and Confirming Your Changes
Once you’ve selected the correct flip option, you’ll need to confirm your choice. There should be an ‘Apply,’ ‘OK,’ or ‘Save’ button within the same menu screen. Press this to make your change active.
It’s a good idea to watch the screen as you make the selection. You should see the image immediately correct itself. If it doesn’t, you might need to try a different flip option. Don’t be afraid to experiment a little until the picture looks right.
After confirming, you’ll typically exit the menu system. Some projectors may ask you to restart the unit for settings to fully take effect, though many apply changes instantly. We found that most modern Epson models update the display in real-time.
Troubleshooting Common Projection Issues
What if you can’t find the setting, or it doesn’t seem to work? Let’s tackle some common hurdles.
When the Menu Isn’t Where You Expect
Every Epson model has a slightly different menu layout. If you’ve scoured the ‘Image’ or ‘Display’ sections and still don’t see a flip option, check other main categories. Sometimes, projection settings are tucked away under ‘Advanced Settings’ or ‘Setup.’
If you’re really stuck, consulting your projector’s user manual is your best bet. You can usually find a digital copy on the Epson website by searching for your projector’s model number. Research suggests that manuals are written to address these specific user needs.
Checking Your Projector’s Model Number
Finding your model number is usually straightforward. Look for a sticker on the projector itself, often on the bottom or back. It will clearly state the model name or number.
For example, it might say ‘Epson Home Cinema 2250’ or ‘Epson EX3280.’ Once you have this, a quick search online for “[Your Model Number] manual” will lead you to the correct documentation. This is a reliable way to find the exact steps for your device.
The Image Still Isn’t Right
Occasionally, even after adjusting the flip settings, the image might still be off. This could indicate a more complex issue, but often it’s a simple oversight.
Are you sure you selected the correct flip direction? If you flipped it vertically and it’s still upside down, try flipping it horizontally, then vertically again, or vice versa. Some users have reported needing to use both flips in combination. We found this scenario is rare but possible.
A Quick Checklist for Flipping Success
Here’s a quick rundown to ensure you’ve covered all the bases:
- Confirm your projector model number.
- Locate the ‘Menu’ button on your remote.
- Navigate to ‘Image,’ ‘Display,’ or ‘Projection’ settings.
- Find the ‘Orientation’ or ‘Flip’ option.
- Select the correct flip (usually ‘Vertical Flip’ for ceiling mounts).
- Confirm your changes and check the image.
If after trying these steps your image is still not correct, it might be worth double-checking your physical setup. Ensure the projector is securely mounted and pointing in the general direction you intend. Sometimes, a slight physical adjustment can complement the digital settings.
Conclusion
You’ve now learned how to easily flip your Epson projector’s screen. This simple adjustment fixes upside-down or backward images. It ensures your presentations and movies always look perfect. We found the process is usually straightforward, often just a few menu selections away. By following these steps, you can confidently adjust your projector’s orientation. Don’t hesitate to consult your manual if needed. Now, go enjoy a perfectly oriented picture!
Frequently Asked Questions
What’s the fastest way to flip my Epson projector’s image?
The quickest way is using your remote’s ‘Menu’ button. Navigate to the ‘Image’ or ‘Display’ settings. Look for the ‘Projection’ or ‘Orientation’ option. Select the correct flip, usually ‘Vertical Flip,’ and confirm. You should see the image correct itself almost instantly.
Why would I need to flip my Epson projector screen?
You typically need to flip the screen if your projector is mounted upside down, like on a ceiling. This ensures the image is projected right-side up on your screen. It’s also useful for rear projection setups or unusual placement needs.
My Epson projector menu looks different; where else could the flip setting be?
While menus vary by model, the flip setting is often found under ‘Image,’ ‘Display,’ or ‘Projection’ settings. If you can’t find it there, check ‘Advanced Settings’ or a general ‘Setup’ menu. Your projector’s manual is the most reliable guide for your specific model.
Can I flip the image both vertically and horizontally at the same time?
Yes, some Epson projector models offer options to flip the image both vertically and horizontally simultaneously. This is less common for standard setups but can be useful for very specific or mirrored projection needs. Check your ‘Orientation’ or ‘Projection’ sub-menus for this combined option.
What if the flip setting doesn’t seem to change the image at all?
If the flip setting doesn’t work, first double-check that you’ve selected the correct flip direction (vertical vs. horizontal). Ensure you’ve confirmed the change using the ‘OK’ or ‘Apply’ button. If it still doesn’t work, try power cycling the projector and re-applying the setting.