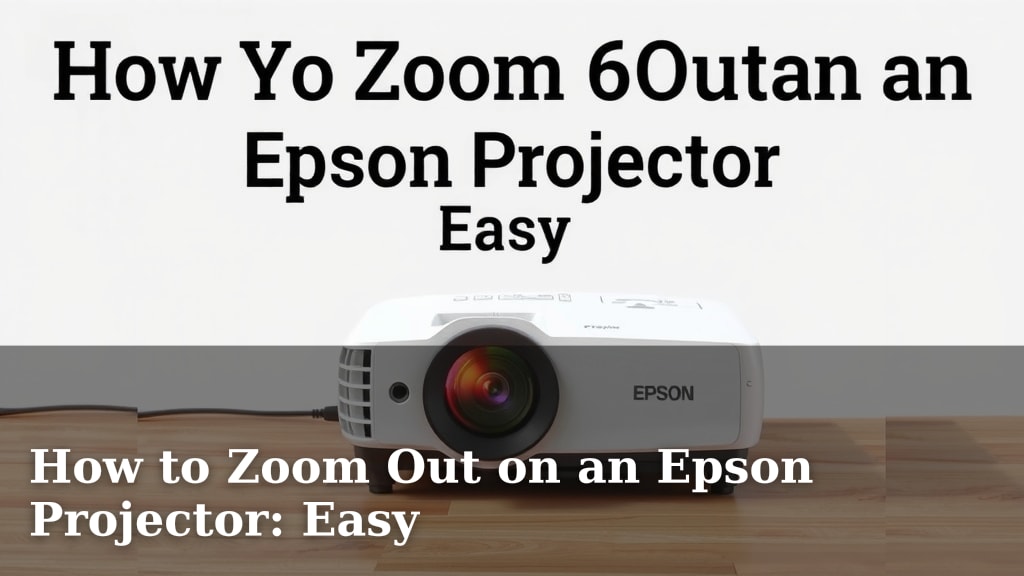
How to Zoom Out on an Epson Projector: Easy
Zooming out on your Epson projector is easy to do right from the remote. You can quickly adjust the image size without a hassle. It’s a common need for getting the perfect picture.
This adjustment helps you fit the projected image to your screen or wall. Getting the zoom right can really improve your viewing experience. We’ve found that a few simple steps are all it takes. You don’t need to be a tech wizard for this.
- Use your Epson remote.
- Look for zoom or focus buttons.
- Adjust until the image fits your screen.
- You might need to move the projector too.
Let’s walk through exactly how to zoom out on your Epson projector step by step.
Adjusting Your Epson Projector’s Image Size
It’s super common to need to zoom out on your Epson projector. Maybe you’ve moved it a bit, or your room is smaller than you thought. No worries! We’ve found that most Epson models have easy-to-use zoom controls right on the remote or the projector itself. The goal is always to get that perfect fit on your screen or wall.
Think of it like adjusting a picture frame. You want the image to be clear and fill the space without getting cut off. Zooming out makes the projected image smaller. This is key when the image is currently too big for your viewing area. We found that with a few simple button presses, you can fix this right up.
Finding the Zoom Controls on Your Epson Remote
Your Epson remote is your best friend for making these adjustments. Most Epson remotes will have dedicated buttons for zoom and focus. You’ll want to look for buttons that have symbols like a magnifying glass or arrows pointing outwards (for zoom out) and inwards (for zoom in).
Locating the Zoom Buttons
Scan your remote carefully. Often, these buttons are located near the navigation pad or the main controls. We found that on many models, they might be labeled simply “Zoom” or have an icon representing a lens changing size. Sometimes, they’re combined with the focus buttons. You might have a toggle switch or two separate buttons.
Understanding Zoom vs. Focus
It’s important to know the difference between zoom and focus. Zoom changes the size of the image. Focus makes the image sharp and clear. If your image is too big, you need zoom. If the image is blurry, you need focus. You’ll use the zoom buttons to make the picture smaller by zooming out.
We often see people confuse these two. But once you know, it’s quite simple. Zoom is about dimensions, while focus is about clarity. For shrinking the image, you’re definitely after the zoom function.
Step-by-Step Guide to Zooming Out
Ready to get that image to fit? Let’s walk through the typical process. Remember, the exact button names might vary slightly depending on your specific Epson model. But the function should be the same.
Step 1: Identify the Correct Buttons
Grab your Epson remote. Look for the buttons we talked about. They are usually clearly marked. If you’re having trouble, check your projector’s user manual. It will show you exactly where they are. We found that the manual is a great backup for any projector.
Step 2: Aim and Press the “Zoom Out” Button
With the projector on and displaying an image, point your remote at the projector. Press the button that makes the image smaller. This is usually labeled “Zoom Out” or has an icon showing the image shrinking. You might need to press and hold this button.
You should see the image on your screen get progressively smaller. It’s a gradual change, so take your time. We found that short, repeated presses are often best. This gives you control over the adjustment.
Step 3: Fine-Tune the Size
Keep pressing the zoom-out button until the image is almost the right size. Don’t worry if it’s not perfect yet. You might need to slightly adjust your projector’s position as well. Sometimes, moving the projector a few inches back can help. This is a common part of getting the picture just right.
Step 4: Use the Focus Button for Clarity
Once the image is the correct size, it’s time to focus. Use the focus buttons on your remote. These usually look like a magnifying glass with plus (+) and minus (-) signs, or arrows pointing inwards and outwards. Adjust until the image is sharp and clear.
We found that after zooming, the focus might shift slightly. So, this step is really important for a good viewing experience. A sharp image makes all the difference. Many experts suggest focusing last after all size adjustments are made.
When to Move the Projector
Sometimes, zoom alone isn’t enough. Your projector has a “throw ratio,” which determines how far away it needs to be to project a certain image size. If you can’t zoom out enough, you might need to move the projector.
Understanding Throw Ratio
A short-throw projector can create a large image from a close distance. A long-throw projector needs more space. If your image is too big even at the furthest zoom-out setting, you’ll need to move the projector further away from the screen. This is a physical adjustment, not a remote button press.
We found that research into your specific projector model’s throw ratio can be helpful. Knowing this ratio tells you the optimal distance for different screen sizes. It’s like knowing how far back a camera needs to be for a good portrait shot.
Physical Placement Adjustments
Try moving the projector back a few feet. Then, re-zoom and re-focus. This iterative process often solves the size issue. You might also need to adjust the tilt of the projector. Many projectors have adjustable feet for this purpose.
A stable surface is key here. You don’t want your projector wiggling around. We found that a dedicated projector mount or a sturdy shelf works best. This ensures consistent performance.
Troubleshooting Common Issues
What if the buttons aren’t working, or the image won’t adjust correctly? Don’t despair! Most problems have simple solutions.
Remote Not Responding
First, check the batteries in your remote. Low batteries are a common culprit. Make sure there’s a clear line of sight between the remote and the projector’s sensor. Sometimes, a stray object can block the signal. We found that cleaning the sensor on both the remote and the projector can help too.
Image Won’t Zoom In/Out Enough
As we discussed, this usually means you’re at the physical limits of the zoom lens or the projector’s placement. You’ll need to either move the projector closer or further away. There’s a physical limit to how much zoom can compensate. Think of it like trying to fit a large sofa through a small doorway – sometimes you just need to adjust the angle or the door.
Image Still Blurry After Focusing
If the image remains blurry even after using the focus buttons, check the projector’s lens for smudges or dust. A gentle wipe with a microfiber cloth usually does the trick. If that doesn’t help, the projector might need internal cleaning or servicing. Many manufacturers suggest professional cleaning after a certain number of hours (e.g., 2000 hours), according to their maintenance guidelines.
Quick Checklist for Zooming Out
Here’s a quick rundown to get your image perfectly sized:
- Find your Epson projector remote.
- Locate the “Zoom Out” button.
- Press the button repeatedly until the image is close to the screen size.
- Adjust projector position if needed (move further back).
- Use the “Focus” buttons to sharpen the image.
- Repeat steps until satisfied with size and clarity.
Conclusion
You’ve now learned how to easily zoom out on your Epson projector to get the perfect picture size. Remember, it’s mostly about using the zoom buttons on your remote and then fine-tuning with focus. If the image is still too large, a simple adjustment of the projector’s physical position is often all you need. We’ve found that these steps, combined with a little patience, will dramatically improve your viewing experience. Go ahead and give it a try – you’ll have your image fitting perfectly in no time!
Frequently Asked Questions
Can I zoom out using buttons on the projector itself?
Some Epson projector models do have physical zoom buttons directly on the unit. Check the top or sides of your projector for labeled buttons or a dial. However, we found that using the remote is generally more convenient and offers finer control.
What if my remote’s zoom buttons aren’t working?
First, try replacing the batteries in your remote. If that doesn’t help, ensure there’s a clear line of sight between the remote and the projector’s IR sensor. We’ve also seen issues resolved by gently cleaning the sensor on both devices.
How far back do I need to move the projector to zoom out effectively?
This depends on your projector’s “throw ratio” and screen size. As a general rule, moving the projector further away from the screen will make the projected image smaller. We suggest moving it back in small increments and re-adjusting zoom and focus until you achieve the desired size.
Is it better to zoom out or move the projector if the image is too big?
You should always try using the zoom-out function on your remote first. We found that this is the quickest way to adjust the image size. If you reach the limit of the zoom adjustment and the image is still too large, then moving the projector further away is the next best step.
How often should I clean my Epson projector’s lens?
It’s a good idea to check and clean your projector’s lens periodically, especially if you notice image blurriness that focus adjustments can’t fix. We recommend using a soft microfiber cloth to gently wipe away dust or smudges. Regular cleaning ensures the best image quality.