How to Use an Epson Projector: Beginner Guide
Using your Epson projector is actually quite simple once you get the hang of it. The basic steps involve connecting your device, selecting the right input, and adjusting the focus and zoom for a clear picture. You’ll be enjoying movies or presentations in no time with a few key adjustments.
Setting up an Epson projector involves more than just plugging it in. We found that understanding your specific model and its various connection options is key to a smooth experience. Many people also wonder about optimizing image quality and troubleshooting common issues.
- Connect your video source (laptop, Blu-ray player, etc.).
- Select the correct input source on the projector remote.
- Adjust focus and zoom for the best picture size.
- Ensure your projector is placed for optimal viewing angles.
Below, we’ll walk you through each step to get your Epson projector up and running with ease. Let’s get started!
Getting Started with Your Epson Projector
So, you’ve got a shiny new Epson projector! That’s fantastic. Using it might seem a bit daunting at first, but we found that it’s actually quite straightforward once you know the basic steps. This guide will walk you through everything you need to know to get that big-screen experience up and running without any headaches.
Connecting Your Devices: What Goes Where?
The first step is connecting your video source. Think of this as plugging your projector into the internet of entertainment. You’ll likely be connecting a laptop, a gaming console, a Blu-ray player, or even a streaming stick. Epson projectors offer a variety of connection ports to suit your needs.
Understanding Your Input Ports
Most Epson projectors come equipped with several types of input ports. You’ll see these clearly labeled on the back or side of the unit. We found that identifying the right port for your device is key to a successful connection.
HDMI: The Modern Standard
HDMI is the most common and versatile connection you’ll find. It carries both high-definition video and audio signals. If your laptop, game console, or Blu-ray player has an HDMI port, this is usually your best bet. It’s simple: one cable, two signals, great quality. We found that HDMI provides the best overall experience for most users.
VGA: The Older but Still Useful Option
You might also encounter a VGA port, which is a bit older. This connection is for video only, so you’ll need a separate audio cable if your projector doesn’t have built-in speakers. VGA is still perfectly fine for presentations or older devices, but it doesn’t offer the same crispness as HDMI. Many older laptops still rely on VGA.
Other Connections
Depending on your specific Epson model, you might find other ports like USB or even older composite video inputs. USB ports can sometimes be used for firmware updates or playing media files directly from a thumb drive. We found that checking your projector’s manual is the best way to know exactly what each port does.
Making the Physical Connection
Once you’ve identified the correct port on both your projector and your device, simply plug in the corresponding cable. Ensure the cable is firmly seated at both ends. If you’re using HDMI, you’re already set for both audio and video. For VGA, remember that separate audio connection if needed.
Selecting the Right Input Source
After everything is plugged in, you need to tell your projector which source to display. This is where the remote control comes in handy. You’ll see a button on your Epson remote labeled “Source,” “Input,” or something similar. Pressing this button will bring up a menu on your screen.
Use the arrow keys on your remote to navigate through the list of available input sources. If you connected your laptop via HDMI, you’ll want to select the HDMI input. If you used VGA, select the VGA input. The projector will then switch to that source, and you should see your device’s display appear.
We found that it’s easy to get confused if multiple devices are connected. Just remember which cable went into which port, and you can easily select the matching source. If you don’t see anything, try pressing the source button again and selecting the input one more time.
Adjusting for a Clear and Sized Picture
Now that you have a picture, it’s time to make it look its best. You’ll need to adjust the focus and zoom to get the image size and sharpness just right for your viewing area. Most Epson projectors have physical rings or dials on the lens for these adjustments.
Focusing the Image
Look for a ring around the projector’s lens. Gently rotate this ring. You’ll see the image on your screen become sharper or blurrier. Keep turning it until the picture is as crisp and clear as possible. We found that small, incremental adjustments work best here.
Zooming and Positioning
Many projectors have a zoom lens, usually a larger ring or a separate lever on the lens assembly. Rotating this will make the image larger or smaller. Use this to fill your screen or wall space appropriately. You may also need to physically move the projector slightly to get the image perfectly centered.
Getting the Right Picture Size
The goal is to have the image comfortably fit your screen or wall without being distorted. You might need to adjust the zoom and then fine-tune the projector’s placement. Remember, the further the projector is from the screen, the larger the image will be (up to the lens’s limit).
Keystone Correction: Fixing Distortion
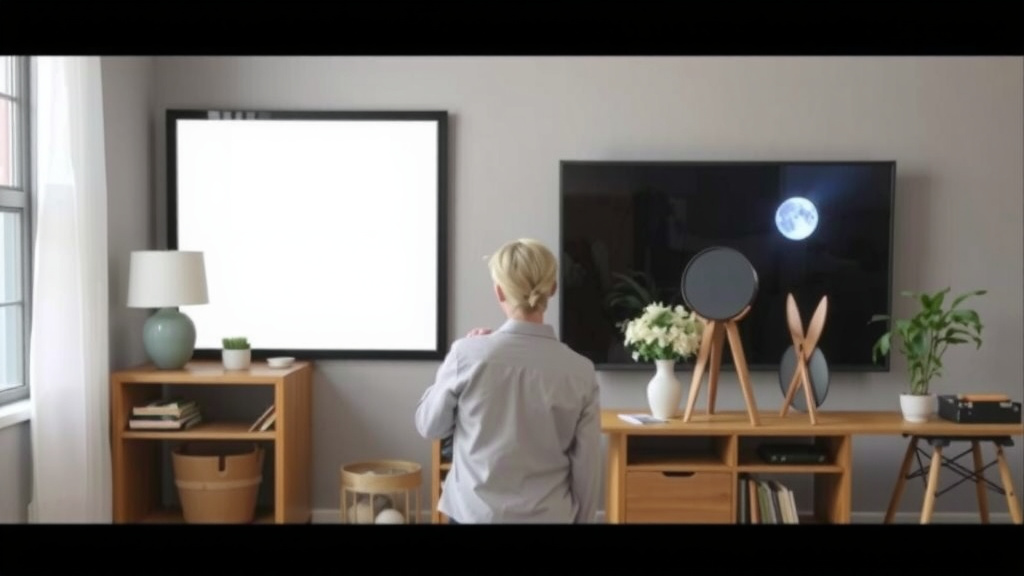
Sometimes, due to the projector’s angle, the image might look a bit trapezoidal (wider at the top than the bottom, or vice versa). This is called keystone distortion. Most Epson projectors have a “Keystone Correction” feature. You can usually find this in the projector’s on-screen menu under “Picture” or “Display” settings. Adjusting this will square up the image, making it look like a perfect rectangle again. We found that using keystone correction sparingly is best, as overdoing it can slightly reduce picture quality.
Setting Up for Optimal Viewing
Where you place your projector matters. For the best experience, consider these points:
- Placement: Position your projector directly in front of the screen or wall you’re projecting onto. Avoid placing it off to the side if possible, as this can lead to more keystone distortion.
- Height: Aim to have the projector’s lens roughly at the same height as the center of the screen. This often requires placing the projector on a stable surface or a dedicated projector mount.
- Light Control: Projectors work best in darkened rooms. Close curtains or blinds to minimize ambient light. This will make your picture much brighter and more vibrant.
- Ventilation: Projectors generate heat. Make sure the vents are not blocked so the projector can stay cool. Overheating can cause performance issues or shorten its lifespan. We found that ensuring good airflow is a simple yet vital step for longevity.
Quick Checklist for Your First Use
Here’s a quick rundown to get you started:
- Verify all cables are securely connected.
- Turn on your video source device first.
- Turn on your Epson projector.
- Use the remote to select the correct input source.
- Adjust focus and zoom for image clarity and size.
- Fine-tune with keystone correction if needed.
Conclusion
You’ve now got a solid grasp on getting your Epson projector ready for action. We covered connecting your devices, selecting the right inputs, and fine-tuning the picture for a fantastic viewing experience. Remember, a little patience with focus and keystone correction goes a long way. Don’t be afraid to experiment with placement and light control to get the best results. Your next step? Host that movie night or nail that presentation. You’re all set to enjoy that big-screen magic!
Frequently Asked Questions
What if my Epson projector isn’t showing any picture?
First, double-check that your video source device is turned on and sending a signal. Then, use your projector’s remote to confirm you’ve selected the correct input source that matches where you plugged in your cable. We found that these two steps solve most initial display problems.
How do I adjust the size of the image on my wall?
You can adjust the image size using the zoom lens on your projector, which is typically a ring or lever around the lens itself. Moving the projector further away from the wall will generally make the image larger, up to the lens’s maximum zoom capability.
My projected image looks like a trapezoid. How can I fix this?
This is likely keystone distortion. Most Epson projectors have a keystone correction feature in the on-screen menu. Look for settings related to “Picture” or “Display” and adjust the keystone correction to square up the image into a perfect rectangle.
Can I connect a soundbar or external speakers to my Epson projector?
Many Epson projectors have an audio output port, often a 3.5mm headphone jack. You can connect this directly to a soundbar or external speakers using a compatible audio cable. Check your projector’s manual to confirm if yours has this feature.
How far away should my Epson projector be from the screen?
The ideal distance depends on your projector’s zoom lens and the desired image size. Generally, the further back you place the projector, the larger the image will be. We recommend checking your projector’s user manual for a throw distance chart specific to your model, which shows image size at different distances.