How to Use a Cibest Projector: Easy Step-by-Step
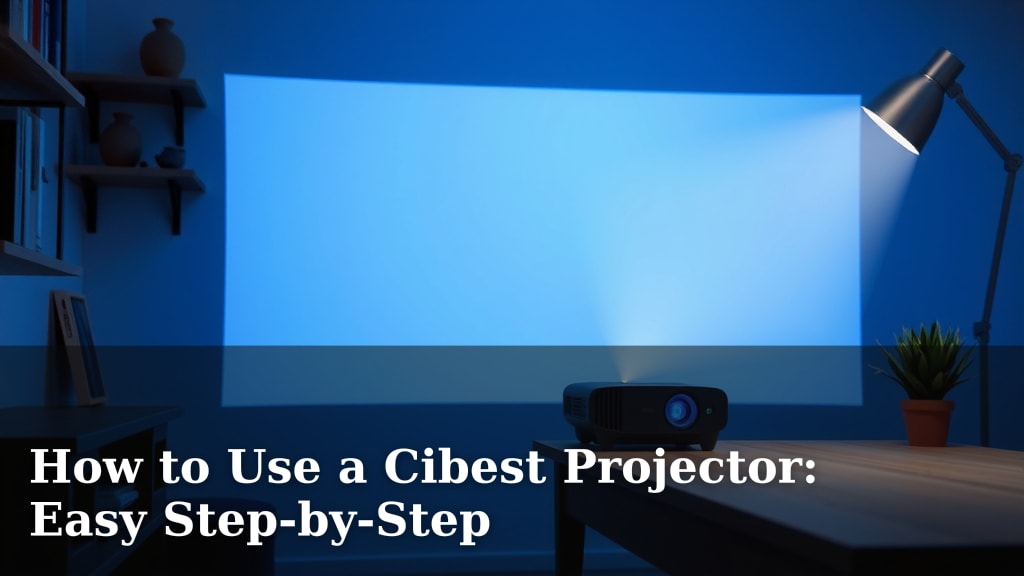
Using your Cibest projector is simple and straightforward. You can set it up in just a few minutes by connecting your device and selecting your desired input. It’s designed for easy home entertainment or presentations.
Many users find projectors like Cibest a fantastic way to enjoy movies or share important information. Getting your projector connected properly ensures the best picture quality. We’ve found that understanding a few basic steps makes all the difference.
- Connect your video source (like a laptop or streaming device).
- Select the correct input on your Cibest projector.
- Adjust focus and keystone for a clear picture.
- Position the projector for your desired screen size.
Ready to bring your big-screen dreams to life? Let’s walk through exactly how to get your Cibest projector up and running, step by step.
“`htmlGetting Your Cibest Projector Ready to Go
Setting up your Cibest projector is easier than you might think. We’ll walk you through each step so you can enjoy that big-screen experience without any hassle. Think of it like setting up a new TV, but with a bit more flexibility.
Unpacking and Initial Setup
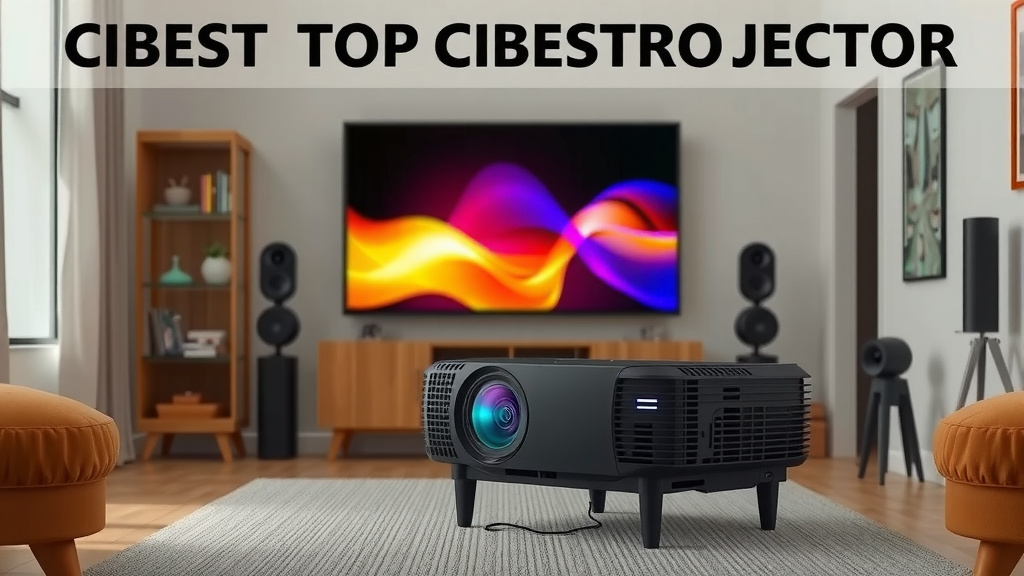
First things first, let’s get everything out of the box. You should find your Cibest projector, a power cable, a remote control, and likely an instruction manual. Sometimes, they also include an HDMI cable or other connection options. We always recommend giving the projector a quick wipe down with a soft, dry cloth before powering it up. This ensures no dust gets on the lens right away.
What’s Inside the Box?
Make sure you have all the essential accessories. A quick checklist includes:
- The projector unit
- Power adapter/cable
- Remote control (with batteries, usually)
- User manual
- Connection cables (like HDMI, if included)
If anything seems to be missing, check the packaging thoroughly or contact Cibest customer support. It’s good to know what you should expect right from the start.
Connecting Your Cibest Projector to a Power Source
This is a pretty straightforward step. Find the power port on your Cibest projector. It’s usually located on the back or side of the unit. Connect the provided power adapter or cable to this port. Then, plug the other end into a standard electrical outlet. You’ll often see a small indicator light turn on, letting you know the projector is receiving power. This is your signal that it’s ready for the next step.
Linking Your Devices to the Cibest Projector
Now for the fun part – connecting what you want to watch or present! Cibest projectors typically offer several ways to connect your devices. The most common methods are HDMI, USB, and sometimes Wi-Fi mirroring. We’ll cover the most popular options.
Using an HDMI Cable for the Best Quality
HDMI is generally your best bet for a crisp, clear picture, especially for movies and high-definition content. Locate the HDMI port on your Cibest projector. It’s usually labeled “HDMI IN.” On your source device (like a laptop, Blu-ray player, or streaming stick), find its HDMI output port. Connect one end of your HDMI cable to the projector and the other to your device. This creates a direct, high-quality digital connection. We found that using a good quality HDMI cable can make a noticeable difference in picture clarity.
Connecting Laptops and Computers
For laptops, you’ll likely use the HDMI port. Some older laptops might have different ports, so check your device’s specifications. Once connected via HDMI, your laptop should automatically detect the projector. You might need to adjust your display settings to either mirror your screen or extend your desktop onto the projector. Many users prefer mirroring for presentations so everyone sees the same thing.
Connecting Streaming Devices and Game Consoles
Devices like Roku, Fire Stick, Apple TV, or gaming consoles (PlayStation, Xbox) also use HDMI. Simply plug the HDMI cable from the device into the projector’s HDMI IN port. Make sure the device itself is powered on and set to output video via HDMI. It’s usually a simple plug-and-play scenario.
Wireless Mirroring and Other Connections
Some Cibest models support wireless screen mirroring. This allows you to share your smartphone or tablet screen directly to the projector without cables. The process varies by device and projector model, but it often involves connecting both your device and the projector to the same Wi-Fi network. You’ll typically find an option in your phone’s settings (like “Cast” or “Screen Mirroring”) to connect to the projector. While convenient, wireless connections can sometimes have a slight delay or lower quality compared to HDMI. We found that for critical tasks like fast-paced gaming, a wired connection is usually preferable.
Your projector might also have USB ports. These can sometimes be used for playing media files directly from a USB drive or for firmware updates. Check your manual for specific USB functionality.
Tuning Your Image for Perfect Viewing
Once everything is connected, you’ll want to fine-tune the image. This is where you get that picture looking just right. It involves adjusting focus, keystone, and zoom.
Adjusting the Focus for Sharpness
Look for a focus ring or adjustment dial, often located around the projector lens. You’ll see a blurry image on your screen. Slowly turn the focus adjustment until the image becomes sharp and clear. If the text is jagged or fuzzy, keep turning. We found that small adjustments can make a big difference. It’s like tuning a radio to get the clearest station.
Correcting Distortion with Keystone Adjustment
This is super important if your projector isn’t perfectly level with the screen. If the image looks like a trapezoid (wider at the top or bottom), you need to use the keystone correction. Most Cibest projectors have a physical button or a setting in the menu for this. Adjust it until the projected image is a perfect rectangle. Many experts suggest placing the projector as straight-on as possible to minimize the need for extreme keystone correction. Over-correction can sometimes reduce image quality (National Association of Broadcasters).
Setting the Screen Size with Zoom
Many projectors have a zoom lens. This allows you to adjust the picture size without moving the projector physically. Rotate the zoom ring or use the zoom controls in the menu to make the image larger or smaller. Your goal is to fill your screen or wall space perfectly. You want to find that sweet spot where the image fits your viewing area nicely.
Final Checks and Enjoyment Checklist
You’re almost there! Before you settle in, let’s do a quick final check. Make sure all your cables are secure and out of the way. Test your remote control to ensure it’s working correctly. Browse through the projector’s menu to see if there are any other picture settings you’d like to tweak, like brightness or contrast.
Here’s a quick checklist to confirm you’re ready:
- Connection Confirmed: Your video source is plugged in and powered on.
- Correct Input Selected: The projector is set to the right input (HDMI 1, HDMI 2, USB, etc.).
- Image is Clear: Focus and keystone adjustments make the picture sharp and rectangular.
- Screen Size is Right: Zoom is set to fill your viewing area nicely.
- Remote is Ready: Batteries are in, and you can navigate menus.
- Audio is Working: Sound is coming from your projector or connected speakers.
Now you are all set to enjoy your movies, games, or presentations on a big screen! We found that taking these few extra moments during setup leads to a much better viewing experience overall.
“`Conclusion
You’ve successfully learned how to set up and enjoy your Cibest projector! We walked through unpacking, connecting your favorite devices via HDMI or wireless options, and fine-tuning the image for sharpness and clarity. Remember, a clear picture and the right screen size make all the difference for movies or presentations. Don’t forget to do those final checks, like ensuring your remote works and audio is clear. Your next step is to pick out your favorite movie or prepare your presentation and experience it all on the big screen!
Frequently Asked Questions
My Cibest projector is on, but I don’t see an image. What should I check?
First, confirm that your source device (like a laptop or streaming stick) is powered on and properly connected to the projector. Then, use your remote control to cycle through the input options (HDMI 1, HDMI 2, USB, etc.) until you find the correct one for your connected device. We found that selecting the wrong input is the most common reason for a blank screen.
How do I connect my smartphone to my Cibest projector wirelessly?
Most Cibest projectors that support wireless mirroring require both your phone and the projector to be on the same Wi-Fi network. Look for a “Screen Mirroring” or “Cast” option in your smartphone’s quick settings or display menu, and select your projector from the list of available devices. The exact steps can vary slightly by phone model.
The image on my Cibest projector is blurry. How do I fix it?
This usually means you need to adjust the focus. Locate the focus ring or dial, often found around the projector lens. Slowly rotate it while looking at the projected image on your screen until the picture becomes sharp and clear. If text looks jagged or fuzzy, keep making small adjustments.
Why does the picture look like a trapezoid on my wall?
This distortion is likely due to your projector not being perfectly level with the screen or wall. You’ll need to use the keystone correction feature. Most Cibest projectors have a button or menu option for this; adjust it until the image forms a perfect rectangle. Try to position your projector as straight-on as possible to minimize the need for heavy correction.
Can I play movies directly from a USB drive on my Cibest projector?
Many Cibest projectors have USB ports that can play media files directly from a USB flash drive. Insert your drive into the projector’s USB port, then navigate through the projector’s menu to find the media player option. Make sure your movie files are in a format supported by the projector, which you can usually find in the user manual.