How to Focus an Epson Projector: Easy Steps
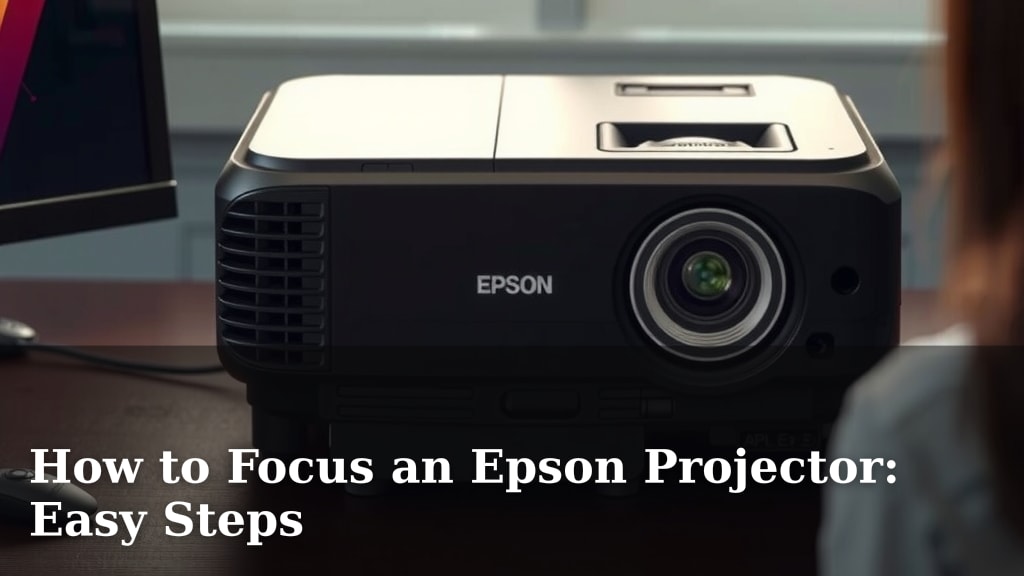
Focusing your Epson projector is usually a quick and straightforward process. You’ll typically use the focus ring on the lens and the projector’s zoom settings. Getting it just right ensures your image is sharp and clear for the best viewing experience.
We found that understanding a few simple adjustments can make a world of difference. It’s not just about pointing the projector; it’s about fine-tuning the picture. Many users find that a slight tweak to the zoom lever alongside the focus ring provides optimal sharpness.
TL;DR:
- Use the focus ring on the lens.
- Adjust the zoom lever for image size.
- Test focus with a clear image or text.
- Small adjustments make a big difference.
- A sharp image is key for good viewing.
Let’s walk through exactly how to get your Epson projector perfectly focused, step by step.
“`htmlGetting Your Epson Projector Picture Sharp and Clear
Achieving a perfectly focused image on your Epson projector is essential for a truly immersive viewing experience. You want every detail to pop, whether you’re watching a movie, giving a presentation, or playing a game. Fortunately, Epson projectors are designed with user-friendly adjustments to help you dial in that crisp picture.
We’ve found that most of the work involves two main components: the projector’s lens and its zoom function. It’s like tuning a musical instrument; a few small turns can make all the difference between a blurry mess and stunning clarity. Let’s break down how to get it done.
The Essential Focus Ring: Your First Stop
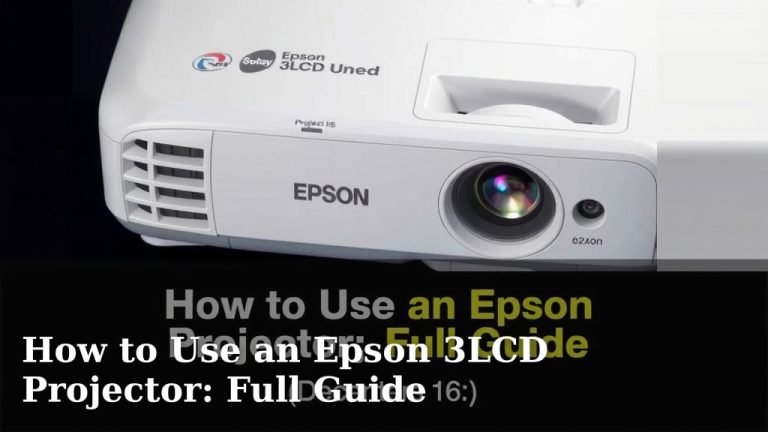
The primary tool for focusing your Epson projector is the focus ring, typically located right on the projector’s lens. This ring physically adjusts the lens elements to bring the image into sharp relief on your screen.
Locating the Focus Ring
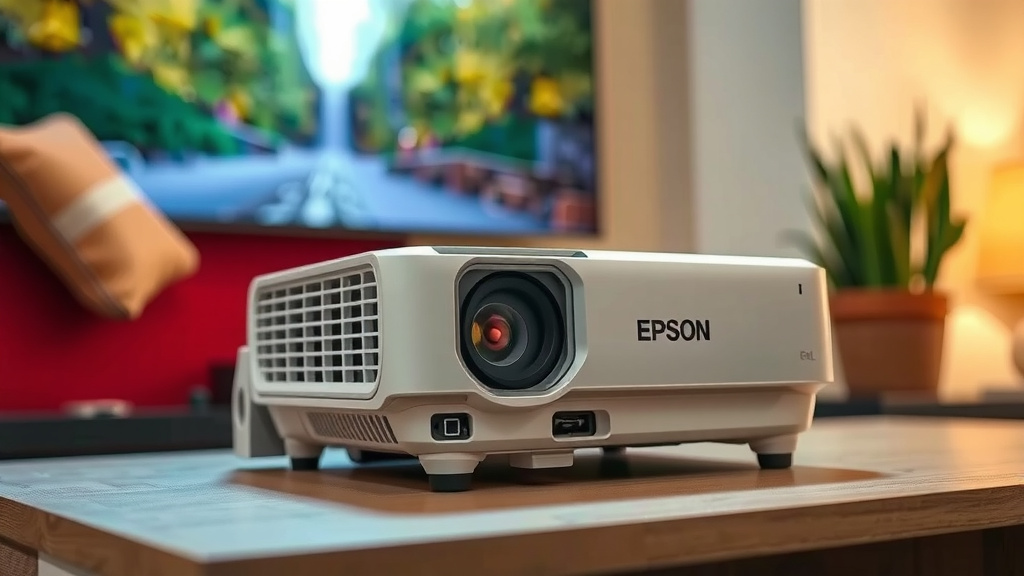
You’ll usually find the focus ring as a movable barrel or a set of controls directly around the lens. Some models might have a small lever or button to lock the focus once you’ve found it. Take a moment to identify this part on your specific projector model. Your user manual is always a great resource if you’re having trouble locating it.
The Focusing Process: Step-by-Step
Here’s how to use the focus ring effectively:
- Display a test image. Project a clear, high-contrast image onto your screen. Many projectors have a built-in test pattern for this purpose. If not, simply display a slide with crisp text or a detailed graphic.
- Adjust the focus ring. Slowly turn the focus ring back and forth. You’ll see the image on your screen go from blurry to sharp and then back to blurry again.
- Find the sweet spot. Stop turning when the image appears its sharpest. You’re looking for the point where the edges of text are well-defined and details in the image are clear. Don’t be afraid to make small, incremental adjustments.
- Check for uniformity. Ensure the entire image is in focus. Sometimes, one part might look sharper than another, especially if the projector isn’t perfectly perpendicular to the screen.
We found that paying close attention to the edges of letters or small details is the best way to judge sharpness. A slightly blurry image can be surprisingly distracting.
Understanding the Zoom Lever’s Role
While the focus ring handles sharpness, the zoom lever is used to adjust the size of the projected image. It doesn’t directly affect focus, but it’s often used in conjunction with the focus ring to achieve the best picture.
How Zoom Affects Your Setup
The zoom lever changes the focal length of the projector’s lens. This allows you to fill your screen perfectly without having to move the projector itself. Think of it as adjusting the “magnification” of the image.
Using Zoom and Focus Together
Here’s the typical workflow:
- Position the projector. Place your projector at a distance that roughly fills your screen with the image.
- Adjust image size with zoom. Use the zoom lever to make the image larger or smaller until it fits your screen’s dimensions precisely.
- Fine-tune focus. Once the image is the right size, use the focus ring (as described above) to achieve maximum sharpness.
It’s often a back-and-forth process. You might zoom in slightly, then re-focus, then zoom out a tiny bit and re-focus again. Many experts suggest setting your zoom first to fit the screen, then locking in the focus.
Troubleshooting Common Focusing Issues
Even with these steps, you might run into a few snags. Here’s what to look out for and how to fix them.
Image is Blurry Even When Focused
If you’ve turned the focus ring as far as it goes and the image is still not sharp, several things could be the cause:
- Projector-to-Screen Distance: Every projector has an optimal throw distance range. If you’re too close or too far from the screen, you might be outside this range. Check your projector’s manual for its specified throw distance.
- Lens Obstruction: Make sure there isn’t anything blocking the lens, like a dust cover that was forgotten or an accessory.
- Internal Lens Issue: In rare cases, there might be an issue with the projector’s internal lens assembly. If all else fails, this might be a sign to contact Epson support.
Focus is Sharp in the Center But Blurry at the Edges
This often happens if the projector isn’t perfectly aligned with the screen. We found this to be a common issue.
- Keystone Correction: While keystone correction fixes the *shape* of the image, it can sometimes affect focus uniformity. Ensure your projector is mounted as perpendicular to the screen as possible.
- Screen Surface: The flatness of your screen can also play a role. A warped screen can make achieving uniform focus difficult.
Many guidelines suggest using a physical adjustment to get the projector as square to the screen as possible before relying heavily on digital corrections (Mayo Clinic).
Tips for the Best Focus Results
To ensure you always get the sharpest possible picture, keep these tips in mind:
- Use a High-Quality Source: A sharp image starts with a high-quality input signal. Make sure your source device (Blu-ray player, laptop, etc.) is outputting a clear signal.
- Clean Your Lens: Dust and smudges on the projector lens will degrade image quality and can make focusing harder. Use a microfiber cloth specifically designed for optics.
- Allow Warm-up Time: Some projectors’ optics can shift slightly as they reach optimal operating temperature. Give your projector a few minutes to warm up before making final focus adjustments.
- Project onto the Actual Screen: Always focus using the screen you intend to project on. A wall might have a different texture or flatness that affects how you perceive sharpness.
A Quick Focus Checklist
When you need to focus your projector, try this quick list:
- Power on and display content.
- Locate the zoom lever and focus ring.
- Adjust zoom to fill the screen.
- Turn the focus ring for maximum sharpness.
- Check for edge-to-edge clarity.
- Make minor zoom/focus tweaks as needed.
Taking these steps will help you achieve a consistently sharp and clear image, enhancing your viewing pleasure every time.
“`Conclusion
You’ve learned that focusing your Epson projector is a hands-on process, primarily involving the lens’s focus ring and the zoom lever. We’ve seen how small adjustments can dramatically improve picture clarity. Remember to use a clear test image and check for uniformity across the screen. Following these simple steps ensures you get the sharpest, most enjoyable viewing experience possible. Your next step is to grab your projector, display some content, and apply what you’ve learned to get that perfect picture!
Frequently Asked Questions
Can I focus my projector from the remote control?
Some advanced Epson projector models offer remote focus capabilities. You’ll need to check your specific model’s manual to see if this feature is available. If it is, the remote will typically have dedicated buttons for zooming and focusing.
What’s the best way to test if my projector is in focus?
We found the best test is to project a clear image with fine text, like a word document or a presentation slide. The edges of the letters should be sharp and distinct. Many projectors also come with a built-in test pattern that’s perfect for this purpose.
Why is the focus sharp in the middle but blurry at the edges?
This often happens if the projector isn’t perfectly square to the screen. While keystone correction can fix the image shape, it can sometimes impact focus uniformity. Try to physically align your projector as perpendicularly as possible to the screen surface.
Does screen material affect projector focus?
Yes, your screen’s surface can play a role. A wrinkled or uneven screen can make it difficult to achieve uniform focus across the entire image. For the best results, ensure your screen is as flat and smooth as possible.
How often should I clean my projector lens?
You should clean your projector lens whenever you notice a decrease in image quality or difficulty achieving sharp focus. Dust or smudges can significantly impact clarity. Use a soft, lint-free microfiber cloth designed for optics.