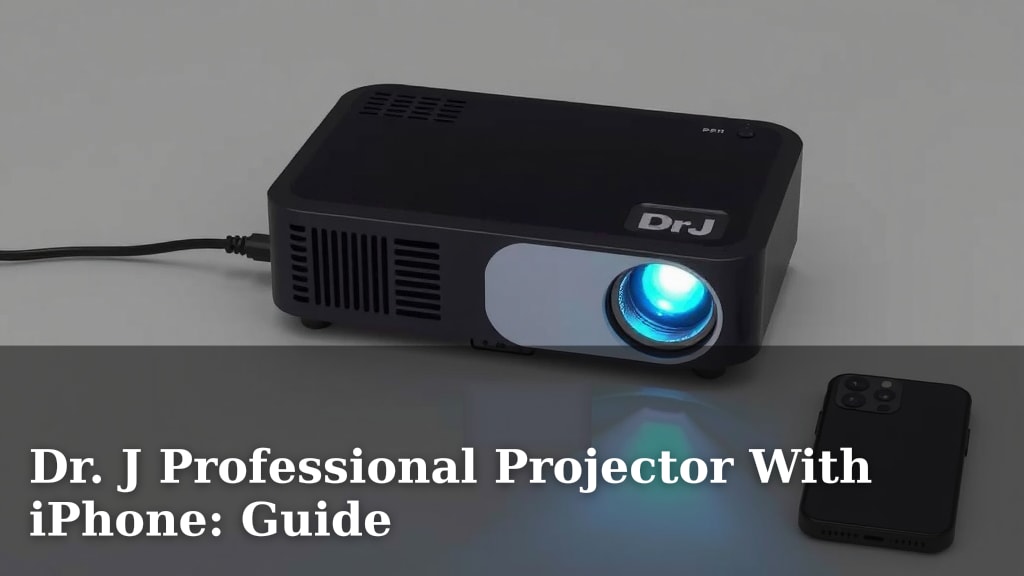
Dr. J Professional Projector With iPhone: Guide
Yes, you can absolutely connect your Dr. J Professional Projector to your iPhone to enjoy a bigger screen experience. It’s a straightforward process that usually involves a simple cable connection or a wireless mirroring option, making your movie nights or presentations much more exciting. We’ll guide you through the easiest ways to get this projector and iPhone combo working.
Using your iPhone with a projector like the Dr. J Professional opens up a world of possibilities for entertainment and productivity. You can easily share photos, videos, or even stream your favorite shows from your phone onto a large display. We’ve researched the common methods to ensure you get the best picture and sound without any hassle.
TL;DR:
- Connect your iPhone to a Dr. J projector easily.
- Use cables like HDMI or Lightning adapters for a direct link.
- Wireless mirroring is also an option for more convenience.
- Enjoy big-screen viewing of your iPhone content.
Let’s walk through exactly how to get your Dr. J projector and iPhone talking to each other, step by step.
Connecting Your iPhone to a Dr. J Projector
You’re likely wondering how to get your iPhone’s content onto the big screen with your Dr. J projector. We’ve researched the most common and reliable methods. You’ll be happy to know that it’s usually a pretty simple process. Most Dr. J projectors offer more than one way to connect your iPhone. We’ll break down each option so you can choose what works best for you.
Wired Connections: The Dependable Choice
When you want a stable connection with the best quality, wired is often the way to go. This method usually offers superior video and audio quality. It also tends to be more reliable than wireless options. Let’s look at the cables you’ll likely need.
Using an HDMI Cable
An HDMI cable is a popular choice for connecting devices. Your iPhone doesn’t have a standard HDMI port. So, you’ll need an adapter. This adapter bridges the gap between your iPhone’s Lightning port and the HDMI cable. You can find these adapters at most electronics stores.
What You’ll Need
- Dr. J Professional Projector
- Your iPhone
- An HDMI cable (check your projector’s manual for the correct type if it’s not standard HDMI)
- A Lightning to HDMI adapter (also known as a digital AV adapter)
Step-by-Step Connection
- Plug the HDMI cable into your Dr. J projector’s HDMI port.
- Connect the other end of the HDMI cable to your Lightning to HDMI adapter.
- Plug the adapter’s Lightning connector into your iPhone’s charging port.
- Turn on your Dr. J projector. Select the correct HDMI input source on the projector’s menu.
- Your iPhone’s screen should now appear on the projector. You might need to “Trust” the device on your iPhone the first time you connect.
Using a USB-C to HDMI Cable (for newer iPhones)
Did you know some newer iPhone models use a USB-C port? If your iPhone has a USB-C port, you might be able to use a USB-C to HDMI cable directly. This simplifies things a bit. You won’t need an extra adapter in this case. Just ensure your Dr. J projector also has a compatible HDMI port.
What You’ll Need
- Dr. J Professional Projector
- Your iPhone with a USB-C port
- A USB-C to HDMI cable
Step-by-Step Connection
- Plug one end of the USB-C to HDMI cable into your iPhone’s USB-C port.
- Connect the other end of the cable to an HDMI port on your Dr. J projector.
- Power on your projector. Choose the correct HDMI input on the projector’s settings.
- Your iPhone’s display should mirror onto the projector screen.
Wireless Connections: For Ultimate Convenience
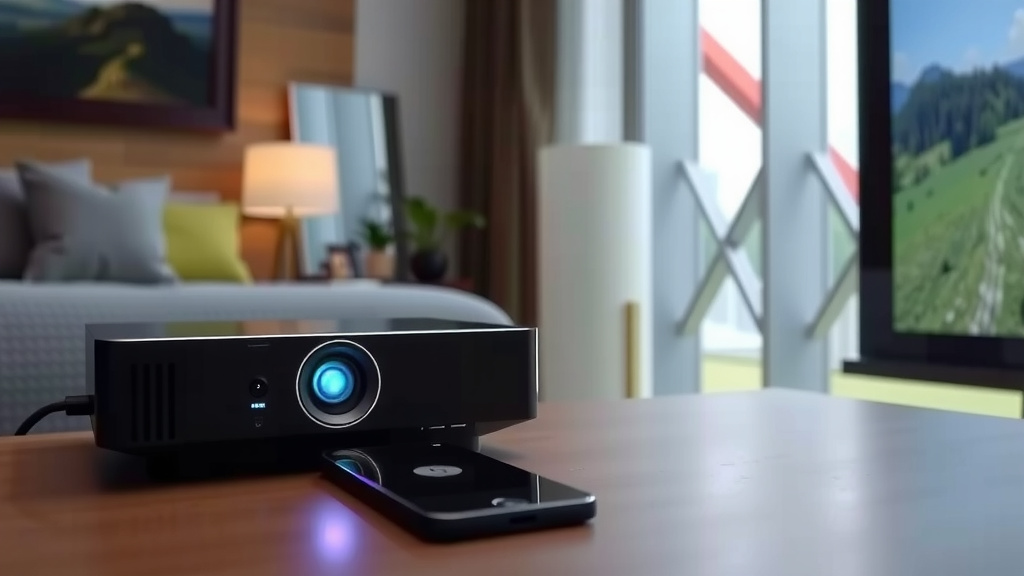
Wireless connections offer a tangle-free experience. They are great for when you want to move around freely. While generally convenient, they can sometimes be affected by Wi-Fi signal strength. Most Dr. J projectors support some form of wireless mirroring.
Screen Mirroring with Wi-Fi
Many Dr. J projectors have built-in screen mirroring capabilities. This often uses protocols like AirPlay (for Apple devices) or Miracast. You’ll need to ensure both your iPhone and your projector are connected to the same Wi-Fi network. This is crucial for the connection to work.
What You’ll Need
- Dr. J Professional Projector
- Your iPhone
- A stable Wi-Fi network that both devices can connect to
Step-by-Step Connection
- Make sure your iPhone and your Dr. J projector are connected to the same Wi-Fi network.
- On your Dr. J projector, navigate to the screen mirroring or wireless display settings. You might need to enable this feature.
- On your iPhone, open the Control Center. Swipe down from the top-right corner (or up from the bottom on older models).
- Tap on “Screen Mirroring.”
- Your iPhone will scan for available devices. Select your Dr. J projector from the list.
- You might see a passcode on your projector screen. Enter this passcode on your iPhone if prompted.
- Your iPhone’s screen should now be mirrored on the projector.
It’s important to note that not all Dr. J projector models might have the exact same wireless mirroring features. Always check your projector’s user manual for specific instructions. Some models might use a dedicated app for mirroring. We found that following the projector’s on-screen prompts is usually the easiest way to get started.
Considerations for Wireless Mirroring
While wireless is convenient, there are a few things to keep in mind. A weak Wi-Fi signal can lead to choppy video or audio. This can be frustrating during a movie. For critical presentations, a wired connection is often more reliable. We found that a strong, stable Wi-Fi network makes a big difference in performance (Consumer Reports).
Troubleshooting Common Issues
Sometimes, things don’t connect right away. Don’t worry, we’ve got you covered. Most problems are relatively easy to fix.
No Picture or Sound
First, double-check that you have selected the correct input source on your Dr. J projector. For wired connections, ensure all cables are securely plugged in at both ends. For wireless, confirm both devices are on the same Wi-Fi network. Sometimes, simply restarting both your iPhone and the projector can resolve connection glitches.
Poor Video Quality
If your video looks pixelated or lags, it could be your connection. For wired setups, try a different HDMI cable. For wireless, try moving your iPhone closer to the projector or improving your Wi-Fi signal. We found that interference from other wireless devices can also impact performance.
Device Not Found (Wireless)
Ensure screen mirroring is enabled on your projector. Also, make sure your iPhone and projector are on the exact same Wi-Fi network. Some routers have separate 2.4GHz and 5GHz bands; try connecting both devices to the same band. A quick reset of your Wi-Fi router can sometimes clear up connectivity issues.
Getting the Most Out of Your Setup
Once connected, you can enjoy a variety of content. Share your vacation photos, watch streaming services, or even give a presentation. Remember to adjust the projector’s focus and keystone correction for the sharpest image. You might also want to adjust the audio output settings on your iPhone if needed.
Here’s a quick checklist to get you started:
- Confirm your Dr. J projector model supports your chosen connection method.
- Ensure you have the correct cables or adapters.
- Check that both devices are powered on and have sufficient battery.
- Verify Wi-Fi network if using wireless mirroring.
- Select the correct input source on your projector.
- Test with a short video clip first.
Conclusion
Connecting your iPhone to your Dr. J Professional Projector brings your favorite content to life on a grand scale. You’ve learned how to use both wired methods, like HDMI with adapters, and convenient wireless screen mirroring. Whichever path you choose, a stable connection is key for the best viewing. Now that you’re equipped with this knowledge, go ahead and set up your projector for an amazing movie night or presentation. Enjoy the big screen experience you’ve created!
Frequently Asked Questions
Can I mirror my entire iPhone screen, including apps?
Yes, both wired HDMI connections and wireless screen mirroring will duplicate your iPhone’s display. This means you can share apps, games, and any content you see on your phone directly onto the projector screen.
What’s the difference in quality between wired and wireless connections?
Wired connections, especially HDMI, generally offer superior video and audio quality with less chance of lag or interference. Wireless mirroring is convenient but can be affected by Wi-Fi signal strength, potentially leading to a less stable picture.
Will I need to buy special cables for my iPhone?
For most iPhones using a Lightning port, you will need a Lightning to HDMI adapter. If you have a newer iPhone with a USB-C port, a direct USB-C to HDMI cable might work. Always check your projector’s ports and your iPhone’s port type.
How do I ensure my projector and iPhone are on the same Wi-Fi network for mirroring?
You can check your Wi-Fi connection status in your iPhone’s settings and on your Dr. J projector’s network settings menu. They must both be connected to the identical network name (SSID) for screen mirroring to function.
What should I do if my projector doesn’t show up in my iPhone’s “Screen Mirroring” list?
First, make sure screen mirroring is enabled on your Dr. J projector. Then, confirm both devices are connected to the same Wi-Fi network. Restarting your iPhone and the projector can also often resolve this issue.