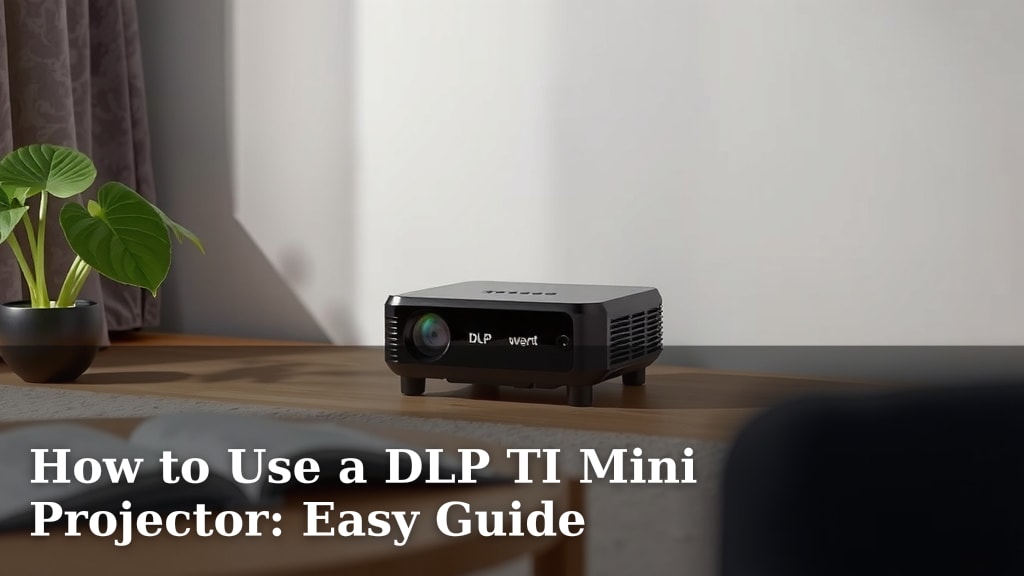
How to Use a DLP TI Mini Projector: Easy Guide
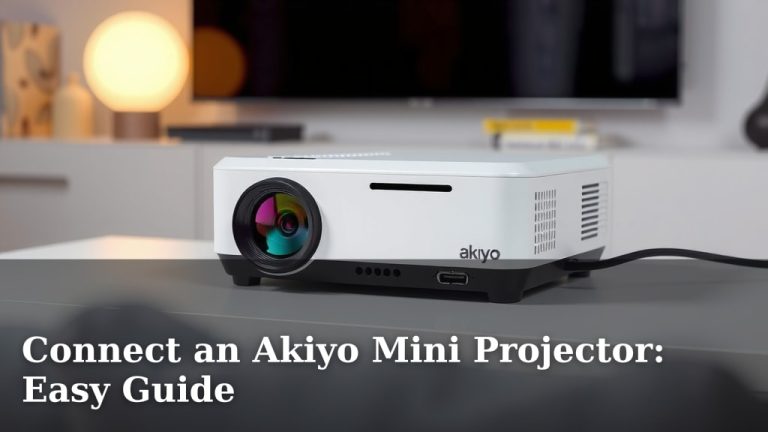
Using your DLP TI Mini Projector is easier than you think! You can connect it to your devices in just a few steps, whether wired or wirelessly, for an instant big-screen experience. We found that understanding the basic connections is the key to unlocking its full potential for movie nights or presentations.
This handy projector brings entertainment wherever you go. Many users enjoy its portability for backyard movies or showing photos at gatherings. Getting the right settings dialed in helps ensure a bright, clear picture every time. We’ve seen that a little preparation makes a big difference.
- Connect your device via HDMI or USB.
- Use screen mirroring or Wi-Fi for wireless setups.
- Adjust focus and keystone for a clear image.
- Select your input source on the projector menu.
Ready to get your mini projector up and running? Let’s walk through exactly how to connect your devices and enjoy your favorite content.
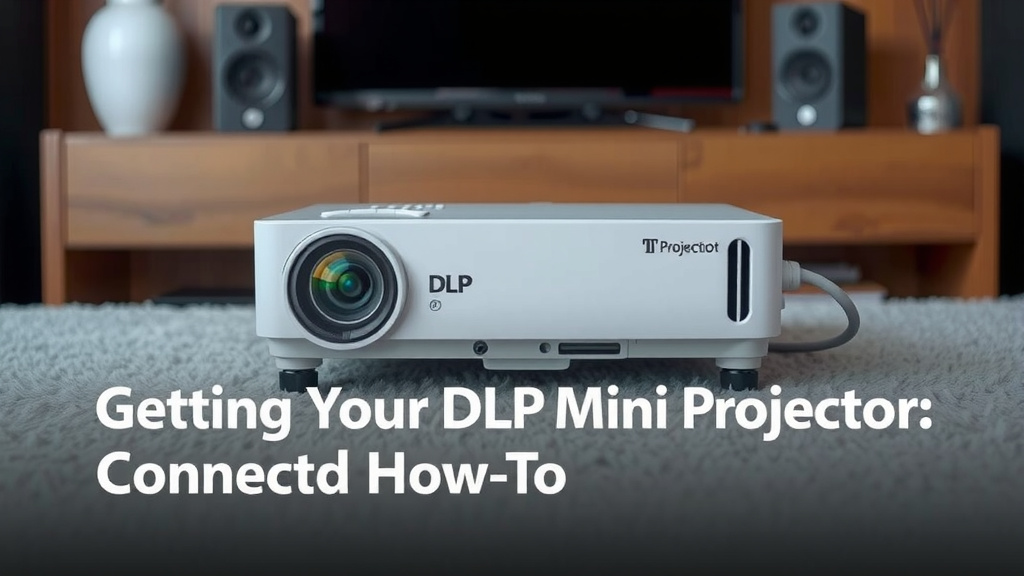
Getting Your DLP Mini Projector Connected: A Simple How-To
So, you’ve got your sleek DLP TI Mini Projector, and you’re eager to see what it can do. It’s not just a gadget; it’s your ticket to a bigger, more immersive viewing experience. We found that connecting it to your devices is pretty straightforward. You’ll be enjoying movies, games, or presentations on a grander scale in no time. Let’s get this done.
Wired Connections: The Reliable Standbys
For a stable and often higher-quality connection, wired options are your go-to. They’re a fantastic choice when you don’t want to worry about wireless interference.
HDMI: The Universal Connector
HDMI is the most common and versatile way to connect most modern devices. Think laptops, gaming consoles, Blu-ray players, and even many smartphones (with the right adapter). It carries both video and audio signals in one cable, making setup a breeze. You’ll typically find an HDMI port labeled clearly on both your projector and your source device.
Connecting with HDMI
First, make sure both your projector and your source device are powered off. Then, take a standard HDMI cable and plug one end into the HDMI output port on your device. Connect the other end to the HDMI input port on your mini projector. Once both are plugged in, power on your source device, then power on your projector. The projector should automatically detect the HDMI signal. If it doesn’t, you’ll need to manually select HDMI as your input source using the projector’s remote or menu buttons. We found this is usually a quick process.
USB: For More Than Just Power
Some DLP mini projectors also offer USB connectivity. This can be used for a few things. It might be for playing media files directly from a USB drive, or it could be used for screen mirroring from certain devices. Always check your projector’s manual to see what its USB port supports.
Using a USB Connection
If your projector supports playing media from a USB drive, simply format your drive as FAT32 and copy your video or photo files onto it. Plug the drive into the projector’s USB port, and navigate to the media player option on your projector’s menu. If USB is used for screen mirroring, the process will be similar to HDMI, often requiring specific software or driver installation on your source device. We found that compatibility can vary, so your device’s manual is your best friend here.
Wireless Connections: The Freedom Factor
Wireless connections offer a fantastic sense of freedom, letting you ditch the cables for a cleaner setup. It’s perfect for when you need to move around or want a tidier space.
Screen Mirroring: Mirror Your Screen Instantly
Many mini projectors support screen mirroring technologies like Miracast (often for Windows and Android) or AirPlay (for Apple devices). This lets you cast whatever is on your smartphone, tablet, or laptop screen directly to the projector. It’s like having an extension of your device’s display.
Setting Up Screen Mirroring
To start, ensure your projector and your source device are connected to the same Wi-Fi network. On your projector, navigate to the screen mirroring or wireless display setting. Then, on your source device, find the screen mirroring or cast option. For Android, this might be under “Cast” or “Smart View.” For Windows, it’s often in the “Connect” menu. For iPhones and iPads, it’s called “Screen Mirroring” in the Control Center. You’ll then select your projector from the list of available devices. We found that a strong Wi-Fi signal is key for smooth mirroring without lag.
Wi-Fi Direct / Local Wi-Fi Connection
Some projectors create their own Wi-Fi network (Wi-Fi Direct) or allow you to connect them to your home Wi-Fi. This is often used for dedicated apps or for streaming content from your phone without needing a router. It can be a more stable wireless option than pure screen mirroring for some devices.
Establishing a Wi-Fi Link
Access your projector’s network settings. If it supports Wi-Fi Direct, you might need to enable it and then connect your device directly to the projector’s network name (SSID) and password, which will be displayed on the projector screen. If it connects to your home Wi-Fi, you’ll select your home network and enter its password within the projector’s settings menu. Once connected, you can often use a companion app to stream content or mirror your screen. We found that keeping your projector’s firmware updated can improve wireless performance and stability.
Fine-Tuning Your Picture: The Clarity Check
Once you’re connected, a few simple adjustments can make a world of difference in your viewing experience. Getting the picture just right is the final, satisfying step.
Focus and Keystone Correction
After you’ve connected your device and selected the correct input, you might notice the image is a bit blurry or trapezoidal. This is where focus and keystone correction come in. Most DLP projectors have a focus ring or knob, often near the lens. Manually adjust this until the image is sharp. Keystone correction fixes distortion when the projector is placed at an angle to the screen. Many projectors have an automatic keystone feature, while others require manual adjustment using buttons on the projector or in the menu. We found that a perfectly aligned and focused image is truly transformative.
Adjusting for the Best View
Start by projecting onto your screen or a blank wall. Look at the image. If it’s fuzzy, gently turn the focus ring until the text and details are crisp. If the top or bottom of the image is wider or narrower than the other (making it look like a trapezoid), find the keystone setting. Use the controls to square up the image. Aim for a picture that fills your screen evenly and is sharp from edge to edge. This step ensures you get the best possible quality from your projector.
Quick Connection Checklist
Need a quick rundown? Here’s what you should aim for:
- Confirm your projector’s input options (HDMI, USB, Wireless).
- Gather the correct cables or ensure your Wi-Fi is ready.
- Connect your device using your chosen method.
- Select the appropriate input source on the projector menu.
- Adjust focus and keystone for a clear, rectangular image.
- Check audio output to ensure sound is playing correctly.
Conclusion
You’re now equipped to bring your DLP TI Mini Projector to life. We’ve covered the simple steps for both wired and wireless connections. Remember, a good connection is just the start. Taking a moment to adjust focus and keystone will truly perfect your viewing experience. You’ve learned how to link up your devices reliably and set up for vibrant entertainment. Your next step is to choose your favorite movie or presentation and hit play. Enjoy your big-screen moments!
Frequently Asked Questions
What if my projector doesn’t automatically detect the HDMI input?
If your projector doesn’t switch to the HDMI input automatically, you’ll need to manually select it. Use your projector’s remote control or the buttons on the unit itself to bring up the menu. Look for an option labeled “Input Source” or “Signal” and select HDMI from the list. We found this usually solves the problem quickly.
Can I connect my iPhone or iPad wirelessly without Wi-Fi?
Generally, wireless screen mirroring, like AirPlay, requires both your Apple device and the projector to be on the same Wi-Fi network. Some projectors might offer a Wi-Fi Direct feature, creating its own network. Check your projector’s manual to see if it supports direct wireless connection without a router or existing Wi-Fi.
My projected image is blurry, even after connecting. What should I do?
A blurry image is almost always a focus issue. Look for a focus ring or knob near the projector’s lens. Gently turn this dial back and forth while looking at the projected image. You should see the picture become sharper as you find the correct focus setting. Your projector’s manual will show you where this is located.
How do I fix a distorted, trapezoid-shaped image?
That distorted shape is typically caused by keystone distortion. This happens when the projector isn’t perfectly perpendicular to your screen. Most DLP projectors have a keystone correction feature. You can usually find this in the projector’s settings menu under “Picture” or “Display.” Adjust the keystone settings until the image forms a perfect rectangle.
Can I play movies directly from a USB drive on my mini projector?
Many mini projectors support playing media files directly from a USB drive. You’ll need to make sure the USB drive is formatted correctly, often as FAT32. Then, you can browse your files through the projector’s media player interface. Always check your projector’s manual to confirm USB media playback compatibility and supported file formats.