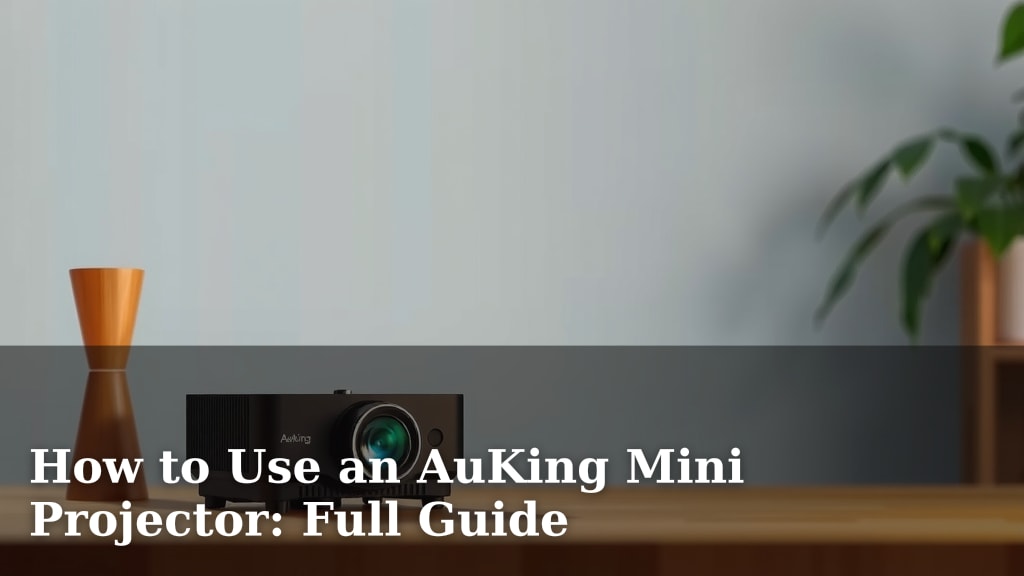
How to Use an AuKing Mini Projector: Full Guide
Using your AuKing mini projector is surprisingly simple! You can easily connect your devices via HDMI or USB. This lets you enjoy movies, presentations, or gaming on a big screen in minutes. Get ready for a fantastic viewing experience without the fuss.
AuKing mini projectors are designed for user-friendliness. We found that most setups involve just a few quick plug-and-play steps. Whether you’re a tech whiz or a beginner, you’ll be up and running in no time. It’s all about making your big-screen dreams a reality, hassle-free.
- Connect via HDMI or USB for most devices.
- Adjust focus and keystone for a clear picture.
- Use the remote for easy menu navigation.
- Enjoy your large-screen content anywhere!
Ready to see your favorite content in a whole new light? Let’s walk through exactly how to get your AuKing mini projector set up and running perfectly.
“`htmlGetting Your AuKing Mini Projector Set Up and Ready
So, you’ve got your shiny new AuKing mini projector. Awesome! Now, let’s get it up and running so you can enjoy that big-screen magic. We found that most of the setup process is quite straightforward. It’s really about a few key steps to get a clear and enjoyable picture.
Unpacking and Essential Connections
First things first, carefully unpack your projector and all its accessories. You’ll typically find the projector itself, a power adapter, a remote control, and often some cables like HDMI or AV. Before you plug anything in, take a moment to familiarize yourself with the ports on your projector. Most AuKing models have an HDMI port, a USB port, and maybe an audio output.
Connecting Your Video Source
This is where the fun begins! How you connect depends on what you want to project.
- HDMI Connection: This is the most common and usually the best method. If you have a laptop, streaming stick (like a Fire Stick or Roku), gaming console, or even a modern Blu-ray player, you’ll likely use an HDMI cable. Simply plug one end into your device and the other into the projector’s HDMI port. It’s pretty much plug-and-play.
- USB Connection: Some AuKing projectors allow you to play media files directly from a USB drive. Just make sure your video files are in a compatible format (check your projector’s manual). Plug the USB drive into the projector’s USB port. You’ll then navigate through the projector’s menu to select your files.
- AV Connection (Older Devices): If you have older devices like a VCR or some DVD players, you might use the AV cables (usually red, white, and yellow). Connect these to the corresponding ports on the projector.
Powering On and Initial Adjustments
Once your source is connected, it’s time to power up. Plug the power adapter into the projector and then into a wall outlet. Turn on the projector using the power button on the unit or the remote. Your source device should also be powered on. You’ll want to select the correct input source on your projector using the remote. Look for a button that says “Input,” “Source,” or has an icon like a triangle pointing into a rectangle.
Finding the Right Input
Navigate the on-screen menu using the arrow keys on your remote. Select the input that matches how you connected your device (HDMI 1, HDMI 2, AV, USB, etc.). Once selected, you should see your device’s screen appear on the projection. If not, double-check all your cable connections and ensure the correct input is selected.
Achieving a Perfect Picture: Focus and Keystone
Now that you have an image, let’s make it look sharp and properly aligned. This is where physical adjustments come in. We found these steps make a big difference in your viewing experience.
Adjusting the Focus
Projectors often have a manual focus ring or dial. Look for a small wheel or a sliding mechanism near the lens. While projecting an image (like text from your connected device), slowly turn or slide this adjustment. You’re looking for the point where the image becomes as clear and sharp as possible. It might take a few tries to get it just right. It’s like tuning an old radio to get the clearest station.
Correcting Keystone Distortion
Have you ever noticed how a projected image can look wider at the top than the bottom, or vice versa? That’s keystone distortion. It happens when the projector isn’t perfectly perpendicular to the screen. Many AuKing projectors have a keystone correction feature.
Using the Keystone Adjustment
You’ll find this adjustment either physically on the projector (often a sliding lever or dial) or within the projector’s on-screen menu. This feature essentially squashes the image electronically to make it rectangular again. Adjust it until the projected image forms a perfect rectangle or square. Many experts suggest placing the projector as level as possible first, then using keystone to fine-tune.
Screen Size and Placement
You can change the screen size by moving the projector closer to or farther from the projection surface. The farther away, the larger the image will be. Remember that moving farther away might also mean you need to readjust the focus and keystone. Try to find a balance that gives you the image size you want without losing picture quality.
Navigating the Projector’s Menus and Features
Your AuKing projector comes with a remote control designed to make operation simple. Think of it as your magic wand for the big screen.
Understanding the Remote Control
Most remotes will have directional buttons (up, down, left, right) and an “OK” or “Enter” button in the center for selecting options. You’ll also find buttons for Power, Menu, Input/Source, Volume, and sometimes dedicated buttons for settings like Aspect Ratio or Image Mode.
Exploring the Settings Menu
The Menu button is your gateway to customization. Here, you can often adjust:
- Picture Settings: Brightness, Contrast, Color, Sharpness.
- Sound Settings: Volume, Audio Output.
- Display Settings: Aspect Ratio (like 16:9 or 4:3), Keystone Correction.
- System Settings: Language, Reset options.
We found that playing with the picture settings can make a big difference. For instance, increasing the brightness can help in well-lit rooms, while adjusting color saturation can make movies pop.
Using the Built-in Speaker vs. External Audio
Your mini projector likely has a built-in speaker. It’s great for casual viewing or presentations. However, for a more immersive movie experience, you might want to connect external speakers. Many projectors have an audio output jack (usually 3.5mm). You can plug headphones or an external speaker system into this port for richer sound. Some users also connect Bluetooth speakers if the projector supports it.
Troubleshooting Common Issues
Even with simple devices, occasional hiccups can happen. Here are a few common issues and how to tackle them.
No Image Appearing
Double-check that the projector is powered on and that your source device is also powered on. Ensure you’ve selected the correct input source on the projector. Verify that all cables are securely plugged in at both ends. Sometimes, a simple restart of both the projector and your source device can resolve the issue.
Blurry or Unclear Image
This usually points to focus issues. Readjust the focus dial or ring near the lens until the image is sharp. Also, check your distance from the screen; if you’re too close or too far, the image might not resolve clearly. Remember, these mini projectors have an optimal projection distance, often found in the manual.
Image is Crooked or Distorted
This is a classic keystone issue. Use the keystone correction adjustment on the projector or in the menu to square up the image. If the distortion is severe, try repositioning the projector to be more perpendicular to the screen before using keystone correction.
Here’s a quick checklist to ensure you’re all set:
- Have you plugged in the power adapter correctly?
- Is your video source device powered on and connected securely?
- Did you select the right input source on the projector?
- Have you adjusted the focus for a sharp image?
- Is the keystone correction used for a rectangular picture?
- Is your remote control working with fresh batteries?
Conclusion
You’ve now got a clear roadmap to using your AuKing mini projector. We’ve covered connecting your devices, getting that perfect picture with focus and keystone adjustments, and navigating the menus. Remember, these projectors are designed for ease of use, so don’t be afraid to experiment. Your big-screen entertainment is just a few simple steps away. Now, go ahead and enjoy your movies, games, and presentations like never before!
Frequently Asked Questions
Can I connect my smartphone to the AuKing mini projector?
Yes, you usually can! Most AuKing projectors support smartphone connections via an HDMI adapter or screen mirroring if your projector has that feature. You might need a specific adapter cable for your phone model. Check your projector’s manual for exact compatibility.
How do I get the best sound from my projector?
While the built-in speaker is convenient, we recommend using external audio for a better experience. Connect a soundbar, Bluetooth speaker, or even headphones using the projector’s audio output jack. This will greatly enhance your movie nights.
Is it normal for the projector to get warm during use?
Yes, it’s quite normal for projectors to generate some heat during operation, especially after extended use. Ensure the projector has good ventilation and isn’t covered. If it feels excessively hot, check the vents for dust and ensure it’s not in a confined space.
What’s the best distance to place the projector from the screen?
The optimal distance varies by model, but generally, moving the projector farther away creates a larger image. We found that AuKing projectors often have an ideal range specified in the manual. Experimenting within that range while adjusting focus will help you find the sweet spot for size and clarity.
My remote isn’t working, what should I do?
First, try replacing the batteries with fresh ones. Make sure there are no obstructions between the remote and the projector’s sensor. If it still doesn’t work, double-check that the projector is powered on and try pressing the physical buttons on the projector itself to ensure the unit is functional.