How to Use an Artograph Tracer Projector
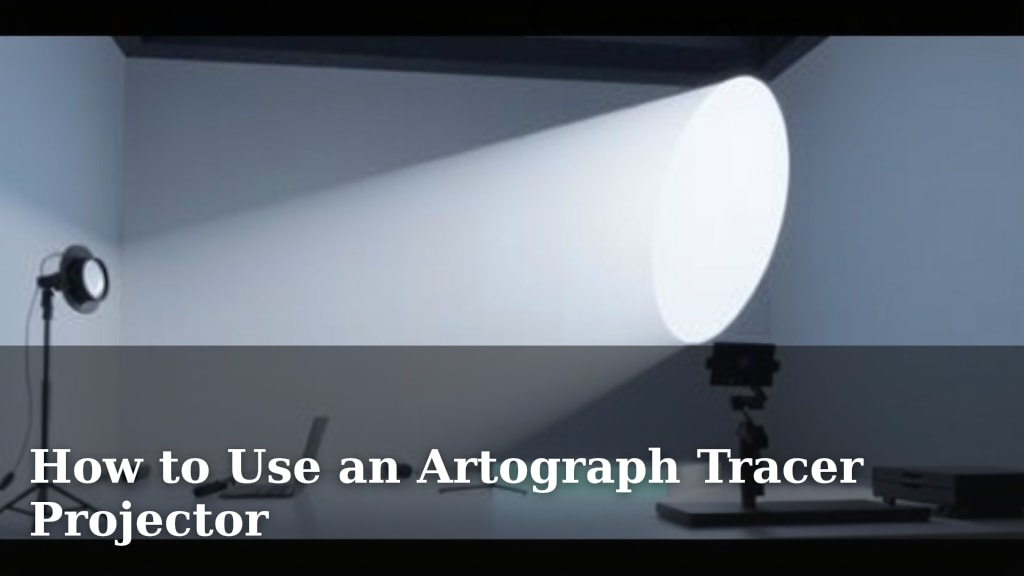
Using an Artograph Tracer Projector is surprisingly simple. You can easily project images onto a surface for tracing with minimal fuss. Just place your original image on the projector’s glass, adjust the lens, and watch it appear. It’s a fantastic tool for artists wanting to reproduce designs accurately.
These projectors are designed to make your artistic process smoother. They help you transfer detailed drawings or patterns onto canvas, walls, or paper. Many users find them perfect for everything from small crafts to large murals.
- Place your image on the tracer’s glass.
- Adjust the focus and size of the projection.
- Trace the projected image onto your desired surface.
- Ensure your room is dark for the best visibility.
Let’s walk through exactly how to get your Artograph Tracer Projector set up and ready for tracing!
Getting Started with Your Artograph Tracer Projector
So, you’ve got your Artograph Tracer Projector, and you’re ready to bring your art to life! It’s an amazing tool for getting that perfect transfer. We understand you want to jump right in, so let’s cover the essentials to get you tracing like a pro. Think of it as setting up a mini-theater for your artwork. First things first, you’ll want to find the right spot.
Choosing the Ideal Location and Lighting
The secret to a great projection is a dark environment. Artificial light can wash out your image, making it hard to see. You’ll want to find a room where you can shut out as much ambient light as possible. Think of it like trying to see stars – the darker it is, the brighter they appear. Closing curtains or blinds is your best friend here.
Darkness is Key for Visibility
Seriously, the darker your space, the sharper and more defined your projected image will be. This allows you to trace fine details with accuracy. If you’re working during the day, heavy blackout curtains are a must. We’ve found that even a little bit of light can really reduce the contrast.
Avoiding Glare and Reflections
Be mindful of surfaces in your room that might reflect light. Shiny walls or furniture can bounce light back onto your projection. This can be distracting and make tracing difficult. Try to set up your projector away from these reflective surfaces.
Setting Up Your Tracer Projector
Setting up the projector itself is quite straightforward. You’ll place your original artwork onto the glass surface of the projector. This is where the magic begins! Make sure your artwork is lying flat and is positioned correctly on the glass plate.
Placing Your Original Image
Carefully lay your drawing, photo, or pattern onto the projector’s glass. Ensure there are no wrinkles or folds that could distort the projected image. If your original is too large for the glass, you might need to scan it and print a section, or use a larger projector model if available.
Securing Your Artwork (Optional)
For very thin paper, it might shift slightly. You can use a small piece of artist’s tape on the edges to keep it perfectly in place. Just make sure the tape doesn’t cover any part of the image you want to project. This keeps your lines consistent.
Adjusting the Projection for Perfect Tracing
Once your image is in place, it’s time to adjust the projection. This is where you fine-tune the size and focus of your image on your target surface. It’s a bit like adjusting a camera lens.
Focusing the Image
Look for the lens on your projector. You’ll need to move it in or out until the image projected onto your surface is clear and sharp. Don’t rush this step! A crisp image makes all the difference in tracing accuracy. If the image looks fuzzy, keep twisting the lens until it sharpens up.
Controlling Image Size and Placement
The distance between your projector and the surface you’re tracing onto will determine the size of the projected image. Move the projector closer to the surface for a smaller image. Move it further away for a larger image. Experiment to find the size that works best for your project.
Using the Object Lens
Many Artograph Tracer models have an object lens that can be adjusted. This lens controls the magnification and focus. You might need to rotate it or slide it to get the image perfectly clear. Many users find this lens is the primary way to get a sharp image.
Positioning Your Projector
You’ll also want to consider where you place the projector. It needs to be stable and at a height that allows you to comfortably trace. If you’re projecting onto a wall, a sturdy easel or a stack of books might work. For tracing on a table, the projector might sit directly on the table surface.
The Tracing Process: Bringing Your Art to Life
Now comes the fun part! With your image projected and focused, you can start tracing. You’ll need your preferred drawing tools ready to go.
Selecting Your Tracing Tools
Use pencils, markers, charcoal, or whatever medium you prefer for tracing. Ensure they are easily accessible. Some artists like to have a range of line weights available. This helps capture different details in the original image.
Tracing with Precision
Begin tracing the outlines and key details of the projected image. Work slowly and deliberately. Remember, you’re creating a clean copy of your original design. Don’t be afraid to pause and adjust your position or the projector if needed. We’ve found it helpful to trace the main outlines first, then fill in the finer details.
Making Adjustments as You Go
Sometimes, the projection might shift slightly, or you might want to change the size mid-project. Most projectors allow for minor adjustments without losing your work. If the light fades, quickly re-adjust your room’s darkness. Consistency is key.
Trace and Refine Checklist:
- Ensure your room is as dark as possible.
- Place your original image flat on the projector’s glass.
- Adjust the projector lens for a sharp, clear image.
- Position the projector for the desired image size.
- Use your preferred tools to trace the projected image.
- Take breaks and re-adjust if needed for continued accuracy.
Conclusion
You’re now equipped to use your Artograph Tracer Projector with confidence! We’ve walked you through setting up your space for optimal projection and the best way to adjust your tracer for a crisp, clear image. Remember, a dark room and a sharp focus are your best friends for accurate tracing. Practice these steps, and you’ll find your designs transfer beautifully every time. Now, grab your favorite drawing tools and start bringing your artistic visions to life on any surface!
Frequently Asked Questions
Can I use my Artograph Tracer Projector in a brightly lit room?
While you technically can, it’s not recommended for the best results. Bright ambient light washes out the projected image, making it very difficult to see and trace accurately. For sharp, defined lines, you’ll want to work in a darkened space.
What’s the best way to ensure my original image is projected clearly?
The key is to properly focus the projector’s lens. Move the lens assembly in or out until the image on your tracing surface is crisp and sharp. Also, ensure your original image is lying flat and is clean, without any wrinkles or dust.
How do I make the projected image larger or smaller?
The size of the projected image is determined by the distance between your projector and the surface you’re tracing onto. Move the projector further away from the surface for a larger image, and closer for a smaller one. You may need to refocus after adjusting the distance.
My projected image looks distorted. What could be wrong?
Distortion often happens if your original artwork isn’t placed perfectly flat on the projector’s glass. Ensure there are no curls or bumps. Also, check that the projector itself is stable and level, and that the surface you’re projecting onto is also flat.
Can I trace photographs with an Artograph Tracer Projector?
Yes, absolutely! You can project photographs, drawings, stencils, or any flat image onto your surface. Just be sure the photo is placed flat on the glass. You might find that projecting black and white images offers better contrast than color ones.