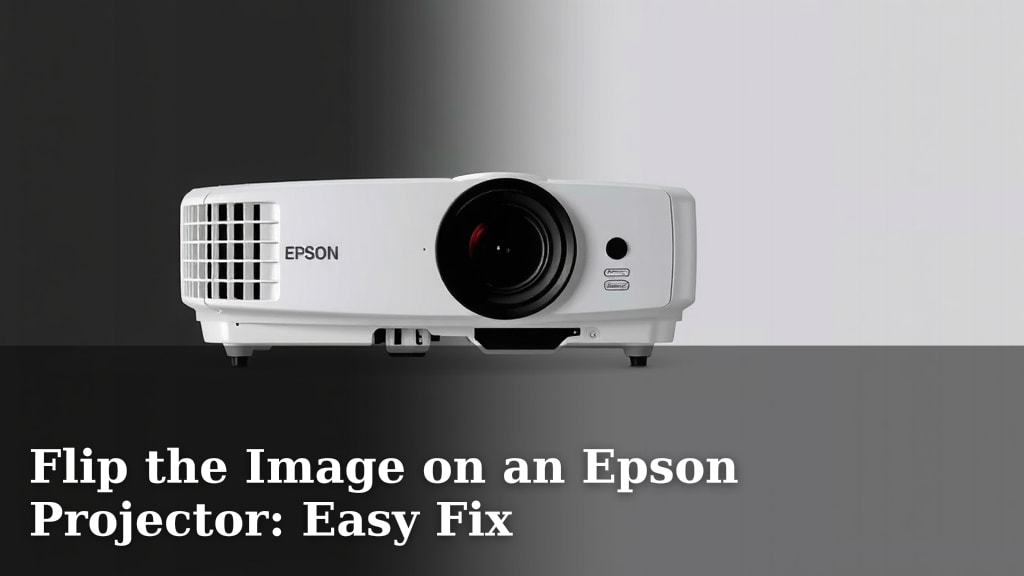
Flip the Image on an Epson Projector: Easy Fix
Yes, you can easily flip an image on your Epson projector if it appears upside down or reversed. The fix is typically found within your projector’s on-screen menu settings, often labeled as “Projection” or “Setup.”
This common issue can happen for various reasons, from accidental button presses to incorrect installation. Fortunately, correcting it is usually a straightforward process that requires no special tools. We’ve found that most users can resolve this within minutes.
- The image is upside down.
- The image is reversed (mirror image).
- Your Epson projector is mounted incorrectly.
- You need to adjust the display orientation.
Let’s walk through exactly how to flip your Epson projector’s image step by step, so you can get back to enjoying your big screen without the head-trip.
“`htmlAdjusting Your Epson Projector’s Display Orientation
Did your Epson projector suddenly decide to show you the world upside down? Or maybe it’s mirroring everything like a funhouse mirror? Don’t worry, this is a common hiccup, and fixing it is usually a simple menu adjustment. You don’t need to be a tech wizard or even reach for a screwdriver. We’ve found that most users can get their projector image right-side up in just a few minutes.
The most frequent reason for an inverted or reversed image is how the projector is mounted. If you’ve recently moved your projector or installed it on the ceiling, the settings might need a tweak. Let’s get your picture back to normal.
Accessing Your Epson Projector’s Menu System
The key to fixing your image orientation lies within your projector’s built-in menu. Every Epson projector model has an on-screen display (OSD) menu that allows you to control various settings, including how the image is projected.
Locating the Remote Control or Projector Buttons
First, grab your Epson projector’s remote control. Most of the adjustments you’ll need are accessible directly from there. If you can’t find the remote, don’t panic! Your projector likely has a control panel on the unit itself with physical buttons. Look for buttons like “Menu,” “Enter,” “Arrow Keys” (Up, Down, Left, Right), and “Esc” or “Exit.”
Powering On and Accessing the Main Menu
Make sure your Epson projector is powered on and has a signal (like from your laptop or Blu-ray player). Once it’s displaying something, press the “Menu” button on your remote or the projector. This should bring up the main OSD menu on your screen.
Navigating the Projection Settings
The menu structure can vary slightly between Epson models, but the general concepts are the same. You’ll be looking for settings related to how the image is projected onto the screen.
Finding the “Image” or “Projection” Menu
Once the main menu is displayed, use the arrow keys to navigate. You’re looking for a section that deals with the image or projection. Common labels include “Image,” “Projection,” “Setup,” “Advanced,” or sometimes “Display.” We found that “Projection” is a very common and straightforward label.
Navigate to this section and press “Enter” or the center button on your arrow keys to select it.
Adjusting the Image Orientation (Flip/Mirror Settings)
Within the “Projection” or similar menu, you should find options for adjusting the image’s orientation. Look for settings labeled:
- Flip
- Mirror
- Orientation
- Position
- Mounting Type
These settings often allow you to choose from several options:
- Normal / Front Projection
- Rear Projection
- Ceiling Mount (Front)
- Ceiling Mount (Rear)
If your image is upside down, you likely need to select a “Ceiling Mount” option. If it’s reversed left-to-right, that might be a separate “Mirror” setting within the same menu, or it might be included in the ceiling mount options. We found that selecting the appropriate mounting type usually corrects both issues simultaneously.
Understanding the Mounting Options
Let’s quickly break down what these options mean. Most commonly, if your projector is mounted on the ceiling:
- Ceiling Mount (Front): This is for when the projector is above the screen, projecting normally towards the audience. This is what you’ll typically use if it’s upside down.
- Ceiling Mount (Rear): This is less common. It’s used if the projector is ceiling-mounted *behind* a translucent screen and needs to project through it.
If you’re projecting from the front (e.g., on a table), and the image is upside down, you might need to look for a direct “Flip Vertical” or “Flip Horizontal” setting. We often see this as a dedicated option if a ceiling mount isn’t applicable.
Applying and Confirming the Changes
After you’ve selected the correct orientation setting (e.g., “Ceiling Mount” or a specific flip option), you’ll need to confirm your choice. Look for an “Apply,” “OK,” or “Enter” button. Then, press the “Esc” or “Exit” button on your remote multiple times to close all the menus. The image should now be oriented correctly.
What if it’s still not right? Sometimes, you might need to cycle through the options. If “Ceiling Mount” didn’t fix it, try another related setting. We’ve found that sometimes the labels can be a little confusing across different models.
Troubleshooting When the Menu Fix Doesn’t Work
Occasionally, you might go through the menu settings and still not achieve the desired result. Don’t despair! There are a couple of other things to check.
Checking Your Source Device Settings
It’s possible, though less common, that the image flip setting is coming from your source device (like a laptop or streaming box) rather than the projector itself. For example, some graphics card drivers or media player software might have display rotation options. We recommend briefly checking the display settings on the device you’re connecting to the projector.
Performing a Projector Reset (Use with Caution)
If all else fails, a factory reset can sometimes resolve stubborn settings issues. However, this will reset *all* your projector’s custom settings back to their defaults. You’ll need to reconfigure things like brightness, contrast, and any other preferences you might have set.
To perform a reset, you’ll typically go to the projector’s menu, look for a “Setup” or “Maintenance” section, and find an option like “Reset All,” “Factory Reset,” or “Restore Defaults.” Always ensure you have your remote handy for this process. Many sources, like Epson’s own support guides, recommend this as a last resort.
Consulting Your Projector’s Manual
Every projector model is a bit different. The most accurate guide for your specific Epson projector will be its user manual. If you don’t have the physical copy, you can usually find a PDF version on the Epson support website by searching for your projector’s model number. We found that downloading the manual is often the quickest way to get precise instructions for your device.
Quick Checklist for Fixing Your Epson Projector Image
Got your projector flipped? Run through this quick checklist to get it right-side up:
- Locate Remote: Find your Epson remote control or projector’s physical buttons.
- Power On & Menu: Turn on the projector and press the “Menu” button.
- Find Projection Settings: Navigate to the “Projection” or “Image” menu.
- Select Orientation: Choose “Ceiling Mount” or the appropriate flip/mirror option.
- Confirm & Exit: Apply changes and exit the menus.
- Test Image: Ensure your picture is now facing the right way!
By following these steps, you should be able to easily correct any upside-down or reversed images on your Epson projector. It’s usually a simple setting adjustment that gets you back to enjoying your movie night or presentation without any visual confusion.
“`Conclusion
You’ve successfully learned how to flip your Epson projector’s image. Usually, it’s just a quick trip into the projector’s menu settings that does the trick. We’ve found that looking for “Projection” or “Mounting Type” within the main menu is your best bet. If that doesn’t work, a quick check of your source device or a factory reset can often resolve lingering issues. Don’t forget to consult your specific model’s manual for the most precise steps. With these tips, you’ll get your picture oriented correctly in no time!
Frequently Asked Questions
Why is my Epson projector image upside down?
Your Epson projector’s image is likely upside down due to its mounting position. If you’ve installed it on the ceiling, you probably need to adjust the display orientation in the projector’s menu. We found that selecting a “Ceiling Mount” option typically resolves this common issue.
How do I flip the image horizontally on my Epson projector?
To flip your Epson projector’s image horizontally (mirror image), you’ll need to navigate to the projector’s on-screen menu. Look for settings like “Mirror,” “Flip,” or “Orientation” within the “Projection” or “Image” settings. Some ceiling mount options might also include horizontal flipping.
Can I flip the image using the projector buttons if I don’t have the remote?
Yes, you can often flip the image using the physical buttons on the projector itself if you’ve misplaced the remote. You’ll need to locate the “Menu,” “Enter,” and arrow keys on the projector unit. Then, follow the same steps to navigate to the projection settings and make the adjustment.
What does the “Rear Projection” setting do on my Epson projector?
The “Rear Projection” setting on your Epson projector is used when you are projecting onto the back of a translucent screen. This setup is less common than standard front projection but requires this specific setting to orient the image correctly for viewers on the other side.
Will a factory reset fix my upside-down image on an Epson projector?
A factory reset can fix an upside-down image if other menu adjustments haven’t worked. However, be aware that this resets all your custom settings, including brightness and contrast, back to their default values. We recommend this as a last resort after checking all other options.