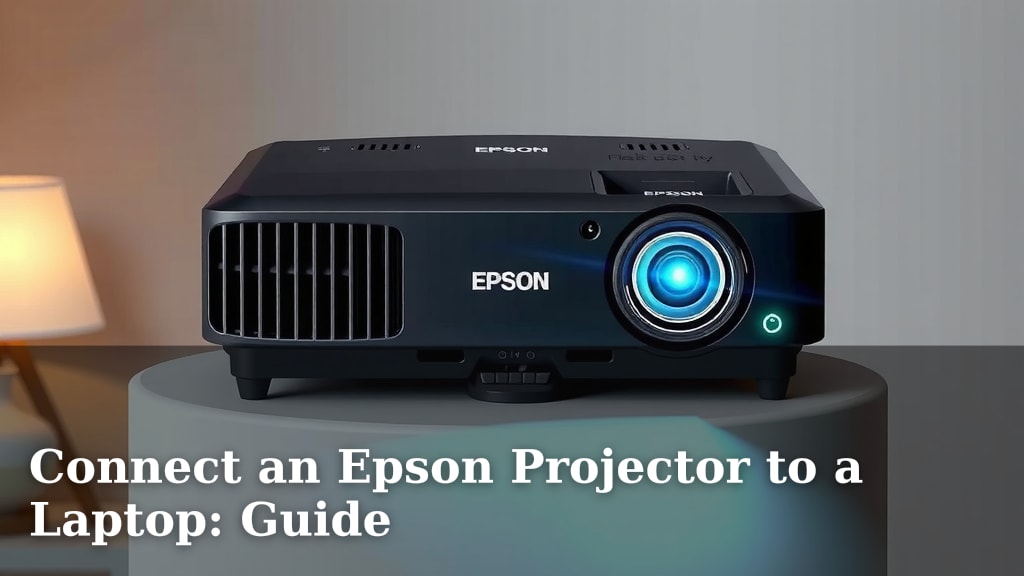
Connect an Epson Projector to a Laptop: Guide
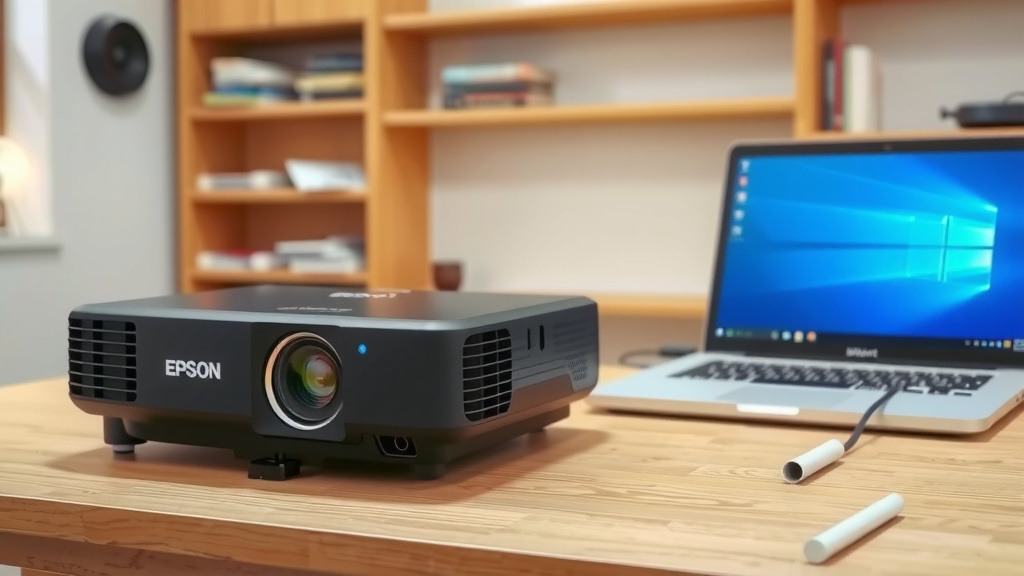
Yes, connecting your Epson projector to a laptop is usually quite simple! Most models support **easy plug-and-play connections** using an HDMI or VGA cable. You’ll get a **large-screen display** for presentations, movies, or gaming in no time. It’s a great way to share your content with a bigger audience.
Getting your projector hooked up involves just a few basic steps. You’ll want to make sure you have the **right cable** for the job and that your laptop’s display settings are configured correctly. Many users find this process surprisingly straightforward once they know where to look.
- Grab an HDMI or VGA cable.
- Plug one end into your laptop and the other into the projector.
- Adjust your laptop’s display settings.
- Check your projector’s input source.
Below, we’ll walk you through the exact steps to connect your Epson projector to your laptop, ensuring a smooth visual experience. Let’s get that big picture up and running!
Getting Your Epson Projector Connected to Your Laptop
Connecting your Epson projector to your laptop is a straightforward process. You’ll be enjoying a larger-than-life display in no time. We’ll guide you through the steps, making it as easy as possible.
Choosing the Right Connection Method
Most modern laptops and Epson projectors use **HDMI cables** for the best quality. This single cable handles both video and audio. Older setups might use a **VGA cable**. VGA is for video only, so you’ll need a separate audio cable if you want sound. It’s always best to go with HDMI if your devices support it.
Understanding Your Ports
Take a look at the sides or back of your laptop and projector. You’ll see various connection ports. Find the one labeled **HDMI** or **VGA**. HDMI ports are typically rectangular with slightly angled corners. VGA ports are trapezoidal and often blue, with screw holes on the sides.
Gathering Your Cables
Ensure you have the correct cable for your ports. If both your laptop and projector have HDMI, use an HDMI cable. If one or both only have VGA, you’ll need a VGA cable. Remember, for VGA, you’ll likely need an audio cable as well. You can usually find these cables at electronics stores or online retailers.
Step-by-Step Connection Guide
Step 1: Power Down Your Devices
It’s a good practice to turn off both your laptop and your Epson projector before connecting any cables. This helps prevent any accidental electrical surges or damage to your equipment. Safety first!
Step 2: Connect the Video Cable
Now, take your chosen video cable (HDMI or VGA). Plug one end firmly into the corresponding port on your laptop. Then, connect the other end to the video input port on your Epson projector. Make sure the connections are snug. For VGA cables, you might need to gently screw in the side fasteners to secure the connection.
Audio Connection (If Using VGA)
If you’re using a VGA connection, you’ll need to handle audio separately. Find the audio output port on your laptop, usually a headphone jack. Connect a standard 3.5mm audio cable from this port to the audio input on your projector. Some projectors might have multiple audio inputs; check your projector’s manual to find the correct one.
Step 3: Power On Your Devices
Once everything is connected securely, turn on your Epson projector first. Wait for it to fully boot up. Then, turn on your laptop. This order can sometimes help the projector recognize the incoming signal more easily.
Step 4: Select the Correct Input Source on Your Projector
Your Epson projector needs to know where to look for the video signal. Use the projector’s remote control or buttons on the unit itself to access the input or source menu. Navigate through the options until you find the input that matches the cable you used. For example, if you used HDMI, select the HDMI input. If you used VGA, select the VGA input. Many Epson models will automatically detect the input, but it’s good to know how to select it manually.
Step 5: Configure Your Laptop’s Display Settings
Your laptop needs to be told to send its display to the projector. Don’t worry, this is usually very simple. On most Windows laptops, you can press the **Windows key + P** simultaneously. This brings up a projection menu. You’ll see options like “Duplicate,” “Extend,” “Second screen only.”
Choosing the Right Display Mode
- Duplicate: This is the most common option. It shows the exact same image on both your laptop screen and the projector screen. Great for presentations where you want everyone to see what you see.
- Extend: This turns your projector into an extra monitor. You can drag windows and applications from your laptop screen to the projector screen. This is useful if you need to view different things on each screen.
- Second screen only: This turns off your laptop screen and only displays the image on the projector.
For macOS, you’ll go to the Apple menu > System Settings (or System Preferences) > Displays. Your Mac should automatically detect the projector. You can then arrange the displays or mirror them from this window.
Troubleshooting Common Issues
Sometimes, things don’t work perfectly on the first try. That’s okay! Here are a few common hiccups and how to fix them.
No Image on the Projector
If you’re not seeing anything, double-check that all cables are securely plugged in at both ends. Ensure the correct input source is selected on the projector. Also, try pressing **Windows key + P** again and select “Duplicate” or “Extend.” Sometimes, restarting your laptop with the projector already on can help.
Audio Not Working
HDMI cables should carry audio automatically. If you don’t have sound, check your laptop’s sound settings. Make sure the output device is set to your projector or HDMI output. If you are using VGA, confirm that the audio cable is connected properly and that the correct audio input is selected on the projector. Many experts suggest checking the volume levels on both your laptop and the projector.
Fuzzy or Distorted Image
A fuzzy image often points to a loose cable connection, especially with VGA. Try gently wiggling the cable at both ends or reseating it. If you are using a VGA cable that’s very long, signal degradation can occur. In these cases, a newer, higher-quality cable might be necessary. Always ensure your laptop’s screen resolution is set to a compatible setting for the projector, often found in display settings.
Quick Checklist for a Smooth Connection
- Confirm correct cable type (HDMI or VGA).
- Ensure cables are fully plugged in.
- Select the right input source on the projector.
- Use the “Windows key + P” (or macOS display settings).
- Check volume and audio output settings.
- Restart devices if issues persist.
Conclusion
You’ve successfully learned how to connect your Epson projector to your laptop. We covered choosing the right cables like HDMI or VGA, and walking through the simple connection steps. You also know how to adjust your laptop’s display settings using Windows key + P or macOS preferences. Don’t forget to check your projector’s input source if the image doesn’t appear immediately. If you run into any snags, the troubleshooting tips should get you back on track. Now you’re ready to share your content on the big screen!
Frequently Asked Questions
What if my laptop doesn’t have an HDMI port?
No problem! Most laptops and projectors still have a VGA port. You’ll need a VGA cable for video and a separate 3.5mm audio cable for sound. Just connect them to the corresponding ports on both devices.
Can I use my projector as a second monitor?
Yes, absolutely! If you use the “Extend” option in your laptop’s display settings (Windows key + P), your projector will act as a separate screen. You can then drag different windows onto it.
My projector is on, but I still don’t see my laptop’s screen. What should I do?
Double-check that your projector is set to the correct input source (HDMI, VGA, etc.) that matches your cable connection. Also, try pressing Windows key + P on your laptop again and select “Duplicate” or “Extend.”
Why isn’t there any sound coming from the projector?
If you’re using an HDMI cable, audio should be automatic. Check your laptop’s sound output settings to ensure it’s set to the projector. If you’re using VGA, you need a separate audio cable connected correctly, and the projector must be set to the correct audio input.
Is it okay to leave my projector on for long periods?
Most modern projectors are designed for extended use. However, always refer to your specific Epson projector’s manual for recommended usage guidelines and any specific cool-down procedures.