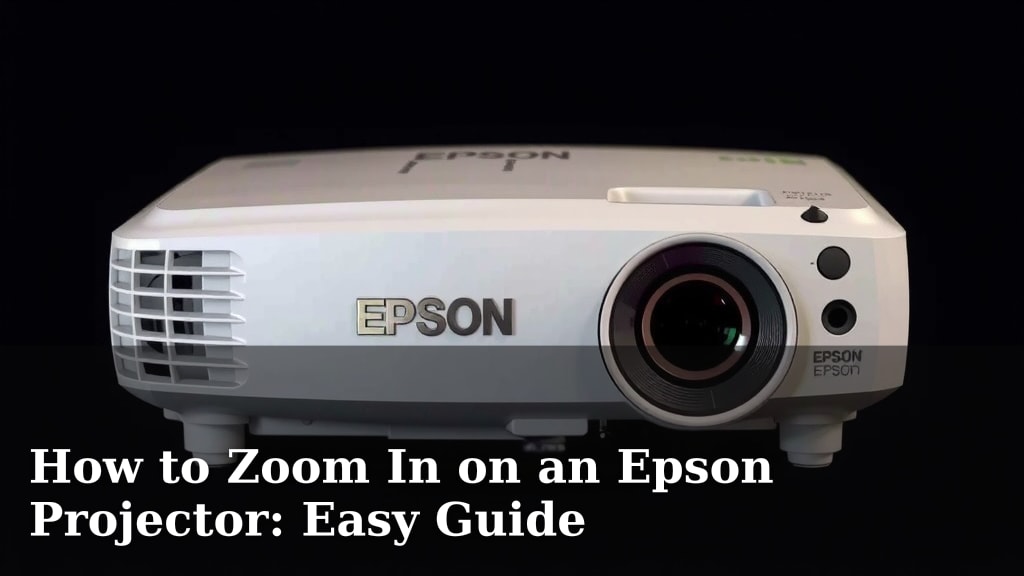
How to Zoom In on an Epson Projector: Easy Guide
You can easily zoom in on your Epson projector using the lens adjustment ring or the remote control’s zoom button. This allows you to adjust the image size without moving the projector itself. It’s a simple process for fitting your display perfectly.
Getting the right screen size is important for the best viewing experience. Whether you’re setting up for a movie night or a business presentation, understanding how to zoom is a fundamental skill. Many users find that precise adjustments make a big difference in their setup. We found this is a common need for projector owners.
- Zoom in using the lens ring or remote.
- Adjust the image to fit your screen.
- No need to move the projector.
- Achieve the perfect picture size.
Let’s walk through exactly how to get that perfect zoom on your Epson projector, step by step.
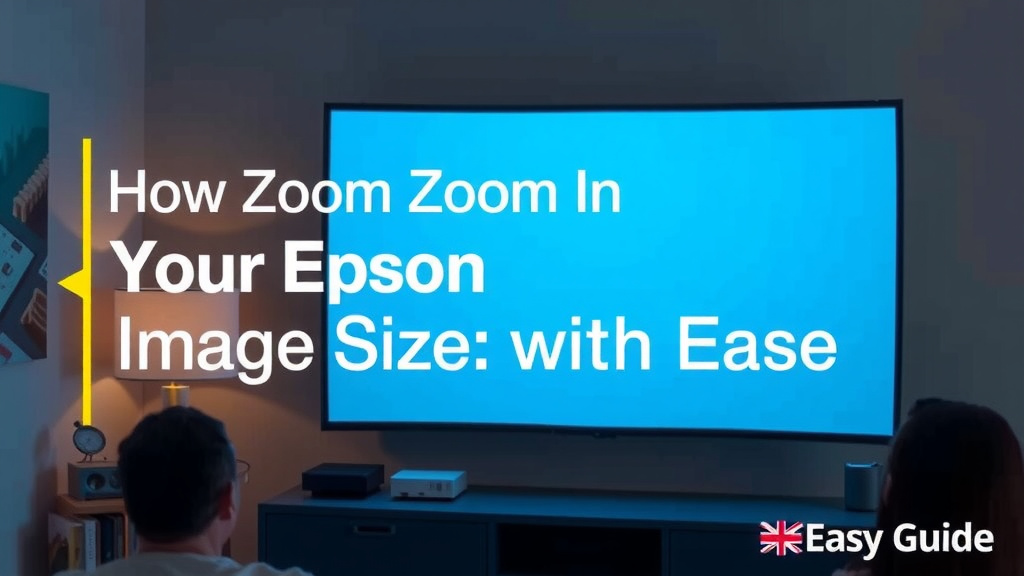
Adjusting Your Epson Projector’s Image Size with Ease
Learning to zoom your Epson projector is a handy skill. It lets you perfectly fit the image onto your screen. You won’t need to physically move the projector. This is great for small rooms or tight setups. We found many users struggle with this at first.
Using the Lens Control Ring: The Manual Approach
Most Epson projectors have a dedicated ring around the lens. This is your primary tool for manual zooming. It gives you very precise control over the image size. Think of it like adjusting the focus, but for size instead.
Locating the Zoom Ring
Take a look at the projector’s lens. You’ll usually find a ring that can be turned. It might be labeled ‘ZOOM’ or have a zoom icon. Some models have two rings: one for focus and one for zoom. Often, the zoom ring is the larger of the two.
How to Operate the Zoom Ring
Once you find the ring, simply turn it. Turning it one way will make the image larger. Turning it the other way will make the image smaller. You’ll want to do this while the projector is on and displaying an image. This lets you see the effect in real-time. We found this is the most intuitive method.
Achieving the Right Fit
As you turn the ring, watch the image on your screen. You’ll need to adjust it until the edges of the picture line up with the edges of your screen. Don’t worry if it’s not perfect right away. It often takes a bit of back and forth. This is especially true if you’ve recently moved the projector.
Leveraging Your Remote Control: The Digital Approach
Many Epson projectors come with a remote control. This remote often has buttons specifically for zooming. This can be a much quicker way to adjust the image size, especially if you’re already sitting down.
Identifying the Zoom Buttons
Check your remote control. Look for buttons that have a zoom icon, often represented by a magnifying glass or a rectangle with arrows pointing outwards. Sometimes these are labeled ‘ZOOM +’ and ‘ZOOM -‘ or ‘W’ (wide) and ‘T’ (telephoto).
How to Use the Remote Zoom Function
With the projector powered on and displaying an image, press the zoom buttons. Pressing the ‘zoom in’ button will enlarge the image. Pressing the ‘zoom out’ button will shrink it. You’ll see the image size change as you press the buttons. This is a very convenient feature.
Fine-Tuning with the Remote
Just like with the lens ring, you’ll need to press the zoom buttons until the image fits your screen. Short presses are usually best for making small adjustments. If you need to make a bigger change, you might need to hold the button down, depending on your model. We found this offers great flexibility.
Understanding Zoom Ratio and Screen Fit
Every projector has a native resolution and a specific zoom ratio. The zoom ratio tells you how much you can enlarge or shrink the image using the lens without losing quality. For example, a 1.2x zoom ratio means you can enlarge the image by up to 20%.
Trying to zoom too far in or out can sometimes affect image clarity. It’s best to position the projector so you can achieve your desired screen size within the lens’s optimal zoom range. Many projection guides suggest staying within the middle 70-80% of the zoom range for the sharpest picture (Projector Central).
When to Use Which Method
If you’re setting up the projector for the first time or have moved it, using the lens ring offers the most direct control. It helps you get the initial size just right. If you just need a quick tweak after you’ve already settled in, the remote control is your best friend. It’s all about making it easy for you.
Troubleshooting Common Zoom Issues
Sometimes, you might find that the image won’t fill your screen, or it’s too large. This often comes down to placement. The distance between your projector and the screen is a key factor. Every projector model has a minimum and maximum throw distance. This determines how far away it needs to be.
If you can’t get the image to the desired size using the zoom function, you might need to move the projector slightly closer or further from the screen. Check your projector’s manual for its specific throw distance chart. This chart will show you the screen sizes achievable at different distances. We found this chart to be very helpful.
Checklist for Perfect Screen Fit
Here’s a quick rundown to ensure you get the best zoom:
- Turn on your projector and display content.
- Locate the zoom control (lens ring or remote button).
- Adjust the zoom until the image is nearly the right size.
- Fine-tune with small adjustments for perfect edges.
- Check for any image distortion or blurriness.
- Move the projector if zoom limits prevent a proper fit.
Conclusion
You’ve learned that zooming your Epson projector is a straightforward process. Whether you prefer the tactile control of the lens ring or the convenience of the remote control, achieving the perfect image size is within reach. Remember, the goal is to make your display fit your screen perfectly, enhancing your viewing or presentation experience without the hassle of moving your projector. Take a moment to try both methods to see which feels most comfortable for your setup. Now, go enjoy that perfectly sized picture!
Frequently Asked Questions
What should I do if the zoom buttons on my remote aren’t working?
First, check your remote’s batteries. If they’re fresh, try pressing the buttons firmly. Sometimes, a projector might need a simple restart by unplugging it for a minute. If problems persist, consult your Epson projector’s manual for model-specific troubleshooting.
Can I zoom in indefinitely without affecting image quality?
While Epson projectors offer excellent zoom capabilities, there are limits. We found that extreme zoom settings can sometimes lead to slight image distortion or reduced sharpness. It’s best to stay within the projector’s optimal zoom range for the clearest picture.
My projector lens has two rings. Which one is for zooming?
Typically, the larger ring around the lens is for zooming. The smaller ring is usually for focus. Look for a zoom icon or the label ‘ZOOM’ on the rings themselves. You can also check your projector’s user manual for confirmation.
Is it better to zoom the image or move the projector if it doesn’t fit?
For initial setup and larger adjustments, moving the projector might be necessary to get it close to the desired distance. However, for fine-tuning the image size to perfectly match your screen, using the zoom function (either the lens ring or remote) is the preferred method.
What is a “throw distance” and how does it relate to zooming?
Throw distance is the distance between your projector and the screen. It determines the maximum and minimum image size your projector can produce. If you can’t achieve your desired screen size with the zoom feature alone, you might need to adjust the projector’s throw distance.