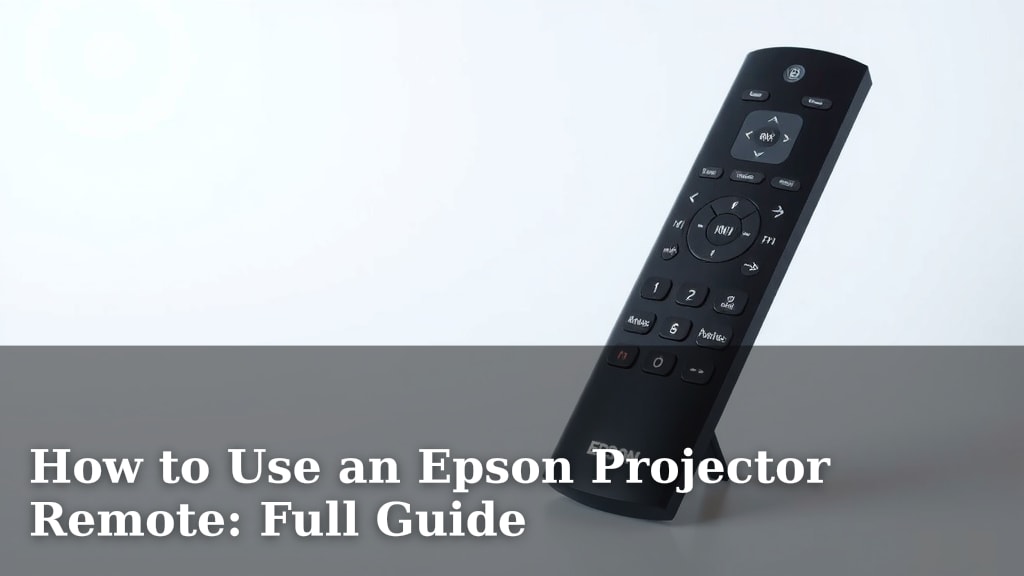
How to Use an Epson Projector Remote: Full Guide
Using your Epson projector remote effectively is surprisingly simple once you know which button does what. The basic functions like powering on/off, adjusting volume, and changing inputs are usually front and center. We’ll show you how to navigate your remote to get the most out of your projector.
Beyond the basics, your Epson remote has powerful features that can enhance your viewing experience. From picture adjustments to advanced settings, a little know-how goes a long way. Many users overlook these options, but they can truly transform your image quality.
- Power on/off and basic controls are easy.
- Picture and sound settings are readily accessible.
- Input selection is usually straightforward.
- Advanced features offer more control.
Ready to become an Epson remote wizard? Let’s walk through exactly how to use every button on your Epson projector remote, step by step.
Your Epson projector remote might seem like a simple tool, but it’s packed with features designed to give you total control over your viewing experience. We’re going to break down each button, so you can go from projector novice to **expert in no time**. You’ll be adjusting settings like a pro before you know it.
Navigating Your Epson Projector Remote: A Button-by-Button Guide
This section will guide you through the primary functions of your Epson projector remote. We’ll cover the buttons you’ll use most often. Think of it as your personal remote control cheat sheet.
The Power Buttons: Turning Your Projector On and Off
This is likely the first button you’ll look for. Most Epson remotes have a clear power button, often red or prominently placed. You’ll usually press it once to turn the projector on and again to initiate the power-off sequence. Some models might require you to press and hold the button for a few seconds. Always check your projector’s specific manual if you’re unsure. Getting this right means your movie night can start without a hitch!
Basic Controls: Volume, Mute, and Aspect Ratio
You’ll find buttons for adjusting the volume, usually marked with plus (+) and minus (-) signs. These are your go-to for tweaking audio levels during a movie or presentation. There’s also typically a mute button. This is handy for quick interruptions, like answering the door or a phone call, without having to hunt for the volume controls.
Some remotes also have an aspect ratio button. This lets you change how the image is displayed on your screen, fitting different movie formats or display needs. You might see options like Normal, Zoom, or Wide. Experimenting with this can ensure you’re getting the best possible picture for whatever you’re watching.
Selecting Your Source: Input and Source Buttons
How does your projector know where to get the picture from? That’s where the input or source button comes in. You’ll press this button repeatedly to cycle through the different connections on your projector. These connections might include HDMI, VGA, or USB ports.
You’ll need to match the input source on your projector to the output device you’re using. For example, if your laptop is connected via HDMI, you’ll select the HDMI input on the projector. Many experts recommend using HDMI for the best audio and video quality when available (Consumer Technology Association).
Many Epson remotes will display the current input on screen as you cycle through them. This makes it easy to know which option to select. If you’re having trouble getting a picture, this is often the first place to check.
Mastering the Menu and Settings on Your Epson Projector
Beyond the immediate controls, your remote unlocks a world of settings. These allow you to fine-tune your projector for the best possible performance in your specific environment.
The Menu Button: Accessing Deeper Settings
The Menu button is your gateway to all the advanced options. Pressing this button will bring up the projector’s on-screen display (OSD) menu. This is where you can adjust picture quality, sound settings, and other projector configurations.
Navigating the menu is usually done with the arrow keys (up, down, left, right) and an Enter or Select button. Use the arrow keys to highlight different options and press Enter to confirm your selection or open a submenu. Pressing the Menu button again, or sometimes a dedicated ‘Exit’ or ‘Back’ button, will close the menu.
Picture Settings: Perfecting Your Image
Within the menu, you’ll find a dedicated section for picture adjustments. This is where the magic happens for image quality. You can typically adjust:
- Brightness: Controls how light or dark the image appears.
- Contrast: Affects the difference between the darkest and brightest parts of the image.
- Color: Adjusts the intensity of colors.
- Tint: Fine-tunes the green-to-magenta balance.
- Sharpness: Controls how defined the edges of objects are.
Many sources suggest starting with the projector’s default settings and making small adjustments. Over-adjusting can sometimes degrade the image quality. For example, too much sharpness can create artificial-looking edges.
Sound Settings: Enhancing Your Audio
If your projector has built-in speakers, you’ll find sound settings here too. You can often adjust the volume, select different sound modes (like Cinema or Music), or even fine-tune bass and treble. Keep in mind that projector speakers are usually basic. For a truly immersive experience, many users connect external speakers or a soundbar.
Setup and Advanced Options
The Setup menu is where you’ll find less frequently used but important settings. This might include:
- Language: Change the OSD language.
- Lamp Mode: Select different power modes for the lamp, which can affect brightness and lamp life.
- Eco Mode: Often reduces power consumption and noise.
- Keystone Correction: This is a crucial setting. It corrects the trapezoidal distortion that occurs when the projector is not perfectly perpendicular to the screen.
The keystone correction is particularly useful. If your image looks like a trapezoid instead of a rectangle, using this setting can straighten it out. Many experts recommend trying to position the projector as squarely as possible to the screen first, as digital correction can sometimes reduce image quality.
Special Buttons and Functions
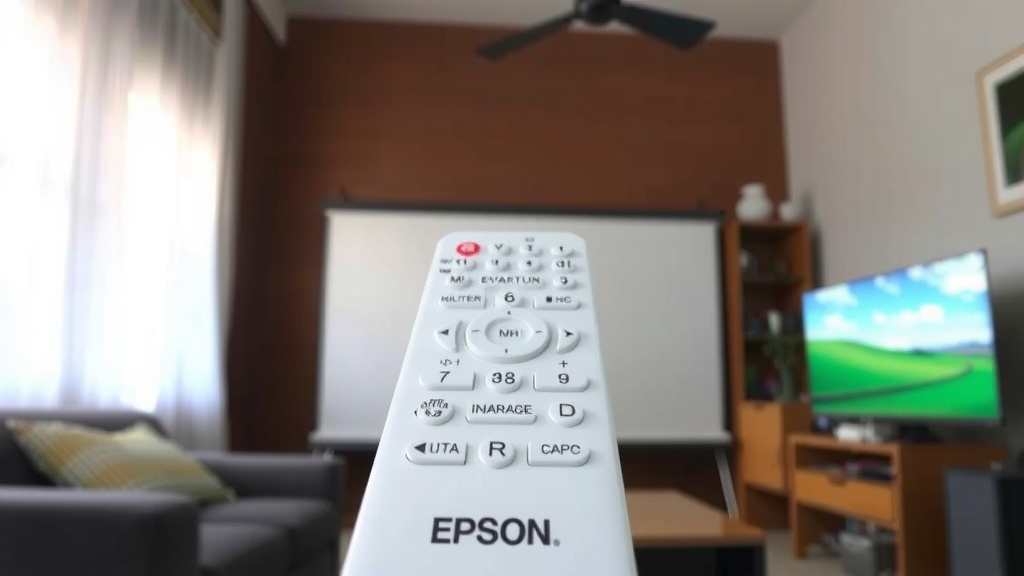
Some Epson remotes have additional buttons that offer even more convenience. You might see buttons for things like:
- H-Shift / V-Shift: These allow you to move the image horizontally or vertically without physically moving the projector. This is great for precise screen alignment.
- Zoom: If your projector lens has a zoom function, this button will control it, allowing you to adjust the image size.
- Focus: This button might activate an automatic focus feature or allow manual focus adjustment.
There might also be Direct Input buttons for common sources like HDMI1 or HDMI2. Pressing these instantly switches the projector to that specific input, saving you from cycling through all the options.
A Quick Checklist for Remote Mastery
To help you remember, here’s a quick checklist of key remote functions:
- Power Button: Turn your projector on and off.
- Volume Up/Down & Mute: Adjust and silence audio.
- Input/Source Button: Select the correct device connection.
- Menu Button: Access picture, sound, and setup options.
- Arrow Keys & Enter: Navigate and select menu items.
- Focus Button: Ensure your image is sharp and clear.
Conclusion
You’ve now got the knowledge to navigate your Epson projector remote like a pro. From basic power and volume controls to mastering the picture and setup menus, you’re ready to get the most out of your viewing experience. Remember, small adjustments can make a big difference in image quality.
Don’t be afraid to explore the menu options. You’ll likely find settings that can truly enhance your movies, presentations, and gaming. Try experimenting with the picture settings first. Then, feel free to dive into the advanced options. Your next step is to grab your remote and try out one new setting today.
Frequently Asked Questions
What if my Epson projector remote isn’t working?
First, check the batteries. Ensure they are inserted correctly and have enough power. If that doesn’t help, try moving closer to the projector and make sure there’s a clear line of sight. Obstructions can block the signal.
How do I reset my Epson projector settings to default?
You can usually find a “reset” or “factory reset” option within the projector’s setup menu. Navigating to this option and confirming will restore all settings to their original factory defaults. This is helpful if you’ve made too many adjustments.
Why is the image on my projector stretched or distorted?
This is likely due to aspect ratio or keystone correction settings. Use the aspect ratio button on your remote to select the correct display format for your content. If the image looks like a trapezoid, use the keystone correction in the setup menu to straighten it.
Can I use a universal remote with my Epson projector?
Some universal remotes can be programmed to control Epson projectors. You’ll need to check the compatibility list for your specific universal remote model and follow its programming instructions. It might require entering a specific code for Epson.
Where can I find the manual for my specific Epson projector remote?
The best place to find your remote’s manual is on the official Epson support website. Search for your projector’s model number, and you should be able to download a PDF of the user guide. This will provide model-specific button layouts and functions.