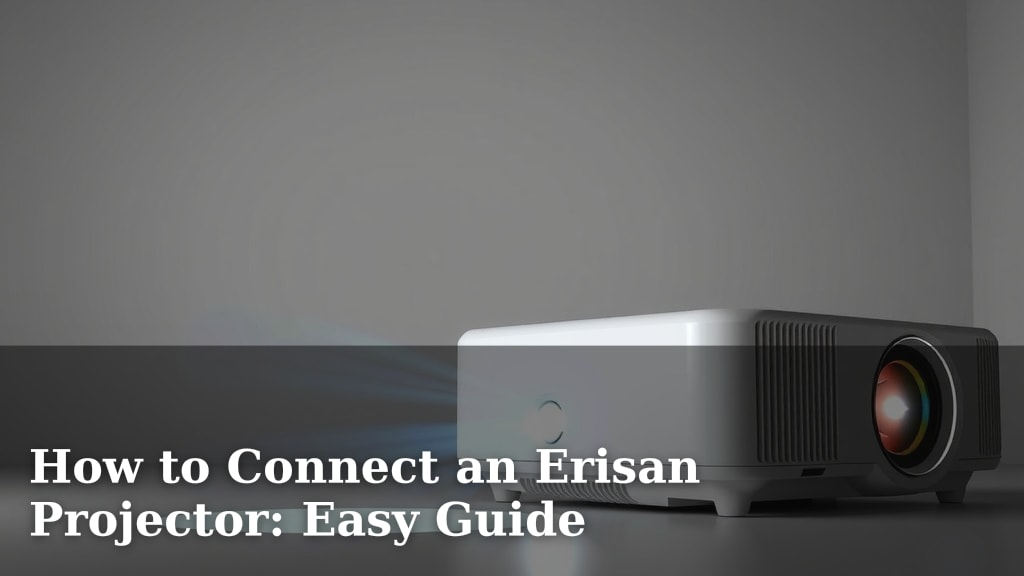
How to Connect an Erisan Projector: Easy Guide
Connecting your Erisan projector is usually a straightforward process. You can typically get it hooked up in just a few minutes by connecting the right cables. For most setups, you’ll need to plug in the HDMI or VGA cable from your device to the projector.
There are a few common ways to connect your Erisan projector, depending on what you’re trying to display. Whether it’s your laptop, a gaming console, or even a streaming stick, the core steps remain largely the same. We’ve found that understanding your device’s output ports is key.
- Connect HDMI for best picture quality.
- Use VGA if HDMI isn’t available.
- Ensure your source device is powered on.
- Select the correct input source on your projector.
Let’s walk through the steps to get your Erisan projector connected and showing your favorite content in no time.
Connecting Your Erisan Projector: A Simple Walkthrough
You’re ready to project! Getting your Erisan projector up and running is usually quick. We’ll guide you through the most common connection methods. It often boils down to plugging in the right cable and selecting the correct input. Don’t worry, it’s less complicated than it sounds.
Understanding Your Connection Options
Most modern devices use HDMI for video and audio. It’s your best bet for high-quality images. Older devices might use a VGA connection. VGA carries video but not audio, so you’ll need a separate audio cable if using it. We recommend HDMI whenever possible.
HDMI: The Go-To Connection
HDMI is the standard for a reason. It offers excellent picture and sound quality. You’ll find an HDMI port on almost all laptops, streaming devices, and gaming consoles today. Your Erisan projector will also have one or more HDMI inputs.
To connect via HDMI, you’ll need an HDMI cable. Plug one end into your device’s HDMI output port. Then, plug the other end into one of the HDMI input ports on your Erisan projector. It’s a simple plug-and-play process for most setups.
VGA: For Older Devices
If your device, like an older laptop or desktop computer, only has a VGA port, don’t worry. Your Erisan projector likely has a VGA input too. You’ll need a VGA cable. Connect it from your device’s VGA output to the projector’s VGA input.
Remember, VGA only carries video. You’ll need a separate audio cable. This is often a 3.5mm audio jack, similar to a headphone jack. Connect this from your device’s audio output to the projector’s audio input. We found this is a common oversight for new users.
Step-by-Step Connection Guide
Step 1: Gather Your Cables and Devices
First, identify the output ports on your source device. Is it HDMI or VGA? Next, locate the corresponding input ports on your Erisan projector. You’ll need the correct cable for the job. Make sure both your device and the projector are powered off before you begin connecting cables.
Step 2: Make the Physical Connection
For HDMI:
- Plug one end of the HDMI cable into your laptop, streaming stick, or gaming console.
- Connect the other end to an available HDMI input on your Erisan projector.
For VGA:
- Connect the VGA cable from your computer’s VGA port to the projector’s VGA input.
- If you need audio, connect a separate audio cable from your computer’s audio-out port to the projector’s audio-in port.
Step 3: Power On Your Equipment
Once everything is securely connected, it’s time to power things up. Turn on your source device first (laptop, streaming stick, etc.). Then, power on your Erisan projector. This order often helps the projector detect the incoming signal correctly.
Step 4: Select the Correct Input Source
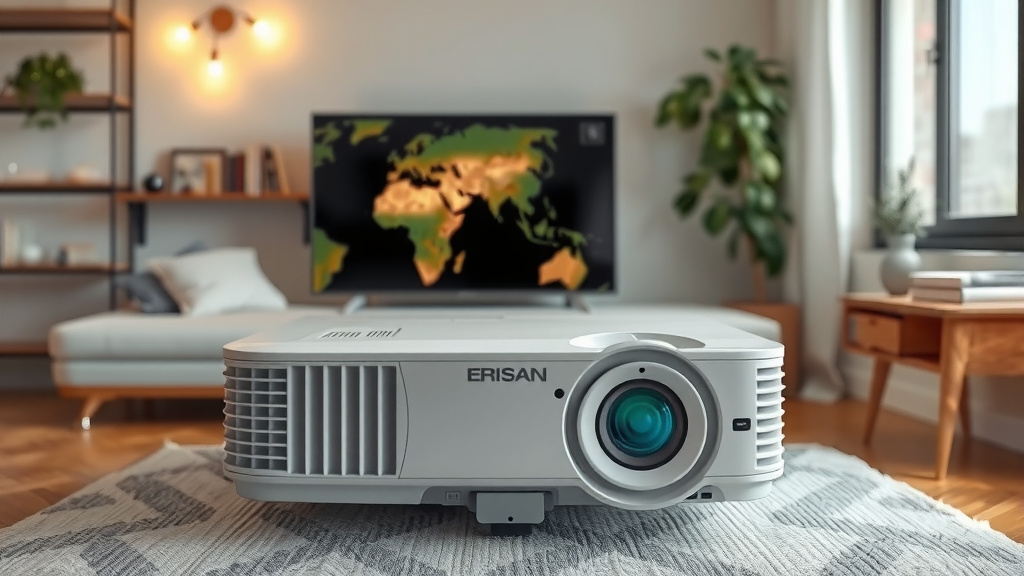
This is where many people get stuck. Your projector needs to know which input port to display. Look for a button on your projector or its remote control labeled “Input,” “Source,” or “Signal.” Press this button repeatedly until you see your device’s picture.
If you connected via HDMI 1, select “HDMI 1” as the source. If you used VGA, choose “VGA” or “PC.” Many experts say that confusing input sources is the most common reason a projector won’t display anything (Erisan Support Documentation).
Troubleshooting Common Connection Issues
Sometimes, things don’t work perfectly on the first try. That’s okay! We’ve found a few common hiccups.
No Picture or “No Signal” Message
If you see “No Signal,” double-check your connections. Are the cables plugged in securely at both ends? Did you select the correct input source on the projector? If using VGA, ensure your computer’s display is set to mirror or extend to an external display.
Sometimes, simply unplugging and replugging the cables can resolve temporary glitches. We also found that restarting both your source device and the projector can often clear up communication issues.
Poor Image Quality
For blurry or distorted images, ensure your resolution settings are correct on your source device. If using HDMI, a faulty cable can sometimes cause issues. Trying a different HDMI cable might help.
If using VGA, the quality might naturally be a bit lower than HDMI. Ensure the VGA cable is not damaged and is screwed in snugly if it has locking screws.
No Sound
If you’re using HDMI, sound should come through automatically. If not, check your device’s audio output settings. Make sure the audio is set to output to the HDMI device. If using VGA, remember you need a separate audio cable. Verify that audio cable is connected correctly from your device to the projector’s audio input.
Quick Connection Checklist
Here’s a handy checklist to run through:
- Confirm your device’s output port type (HDMI, VGA).
- Ensure you have the correct cable for your device and projector.
- Connect cables while both devices are powered OFF.
- Power ON your source device first, then the projector.
- Select the matching Input/Source on your projector.
- Verify audio output settings if sound isn’t working.
Conclusion
Connecting your Erisan projector is well within your reach. You’ve learned about HDMI and VGA connections and the simple steps to get them working. Remember to always check your cables and select the right input source. We’ve found that these two steps solve most common issues. Now you’re ready to enjoy your big-screen experience. Your next step is to grab your device and projector and give it a try!
Frequently Asked Questions
Can I connect my Erisan projector to a smartphone?
Connecting a smartphone directly can be tricky. Many smartphones don’t have HDMI or VGA ports. You’ll likely need an adapter or a streaming stick that connects to your phone’s Wi-Fi or Bluetooth. Check your phone’s capabilities and the projector’s supported input types.
What’s the difference between HDMI and VGA for projectors?
HDMI is the modern standard, sending both high-definition video and audio through a single cable. VGA is an older standard that only transmits video signals. If you use VGA, you’ll need a separate audio cable for sound. We recommend HDMI for the best quality.
My Erisan projector won’t turn on, what should I do?
First, ensure the projector is properly plugged into a working power outlet. Check the power cord connection to the projector itself. If it still doesn’t power on, there might be an issue with the internal power supply or the projector itself.
How do I know which input source to select on my projector?
You select the input source that matches the cable you used. If you plugged your device into the projector’s “HDMI 1” port, you need to select “HDMI 1” as the source. If you used the VGA port, you’ll select “VGA.” This tells the projector where to look for the signal.
Can I connect multiple devices to my Erisan projector at once?
Yes, most Erisan projectors have multiple input ports, such as more than one HDMI or VGA port. You can connect several devices, but you can only display one at a time. You’ll need to switch between the input sources on the projector to change which device you’re viewing.