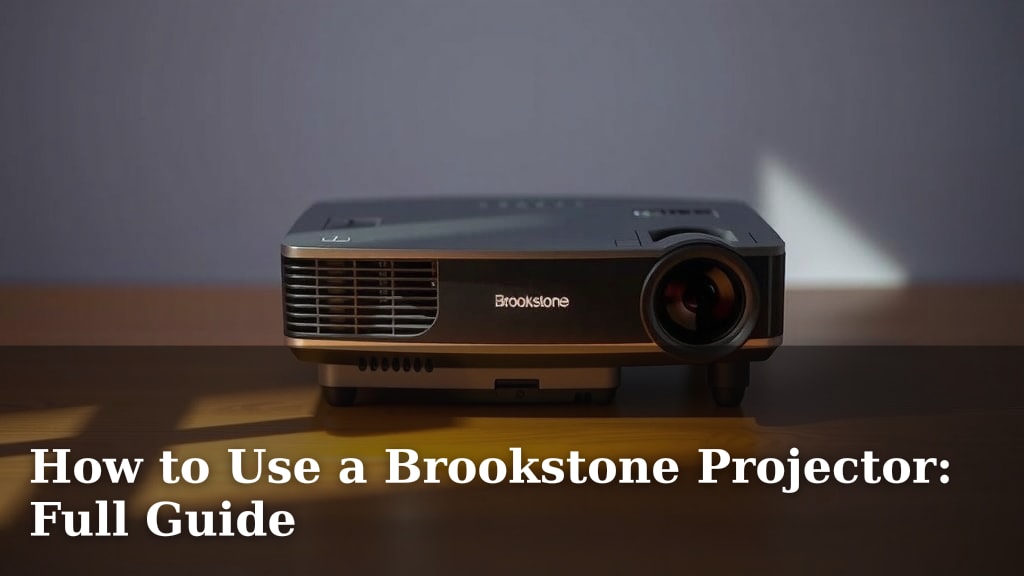
How to Use a Brookstone Projector: Full Guide
Using your Brookstone projector is pretty straightforward. You’ll primarily need to connect your device, adjust the focus, and select your input source to start enjoying your movie night. Many users find these projectors offer a great way to get a big-screen experience at home without much fuss.
We’ve found that understanding a few key settings can really enhance your viewing experience. Knowing how to properly aim the projector and what cables work best for different devices are common questions. Getting these basics right means less frustration and more fun watching your favorite films or shows.
- Connect your device via HDMI or other ports.
- Adjust the projector’s focus and keystone for a clear picture.
- Select the correct input source on the projector menu.
- Ensure proper placement for the best screen size and brightness.
Let’s walk through exactly how to get your Brookstone projector set up and running smoothly. We’ll cover everything you need to know step by step.
Getting Your Brookstone Projector Ready to Shine
So, you’ve got a shiny new Brookstone projector and you’re ready for movie nights that rival a cinema. We totally get it! The excitement of a big screen experience at home is pretty awesome. Let’s walk through how to get your projector set up and ready to go.
Powering Up Your Projector
First things first, let’s get some juice into your projector. You’ll usually find a power cable included. Plug one end into the projector’s power port and the other into a wall outlet. Some projectors also have a main power switch on the back or side. Make sure that’s flipped to the ‘on’ position before you try to turn it on using the remote or the unit itself.
Making the Right Connections
This is where the magic happens – connecting your devices! Brookstone projectors typically offer a few ways to hook up your favorite gadgets.
HDMI: The Modern Go-To
For most modern devices like laptops, streaming sticks (Roku, Fire TV), gaming consoles, and Blu-ray players, HDMI is your best friend. You’ll need an HDMI cable. Plug one end into your device’s HDMI output and the other into the projector’s HDMI input port. It’s usually labeled clearly. This is often the easiest way to get a high-quality picture and sound.
Other Input Options
Depending on your specific Brookstone model, you might also find other ports. These could include:
- USB Ports: Great for playing media directly from a flash drive. Just plug it in and navigate the projector’s menu to select your files.
- VGA or DVI Ports: Older laptops or computers might use these. You’ll need the appropriate cable for these connections. They usually transmit video only, so you might need a separate audio cable.
- AV/Composite Ports: Less common now, but these might be for older devices like VCRs or some game consoles. You’ll typically see red, white, and yellow RCA connectors.
We found that checking your projector’s manual is a good idea to see exactly which ports it has and what they’re for. It’s like a little treasure map to better viewing!
Navigating the Menus and Settings
Once everything is plugged in, it’s time to tell your projector what to display. You’ll usually use the remote control for this.
Selecting Your Input Source
On your projector’s remote, look for a button labeled “Input,” “Source,” or something similar. Pressing this will bring up a list of available input options (HDMI 1, HDMI 2, USB, AV, etc.). Use the arrow keys on your remote to highlight the source you’ve connected your device to and press “Enter” or “OK.” Your screen should now show whatever is on your connected device!
Adjusting Focus and Clarity
Getting a sharp image is key. You’ll likely see a focus ring around the projector lens. Slowly turn this ring while looking at the projected image until the picture is as clear as possible. If the image looks like a trapezoid (wider at the top or bottom), you’ll need to adjust the keystone correction. This is usually a setting within the projector’s menu. It digitally “squares up” the image. We’ve found that a little tweaking here makes a huge difference.
Understanding Picture Settings
Many Brookstone projectors allow you to tweak picture settings like brightness, contrast, and color. Don’t be afraid to play around with these! Start with the default settings and then adjust them slightly to see what looks best in your room. We suggest adjusting these with actual content playing, not just a static menu, so you can see the real effect.
Finding the Sweet Spot: Projector Placement
Where you put your projector and screen matters a lot for the viewing experience. You want to get the biggest, brightest picture possible without distortion.
Distance and Screen Size
The further your projector is from the wall or screen, the larger the image will be. Check your projector’s manual for a “throw distance chart.” This chart shows you how far to place the projector to get specific screen sizes (like 80 inches or 100 inches). Getting this distance right means you won’t have to zoom in or out too much, which can sometimes reduce image quality.
Height and Angle
Ideally, the projector should be placed directly in front of the screen, centered horizontally and vertically. If you can’t position it perfectly, that’s where keystone correction comes in handy. You might need to place the projector on a shelf, a coffee table, or even a dedicated projector mount. Make sure it’s stable and won’t get knocked over!
A Quick Checklist for Success
Here’s a quick rundown to make sure you’re all set:
- Power On: Ensure your projector is plugged in and powered up.
- Device Connected: Confirm your source device is hooked up correctly.
- Input Selected: Choose the right input source on your projector menu.
- Image Focused: Adjust the lens for a sharp, clear picture.
- Keystone Adjusted: Square up the image if it’s distorted.
- Sound Check: Make sure you’re getting audio from your speakers.
Following these steps should get you up and running in no time. Enjoy your big-screen adventures!
Conclusion
You’re now equipped to get the most out of your Brookstone projector. You know how to power it up, make all the right connections, and adjust settings for a perfect picture. Remember, the key is a clear image and the right source. Don’t forget to find that sweet spot for placement. Now, go ahead and plan that movie marathon or host that big game!
Frequently Asked Questions
What’s the best way to connect my laptop to a Brookstone projector?
For the best quality, we always recommend using an HDMI cable. Connect one end to your laptop’s HDMI port and the other to the projector’s HDMI input. You’ll then select the HDMI input source on your projector. This ensures crisp video and clear audio.
My projector image is distorted, what should I do?
If your image looks like a trapezoid, you likely need to adjust the keystone correction. Find this setting in your projector’s menu. Use the arrow keys to square up the image. You may also need to reposition the projector slightly to get a more direct angle to your screen.
How do I get sound from my Brookstone projector?
Sound usually comes through the same cable you use for video, like HDMI. If you’re not hearing anything, check your connected device’s audio settings. Some projectors also have their own built-in speakers, or you might need to connect external speakers via an audio output port.
Can I play movies directly from a USB drive with my Brookstone projector?
Yes, you absolutely can! Most Brookstone projectors have USB ports that support media playback. Just plug in your USB flash drive, navigate to the media player option in your projector’s menu, and select the video files you want to watch.
How far away should I place my Brookstone projector for a good picture size?
The distance depends on your specific projector model and the screen size you want. We suggest checking your projector’s user manual for a throw distance chart. This chart will give you exact measurements for achieving different screen sizes, helping you get the best possible image quality.