How to Choose the Right Projector Carry Case Size
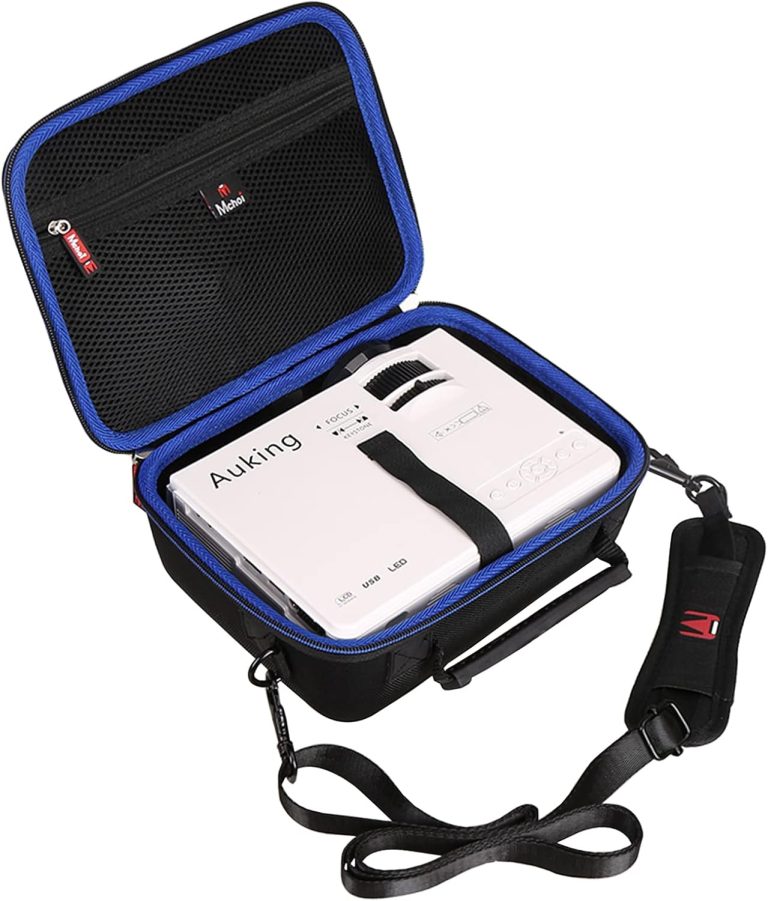
You need a projector carry case that fits your specific model, not the other way around. The right size is one that holds your projector with at least an inch of padding on every side, and you should always measure your projector’s length, width, and height before buying anything.
Choosing the wrong size is a common mistake. We found that many people either buy a case that is too bulky for travel or one that is so tight it offers zero protection. Getting this simple measurement right protects your investment and makes it much easier to grab and go for presentations, movie nights, or backyard gatherings.
- Always measure your projector’s exact dimensions first.
- Add at least 1-2 inches of clearance for protective foam padding.
- Consider the depth of lenses and protruding cables before you order.
- Check the case’s interior dimensions, not just the exterior size.
- Choose a hard case for checked luggage or a soft case for commutes.
Below, we break down everything you need to know about sizing, fitting, and picking the perfect travel companion for your projector.
Getting Your Projector’s Measurements Right
You can’t pick a case without knowing your projector’s exact size. It sounds obvious, but we found that many shoppers guess based on the model name. That’s a mistake. The same brand can have wildly different dimensions across its lineup.
Grab a tape measure and check the length, width, and height. Write those numbers down. You’ll need them for every step of this process. Don’t rely on the spec sheet from memory. Projector housings often have bumps, vents, and lens barrels that add an inch or two you didn’t expect.
How to Measure Your Projector Like a Pro
Place your projector on a flat surface. Measure the longest points from side to side for width. Then measure from front to back for depth. Finally, measure from the bottom to the highest point on top. That highest point is usually the lens or a handle.
If you still have the original box, check the printed dimensions there. Those numbers are official. Just remember to measure the projector itself, not the box. The box is always bigger than the unit inside.
Don’t Forget the Lens and Cables
Many projectors have a protruding lens. That lens adds depth. Measure from the very front edge of the glass to the back of the unit. Cables matter too. If you plan to keep HDMI and power cords attached, measure that extra bulk.
We found that forgetting the lens depth is the top reason a case doesn’t close. A quarter-inch of unexpected protrusion makes a tight case useless. Always add that measurement to your final numbers.
Understanding Case Interior Dimensions vs. Exterior Size
Here’s where people get tripped up. A case can look compact from the outside but have a huge interior. Or it can look bulky and still barely fit your gear. The interior dimensions are what truly matter.
Most manufacturers list both interior and exterior sizes. If you only see exterior dimensions, dig deeper. Check the product Q&A or spec sheet. The interior space is the actual room your projector gets. That’s your golden number.
The Padding Rule: Why One Inch Makes a Difference
Your projector needs breathing room. We recommend at least one to two inches of clearance on every side. That space gets filled with foam, padding, or adjustable dividers. Without it, a hard knock transfers shock directly to your device.
Think of it like packing a glass vase for a move. You wouldn’t wrap it in paper and call it done. You’d cushion it so it can’t rattle. Your projector deserves the same respect. One inch of foam absorbs vibration and impact.
When to Go for Two Inches of Clearance
If you check your projector as luggage, go bigger. Airlines toss bags around. Two inches of foam on all sides gives you a real safety buffer. Research from the Transportation Security Administration shows checked bags endure serious handling.
For daily commutes to the office, one inch is fine. You control the handling. But for flights, trains, or long road trips, extra padding is cheap insurance. Your projector’s internals are delicate. A little more room keeps them safe.
Hard Cases vs. Soft Cases for Projector Protection
Your travel style dictates the case type. We found that hard cases win for protection, while soft cases win for convenience. There’s no universal best option. You have to match the case to your routine.
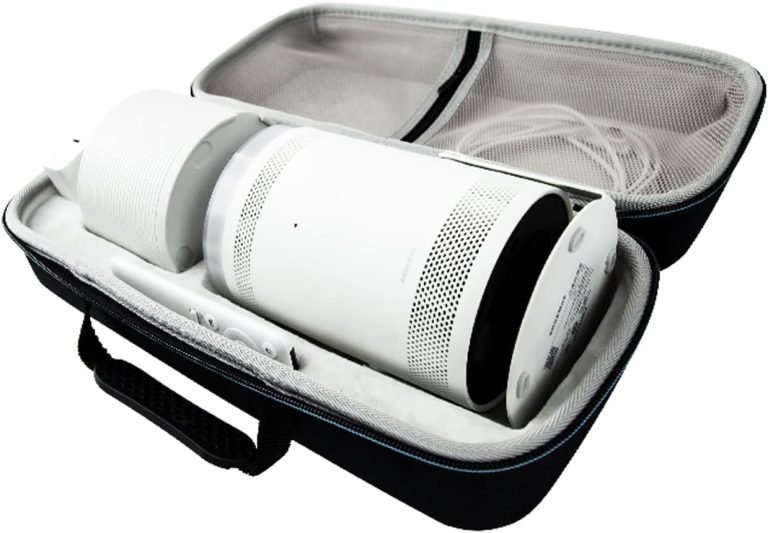
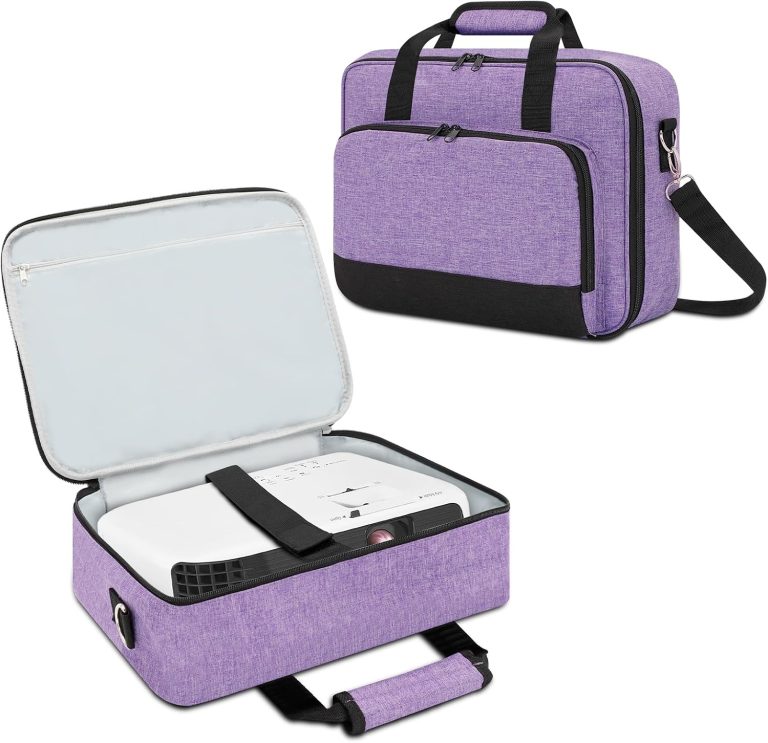
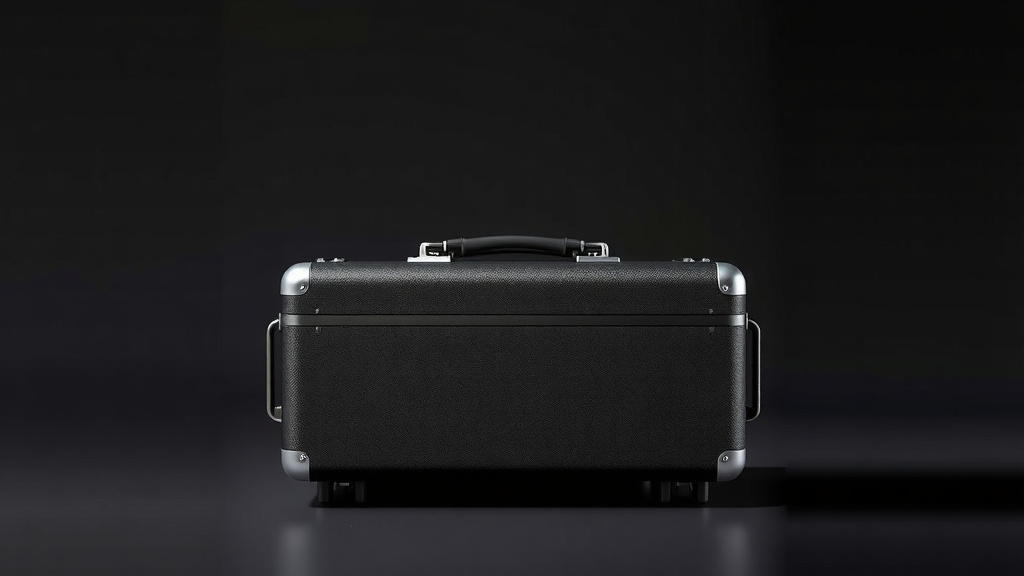
Hard cases feature rigid shells, usually made of ABS plastic or aluminum. They resist crushing and impact. Soft cases use padded nylon or polyester. They’re lighter and easier to stuff into a backpack.
| Feature | Hard Case | Soft Case |
|---|---|---|
| Impact Protection | Excellent | Moderate |
| Weight | Heavier | Lightweight |
| Water Resistance | Often waterproof | Water-resistant only |
| Best For | Flights, checked bags | Commutes, car travel |
When to Choose a Hard Case
Fly frequently? Go hard. A hard case protects your projector from being squashed under other luggage. Many hard cases also come with foam inserts that you can customize. You cut the foam to match your projector’s exact shape. If security is a concern, our guide to choosing a lockable projector carry case explains the options.
We found that customizable foam is a game-changer for odd-shaped projectors. It locks the device in place. No shifting, no sliding, no damage. If you travel for work presentations, this is the setup you want.
When a Soft Case Makes More Sense
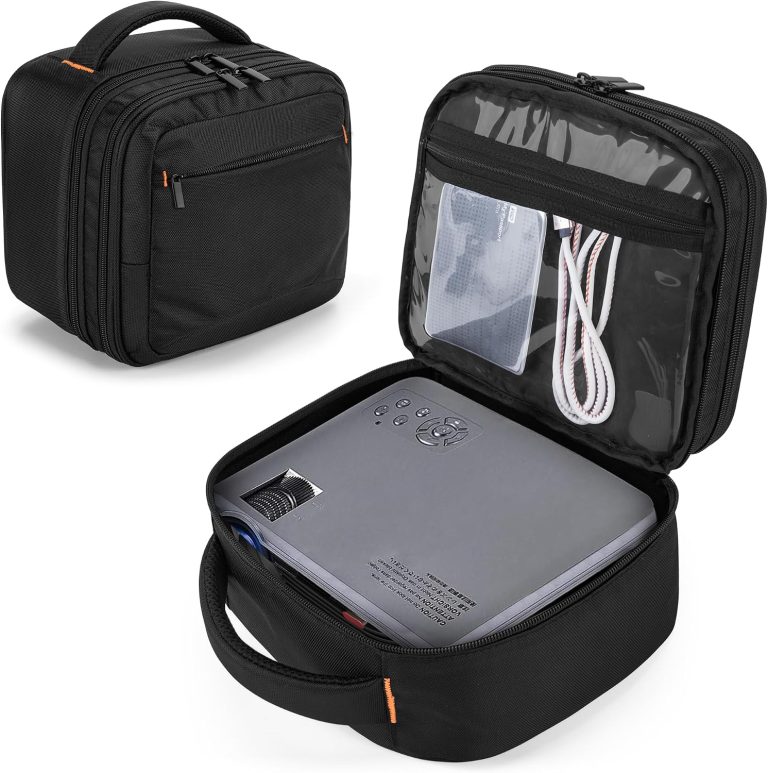
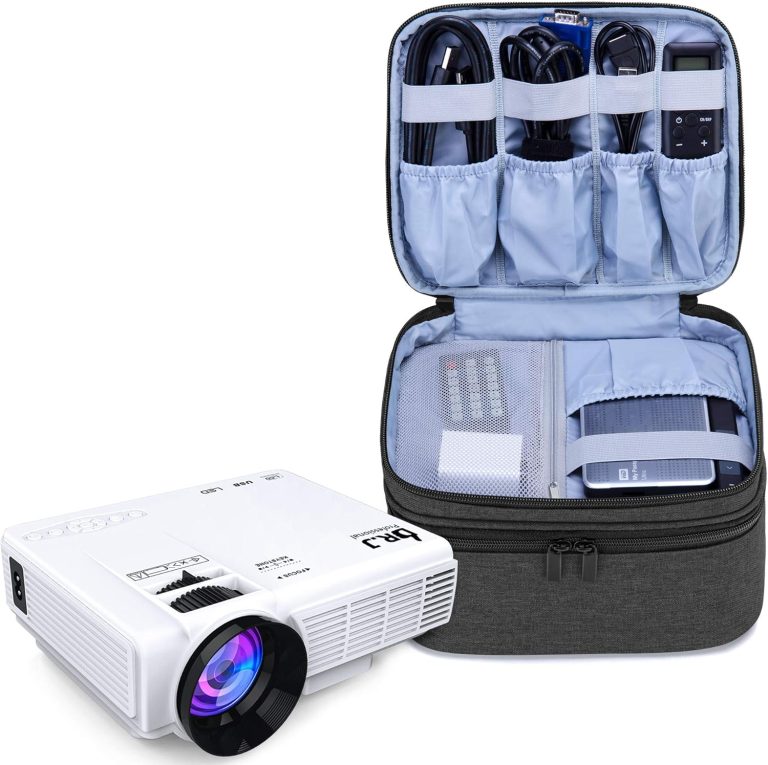
Are you just moving between meeting rooms or your home theater? A soft case is lighter and easier to carry. It won’t offer crush protection, but it handles bumps and scrapes fine. Many soft cases have extra pockets for cables and remotes.
Soft cases are also easier to store. They fold flat when empty. That’s a nice bonus if closet space is tight. Just remember: soft cases are for gentle handling. Don’t check them on an airline.
Measuring for Specific Projector Types
Different projectors have different sizing quirks. A tiny pico projector needs a different approach than a bulky home theater model. Let’s break down the main categories so you know what to expect.
We found that matching case size to projector type saves you a lot of guesswork. You can’t use a one-size-fits-all approach here.
Mini and Pico Projectors
These little guys are usually under 2 pounds. Their dimensions are small, often around 4 to 6 inches wide. You have tons of case options. Many people use padded camera cases or electronics organizers for these.
The main risk is losing them in a bigger bag. Look for a case that’s compact but visible. A bright color or a dedicated pouch helps you find it quickly. Just don’t over-buy. A huge case for a tiny projector defeats the purpose of portability.
Standard Home Theater Projectors
These are the heavyweights, often weighing 5 to 10 pounds. They measure anywhere from 12 to 18 inches wide. You need a dedicated projector case, not a generic electronics bag. The form factor is too specific for general use.
Measure carefully. Many of these projectors have offset lens designs that make them taller on one side. Check that your case accommodates the highest point. A standard rectangular case usually works, but custom foam helps a lot.
Portable Outdoor Projectors
Outdoor models often have built-in batteries and speakers. They’re chunkier than standard projectors. Their dimensions can be irregular. Some have fold-out stands or handles that add bulk.
For these, measure with the stand folded in. That’s the smallest configuration. If you plan to carry it with the stand attached, add those measurements too. We found that measuring in multiple configurations prevents sizing mistakes.
Checking the Case’s Fit Before You Buy
You can’t physically test the case in most online stores. So you need to be smart about reading product listings. Look for the word “fits” in the description. Many cases list compatible projector models.
But don’t stop there. Read recent customer reviews that mention specific projector models. We found that reviewers often share their exact measurements and whether the fit was snug. This real-world data is gold.
The Golden Checklist for Case Sizing
Use this checklist before you hit the buy button. It covers all the bases.
- Measure your projector’s length, width, and height at the widest points.
- Add 1-2 inches to each dimension for padding allowance.
- Compare your numbers to the case’s interior dimensions.
- Check for lens protrusion and add that to your depth measurement.
- Decide between hard and soft based on your travel habits.
- Read reviews from owners of the same projector model.
Common Sizing Mistakes to Avoid
Even careful shoppers make errors. We’ve seen it happen. Here are the biggest pitfalls we found when researching projector case sizes.
The most common mistake is buying a case that’s too tight. It looks perfect on paper, but the zipper struggles to close. A tight case puts pressure on the projector’s seams and buttons. That pressure can crack plastic over time.
Ignoring the Power Brick
Many projectors have large external power supplies. That brick adds bulk. Some cases have dedicated pockets for accessories. Others don’t. If your power brick doesn’t fit in the case, you’re carrying it separately anyway.
Measure your power brick too. Add its dimensions to your list. You might need a larger case just to keep everything together. It’s annoying to buy a case and then find out your cables don’t fit.
Forgetting About Future Accessories
Are you planning to add a streaming stick, a portable screen, or extra HDMI cables? Account for that extra gear now. A case that barely fits the projector leaves no room for expansion.
We suggest buying a case that’s one size larger than your current needs. That extra space gives you flexibility. You won’t need to buy a new case when you add a small accessory later.
Why Fit Matters More Than Brand Names
Stick to a specific brand if you want. But don’t ignore other manufacturers. We found that generic cases often fit projectors just as well as branded ones. The key is matching interior dimensions, not matching logos.
Many third-party cases are made with adjustable dividers. These work across multiple projector brands. They’re flexible and often cheaper. The best case for you is the one that fits your projector’s numbers perfectly.
The Cost of Getting It Wrong
A wrong-sized case isn’t just annoying. It’s a financial risk. A loose case lets your projector slide around, leading to scratches. A tight case compresses the housing. Both scenarios can lead to expensive repairs.
We found that replacement projectors cost hundreds of dollars. A good case costs a fraction of that. It’s simple math. Spend a little more time measuring now to save a lot of money later.
Making the Final Decision on Case Size
You have your measurements. You know your travel style. You’ve read the reviews. Now it’s time to choose. Trust your numbers. If the interior dimensions give you at least an inch of clearance, you’re good to go.
Remember, the case is an investment in your projector’s longevity. A properly sized case makes transport easy and stress-free. No fighting with zippers. No worrying about bumps in the car. Just grab and go.
We recommend keeping your projector’s spec sheet handy while you shop. Cross-reference every case you consider. It takes two minutes and eliminates almost all sizing errors. Your projector will thank you with years of reliable service.
Conclusion
Getting your projector case size right comes down to one simple habit: measure first, shop second. You need your projector’s exact dimensions plus one to two inches of padding clearance on every side. That extra space absorbs shocks and keeps your gear safe.
Match your case type to your travel routine. Hard cases protect for flights and checked bags. Soft cases make daily commutes easier. Trust the interior dimensions, not the exterior looks. Read reviews from owners of your exact projector model.
Your next step is easy. Grab a tape measure, write down your projector’s length, width, and height, and compare those numbers against the interior specs of any case you’re considering. Two minutes of measuring now saves you from a damaged projector later.
Frequently Asked Questions
Can I use a camera bag for my projector?
Yes, but only if the interior dimensions give you enough clearance. Camera bags work well for mini and pico projectors under 2 pounds. For larger home theater models, you’re better off with a dedicated projector case that has proper foam padding.
What if my projector is between two case sizes?
Always size up. A slightly larger case gives you extra room for cables, remotes, and the power brick. A too-tight case puts pressure on your projector’s housing and can crack plastic over time. Extra space is never a problem.
Should I remove the lens cap before storing my projector?
No, keep the lens cap on during transport. It protects the glass from scratches and dust. Just remember to measure your projector with the cap attached. That adds a small amount of depth you need to account for in your case size.
How do I know if my projector will fit a hard case with foam inserts?
Check the case’s interior dimensions against your projector’s measurements, then add an inch for foam. Many hard cases come with pick-and-pull foam that you can customize. You trace your projector’s shape and remove foam blocks to create a snug fit.
Is it okay to store my projector in the case when not in use?
Yes, that’s actually a good practice. A properly sized case protects your projector from dust and accidental bumps at home. Just make sure the projector is completely cool before zipping it up. Storing it hot can trap heat and damage internal components.