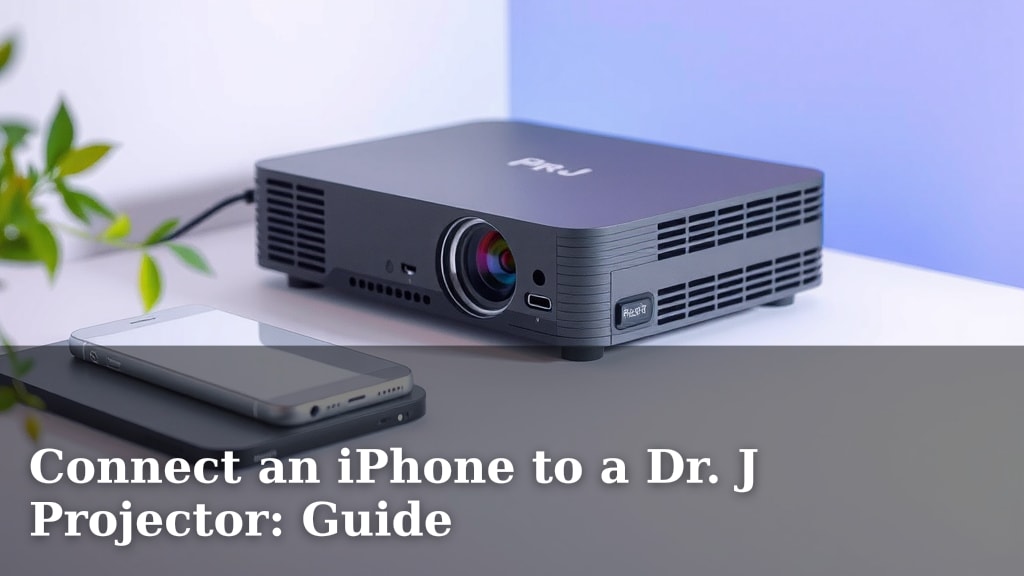
Connect an iPhone to a Dr. J Projector: Guide
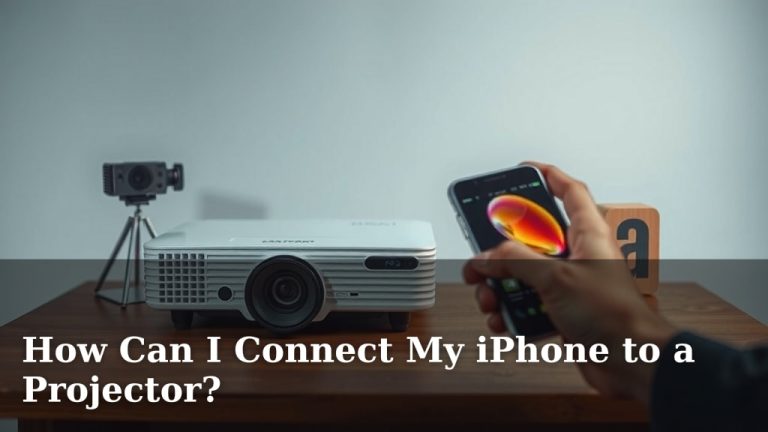
Yes, you can easily connect your iPhone to a Dr. J projector. The simplest way involves using a lightning to HDMI adapter and an HDMI cable to mirror your iPhone’s screen. This allows you to share videos, photos, or presentations on a big screen.
Connecting your iPhone to your Dr. J projector is a fantastic way to enjoy content from your phone on a larger scale. Whether you’re watching a movie, showing vacation photos, or giving a presentation, this guide will help you get started. We’ve found that having the right adapter makes all the difference for a smooth experience.
- Use a lightning to HDMI adapter and HDMI cable.
- Connect your iPhone to the adapter, then the adapter to the projector.
- Ensure your projector is set to the correct HDMI input.
- You might need to trust the computer on your iPhone.
- Enjoy your big-screen iPhone experience!
Let’s walk through exactly how this works step by step so you can get your Dr. J projector showing your iPhone content in no time.
Getting Your iPhone to Show on Your Dr. J Projector
So, you’ve got your Dr. J projector ready to go, but how do you get your favorite iPhone videos or photos onto that big screen? It’s actually quite straightforward! The key is a little adapter and a standard HDMI cable. We’ve found that having the right adapter is the most important step for a smooth connection.
What You’ll Need: The Essential Gear
Before you can start your movie marathon or share those vacation pics, let’s make sure you have everything ready. You don’t need a whole lot, just a couple of key items.
The iPhone Adapter: Your Digital Bridge
This is where the magic happens. For newer iPhones with a Lightning port, you’ll need a Lightning to HDMI adapter. Think of this as the translator between your iPhone and the projector. It takes the digital signal from your phone and converts it into a format the projector can understand through HDMI.
If your iPhone has a USB-C port (like some of the newer iPhone 15 models), you’ll need a USB-C to HDMI adapter instead. The process is the same, just make sure you grab the adapter that matches your iPhone’s charging port. Many people find these adapters are readily available online or at electronics stores.
The HDMI Cable: The Information Highway
Next up is your trusty HDMI cable. This cable is what physically carries the video and audio signal from the adapter to your Dr. J projector. Most standard HDMI cables will work just fine.
Make sure the cable is long enough to comfortably reach from your iPhone’s viewing spot to the projector. You don’t want to be stretching or putting stress on the connections!
Step-by-Step Connection Guide
Alright, you’ve got your gear. Now let’s get it all hooked up. Follow these simple steps, and you’ll be projecting in no time.
Connecting the Adapter to Your iPhone
First, plug your Lightning to HDMI adapter (or USB-C to HDMI adapter) into your iPhone’s charging port. It should fit snugly, just like your charging cable.
Connecting the HDMI Cable
Now, take one end of your HDMI cable and plug it into the HDMI port on the adapter. Then, take the other end of the HDMI cable and plug it into an available HDMI input port on your Dr. J projector. Projectors usually have more than one HDMI port, so just pick one and remember which one you used.
Powering Up and Selecting Input
Turn on your Dr. J projector and your iPhone. On your Dr. J projector’s remote control, find the button that lets you select the input source. It might be labeled “Input,” “Source,” or “AV.”
Press this button and cycle through the options until you select the HDMI input that you plugged the cable into. If you plugged into HDMI 1, select HDMI 1. If you chose HDMI 2, select that one.
Trusting the Connection (If Prompted)
Sometimes, your iPhone might ask if you want to trust this accessory. You’ll usually see this prompt pop up on your iPhone screen shortly after connecting everything. If you see it, tap “Trust” and enter your iPhone passcode if requested. This step is important for allowing the video signal to pass through.
This is a security measure to ensure you’re connecting to a trusted device. Once you tap “Trust,” your iPhone’s screen should appear on the projector’s display. It’s like magic, but it’s just good technology!
Troubleshooting Common Connection Issues
What if it doesn’t work right away? Don’t panic! Most connection hiccups are easy to fix.
No Image on the Screen?
Double-check all your connections. Make sure the HDMI cable is firmly seated in both the adapter and the projector. Is the adapter securely plugged into your iPhone? Sometimes a loose connection is all it is.
Also, verify you’ve selected the correct HDMI input on your Dr. J projector. If you have multiple HDMI devices, it’s easy to pick the wrong one. Try cycling through the inputs again.
“No Signal” Message?
This usually means the projector isn’t receiving a signal from your iPhone. Ensure your iPhone is unlocked and displaying content. Sometimes, the iPhone needs to be actively showing something to send a signal.
We found that restarting both your iPhone and the projector can often resolve “no signal” issues. It’s like giving them a fresh start.
Adapter Not Recognized?
If your iPhone isn’t recognizing the adapter, try unplugging and replugging it. Make sure you’re using a quality adapter. Sometimes, cheaper, unbranded adapters can be unreliable.
For those with Lightning adapters, check the “Display & Camera Accessories” section in your iPhone’s Settings. It should show the connected accessory. If it’s not there, the adapter might be faulty or incompatible.
Tips for the Best Viewing Experience
Once you’re connected, there are a few things you can do to make your viewing even better.
Check Your iPhone’s Display Settings
Your iPhone’s screen resolution might not perfectly match your projector’s native resolution. While most adapters handle this automatically, you can sometimes adjust settings. For most users, the default is perfectly fine, but it’s something to keep in mind if the image looks a bit off.
Audio Output Selection
By default, audio should play through the projector’s speakers (if it has them) or any connected sound system. If you find the audio isn’t coming through the projector, check your iPhone’s sound settings. Go to Settings > Sounds & Haptics > Output (under Playback). Ensure it’s set to mirror or output to the HDMI connection.
Content Apps and DRM
Some video streaming apps (like certain live TV apps or rental services) use Digital Rights Management (DRM) that can prevent screen mirroring. You might see a black screen or an error message when trying to play protected content. For these apps, you may need to use their dedicated app on a smart TV or a different casting method if available.
However, most popular apps like YouTube, Netflix, and your photo gallery work wonderfully with this HDMI connection. We found that common apps rarely cause issues.
A Quick Checklist for Success
Here’s a simple checklist to make sure you’ve got everything covered:
- Confirmed you have the correct Lightning-to-HDMI or USB-C-to-HDMI adapter.
- Plugged in the adapter to your iPhone securely.
- Connected the HDMI cable between the adapter and the Dr. J projector.
- Selected the correct HDMI input on your Dr. J projector.
- Tapped “Trust” on your iPhone if prompted.
- Enjoying your iPhone content on the big screen!
Conclusion
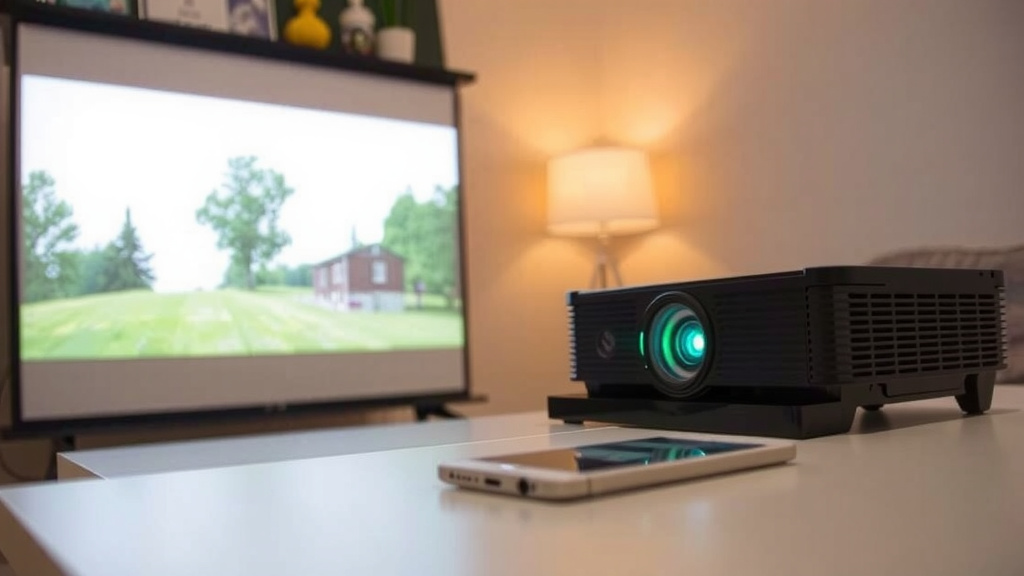
Connecting your iPhone to your Dr. J projector is simpler than you might think! By using the right adapter—either Lightning to HDMI or USB-C to HDMI—and a standard HDMI cable, you can easily share your phone’s content on a big screen. We found that double-checking your input source and trusting the connection prompt on your iPhone are key steps for success. Now you’re ready to enjoy movies, photos, or presentations with a whole new perspective. Go ahead, give it a try and transform your viewing experience today!
Frequently Asked Questions
Can I connect my iPhone wirelessly to a Dr. J projector?
Most Dr. J projector models do not support direct wireless mirroring from an iPhone. The most reliable method involves using a wired connection with an HDMI adapter. This ensures a stable picture and audio signal for your viewing.
What kind of adapter do I need for a newer iPhone (like iPhone 15)?
For iPhones with a USB-C port, such as the iPhone 15 models, you’ll need a USB-C to HDMI adapter. This adapter functions similarly to the Lightning version, allowing your iPhone’s display to connect to the projector via an HDMI cable.
Do I need to pay for an app to mirror my iPhone to the projector?
No, you do not need a special app for this wired connection. The connection relies on a physical adapter and an HDMI cable, which work directly with your iPhone’s display output. Just ensure you have the correct adapter type.
My Dr. J projector says “No Signal,” what should I do?
If you see a “No Signal” message, first ensure your iPhone is unlocked and actively displaying content. Then, double-check that the correct HDMI input source is selected on your Dr. J projector remote. Sometimes, simply unplugging and replugging the HDMI cable and adapter can resolve this.
Will audio from my iPhone play through the projector speakers?
Yes, the audio signal from your iPhone is transmitted through the HDMI cable along with the video. Most Dr. J projectors will play this audio through their built-in speakers, or through any external sound system you may have connected to the projector.