How Can I Connect My Laptop to My Projector?
Yes, connecting your laptop to a projector is usually pretty straightforward! You’ll primarily need the right cable to link the two devices. This allows you to share your screen for presentations, movies, or gaming.
There are a few common ways this connection happens, depending on the ports available on your laptop and projector. We found that understanding these connection types is the first step to success. It’s not as tricky as it might seem!
- Wired connections are most common.
- HDMI is the most popular cable type.
- Check your laptop and projector ports.
- Wireless is an option too!
Let’s walk through exactly how to connect your laptop to your projector, step by step. You’ll be sharing your screen in no time!
Getting Your Laptop Screen onto a Projector: The How-To
Connecting your laptop to a projector is like giving your ideas a bigger stage. You’ll want to make sure you have the right gear and know the basic steps. We’ve found that most people can get this done quickly. Let’s break down how you can get your display up and running on the big screen.
Wired Connections: Your Reliable Link
For the most stable and reliable connection, wired is usually the way to go. You’re essentially creating a direct line between your laptop and the projector. This means fewer chances of dropped signals or fuzzy images. It’s like having a direct phone line versus relying on a spotty cell signal.
HDMI: The Universal Standard
Today, HDMI is the most common and straightforward connection method. Most modern laptops and projectors come equipped with HDMI ports. This single cable handles both your video and audio signals, simplifying things a lot. If both your devices have an HDMI port, this is likely your best bet.
To use HDMI, you’ll need an HDMI cable. They’re readily available online and at electronics stores. Make sure you get a cable that’s long enough to comfortably reach between your laptop and the projector. A standard HDMI cable will work fine for most resolutions.
VGA: The Older, But Still Usable, Option
You might encounter older laptops or projectors that use a VGA connection. VGA cables are typically blue and have a trapezoidal connector with pins. While they only transmit video (you’ll need a separate audio cable), they are still perfectly functional for many presentations.
If you need to connect using VGA, you’ll connect the blue end of the VGA cable to the VGA port on your laptop and the other end to the projector. Again, ensure you have a separate audio cable if you need sound from your laptop. We found that VGA connections are less common now but still effective when available.
USB-C: The Modern Multitasker
Many newer laptops feature USB-C ports. Some of these USB-C ports support video output, often through a feature called DisplayPort Alternate Mode. If your laptop’s USB-C port supports this, you can often use a USB-C to HDMI adapter or a direct USB-C to USB-C cable (if your projector also has a USB-C input that supports video).
Check your laptop’s specifications to confirm if its USB-C port supports video output. This is a crucial step. You don’t want to buy an adapter only to find out your port isn’t compatible. We found that many manufacturers clearly label these ports or mention the feature in their user manuals.
Other Wired Ports (Less Common)
Occasionally, you might see other ports like DVI or DisplayPort. DVI is another digital video connector, similar in function to HDMI but without audio. DisplayPort is also a high-quality digital connection, common on some business laptops and monitors.
If your laptop and projector have matching DVI or DisplayPort ports, you can use a cable designed for those connections. Remember that DVI usually doesn’t carry audio, so you’ll need a separate sound solution if that’s important. For most users, HDMI is still the simplest.
Connecting Your Devices: The Step-by-Step Process
Once you’ve identified your connection type and have the right cable, the setup is fairly simple. It’s like plugging in any other electronic device. Here’s a general rundown of what you’ll do:
Step 1: Power Off Your Devices
It’s a good practice to turn off both your laptop and the projector before connecting any cables. This helps prevent any potential electrical surges or damage to the ports. Many experts suggest this as a basic safety measure for connecting electronics (IEEE).
Step 2: Connect the Cable
Plug one end of your chosen cable (HDMI, VGA, etc.) into the corresponding port on your laptop. Then, connect the other end of the cable into the matching port on your projector. Make sure the connections are snug but don’t force them.
Step 3: Power On Your Devices
Turn on your projector first, and then turn on your laptop. This order can sometimes help the devices recognize each other more smoothly. It’s a small step that can save you a bit of troubleshooting.
Step 4: Select the Input Source on the Projector
Your projector might automatically detect the input, but often you’ll need to tell it where to look for the signal. Use your projector’s remote control or buttons on the unit itself to cycle through the input options. You’ll want to select the input that matches the cable you used (e.g., HDMI 1, VGA, USB-C).
Step 5: Configure Your Laptop’s Display Settings
Your laptop should now detect the projector. You might see your desktop appear automatically. If not, you’ll need to adjust your laptop’s display settings. On Windows, you can press the Windows key + P. This brings up a projection menu. You’ll typically choose between “Duplicate” (shows the same thing on both screens), “Extend” (uses the projector as a second, larger screen), or “Second screen only” (disables your laptop screen).
On a Mac, go to System Preferences > Displays. You should see both your laptop’s display and the projector listed. You can arrange them here if you choose “Extend” mode. You’ll also find options to mirror your displays for “Duplicate” mode.
Troubleshooting Common Issues
What if nothing happens? Don’t panic! We’ve all been there. Here are a few quick things to check:
- Double-check that all cables are firmly plugged in at both ends.
- Confirm you’ve selected the correct input source on the projector.
- Try restarting your laptop and projector again, in the correct order.
- If using adapters, ensure they are properly connected and compatible.
- Test with a different cable if possible; cables can sometimes fail.
Wireless Connections: The Cable-Free Convenience
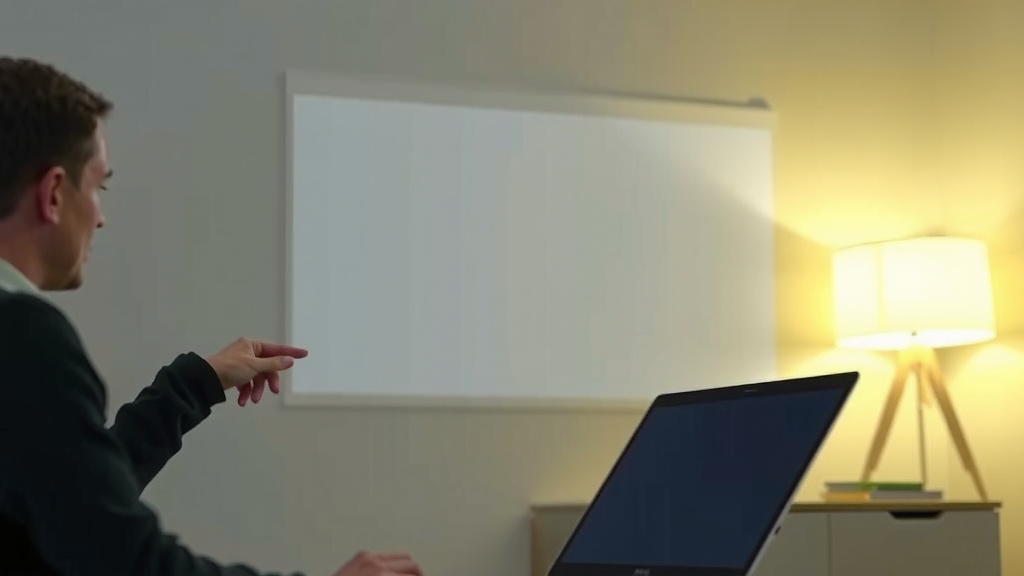
If you prefer to avoid cables altogether, wireless projection is an option. This technology has come a long way. It allows you to send your laptop’s screen to the projector without any physical wires. It’s great for quick setups or if your projector is far from your laptop.
Wireless Display Adapters and Dongles
One popular method involves using a wireless display adapter, like a Miracast dongle or an Apple TV (when using AirPlay). You plug this adapter into your projector’s HDMI port. Then, you connect it to your Wi-Fi network. Your laptop can then “cast” its screen to the adapter wirelessly.
Many modern projectors also have built-in Wi-Fi capabilities. Check your projector’s manual to see if it supports wireless casting directly. You might be able to connect your laptop via a dedicated app or through your operating system’s built-in casting features.
Considerations for Wireless
Wireless connections are convenient, but they can sometimes have a slight delay or be affected by network congestion. For presentations where timing is critical, or for fast-paced gaming, a wired connection is often still preferred. We found that a strong, dedicated Wi-Fi network is key for a good wireless experience.
Checklist for a Smooth Connection:
- Identify the available video ports on your laptop and projector.
- Choose the appropriate cable (HDMI, VGA, USB-C adapter, etc.).
- Ensure your cable is long enough for comfortable placement.
- Power off devices before connecting cables.
- Select the correct input source on your projector.
- Adjust your laptop’s display settings (Windows + P on Windows, System Preferences on Mac).
Conclusion
Connecting your laptop to a projector is a straightforward process once you know the basics. You’ve learned that wired connections, especially HDMI, offer reliability. You also know about VGA for older devices and USB-C for modern laptops. If you prefer to cut the cords, wireless options provide convenience, though a strong network is key. By checking your ports and selecting the right cable or wireless method, you can easily share your screen for any occasion. Your next step is to identify the ports on your devices and grab the correct cable or adapter to start projecting.
Frequently Asked Questions
What if my projector doesn’t have an HDMI port?
If your projector lacks an HDMI port, you’ll likely need to use a different connection type like VGA, DVI, or a USB-C adapter. First, identify the available ports on both your laptop and projector. Then, find a cable or adapter that matches these ports for a successful connection. You might need a separate audio cable if the connection type only supports video.
Can I connect my laptop to a projector using just a USB cable?
Connecting with a standard USB-A to USB-B cable, like you’d use for a printer, typically won’t work for screen mirroring. Some laptops support video output through a USB-C port, allowing a USB-C to HDMI adapter or a direct USB-C cable connection if the projector supports it. Always check your laptop’s specifications to confirm its USB-C port’s capabilities.
My projector is showing a blank screen. What should I do?
If your projector shows a blank screen, first ensure it’s powered on and set to the correct input source that matches your laptop’s connection. Double-check that your cables are securely plugged into both the laptop and the projector. Sometimes, simply restarting both devices in the correct order (projector first, then laptop) can resolve the issue.
Do I need a special cable for wireless projection?
You don’t necessarily need a special cable for wireless projection, but you might need a wireless display adapter or dongle that plugs into your projector’s HDMI port. Many projectors and laptops have built-in wireless casting features. If using built-in features, you’ll connect wirelessly via your Wi-Fi network, not a cable.
How do I adjust my laptop’s screen if it’s stretched on the projector?
If your laptop screen looks stretched, you’ll need to adjust your display settings. On Windows, press Windows key + P and select “Duplicate” or “Extend” mode. On a Mac, go to System Preferences > Displays to adjust mirroring or arrangement. You might also need to check your projector’s aspect ratio settings to match your laptop’s resolution.