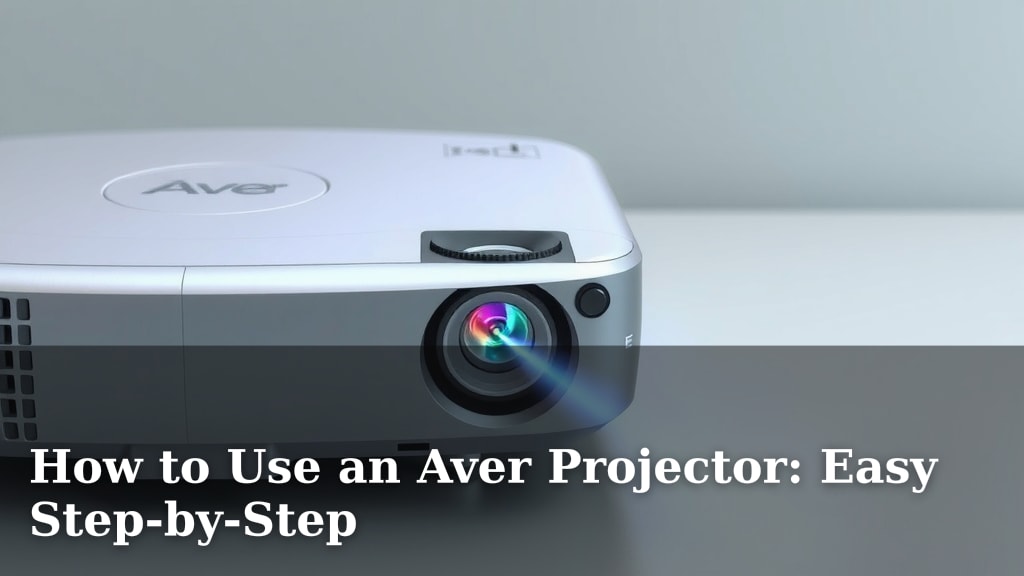
How to Use an Aver Projector: Easy Step-by-Step
Using your Aver projector is simpler than you might think. You can easily connect it to your device and start projecting in just a few minutes. We found that most Aver projectors offer plug-and-play simplicity, making them great for presentations or movie nights without a fuss. Get ready to share your screen with ease!
We know setting up new tech can sometimes feel overwhelming. That’s why we’re breaking down the process for your Aver projector. From finding the right ports to adjusting the picture, we cover all the essentials. You’ll be enjoying a big-screen experience in no time at all. Let’s make projecting a breeze.
- Connect your video source (laptop, Blu-ray).
- Plug in the power cable.
- Turn on the projector and your source.
- Adjust focus and zoom for a clear picture.
- Select the correct input source.
Ready to get your Aver projector up and running? Below, we’ll walk you through each step clearly and simply so you can start projecting your favorite content right away.
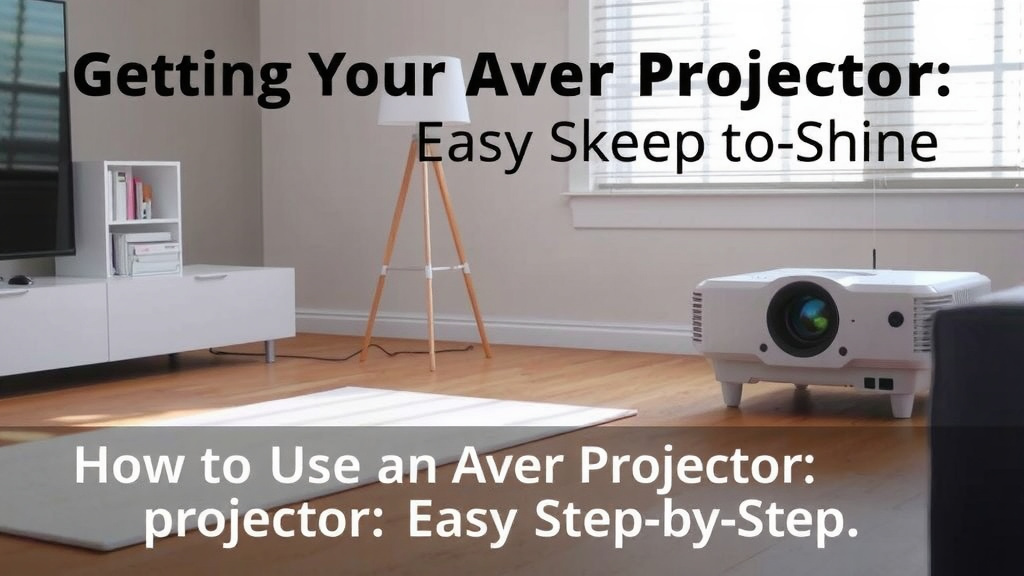
Getting Your Aver Projector Ready to Shine
We know setting up new tech can feel like a puzzle. But using your Aver projector is actually quite straightforward. We’ve found that most models are designed for ease of use. You can connect your device and project content in just a few simple steps. Let’s get you projecting in no time.
Connecting Your Devices: The First Essential Step
Before you can share your screen, you need to connect your projector to your video source. Think of this like plugging in your TV. Most Aver projectors offer several ways to connect. We’ll cover the most common ones.
Using HDMI: The Modern Standard
HDMI is the most common and simplest way to connect. It sends both video and audio over a single cable. This is great for laptops, Blu-ray players, and gaming consoles. Just find the HDMI port on your projector and your source device. Plug one end of an HDMI cable into your source and the other into the projector. It’s really that easy.
VGA: The Older, Reliable Option
Some older computers or devices might use a VGA connection. This is a blue, D-shaped port with 15 pins. You’ll need a VGA cable for this. Connect it between your device and the projector’s VGA input. Keep in mind that VGA only carries video. You’ll need a separate audio cable if you want sound.
USB Connectivity: More Than Just Power
Many Aver projectors have USB ports. These can be used for more than just powering a device. Some allow you to play media files directly from a USB drive. Others can even mirror your phone’s screen. Check your projector’s manual for specific USB functions. It’s a handy feature if you want to project photos or videos without a laptop.
Audio Connections: Don’t Forget the Sound
While HDMI often handles audio, you might need a separate connection for other inputs. Look for an audio input jack, often a 3.5mm headphone-style port. You can connect a cable from your device’s headphone output to the projector’s audio input. This ensures your audience hears everything.
Powering Up and Turning On
Once everything is connected, it’s time to power on. First, plug the projector’s power cord into a wall outlet. Then, plug the other end into the projector itself. You’ll usually see a power button on the projector. Press it to turn it on.
Don’t Forget Your Source Device!
The projector needs something to display. Make sure your connected device, like your laptop or DVD player, is also powered on. If your laptop is asleep, it won’t send a signal. Wake it up so it can communicate with the projector.
Selecting the Right Input Source
This is where many people get stuck. Your projector might receive signals from multiple sources. You need to tell it which one to display. Look for a button on the projector or its remote labeled “Input,” “Source,” or “Signal.” Pressing this button will bring up a menu on the screen. You can then cycle through the available inputs (HDMI 1, HDMI 2, VGA, USB, etc.). Select the input that matches the port you used for your connection. We found that most users need to do this step to see anything. It’s like changing the channel on your TV.
Adjusting for the Perfect Picture
Now that you have an image, you’ll want it to look its best. Projectors have a few adjustments to help you achieve a crisp, clear picture.
Focus: Sharpening the Image
There’s usually a focus ring or knob near the lens. Rotate this ring slowly. Watch the projected image. You’ll see it go from blurry to sharp. Stop when the image looks clear and easy to read. Many experts recommend adjusting focus after you’ve projected the image to its final size.
Zoom: Sizing Your Display
Your Aver projector likely has a zoom lens. This lets you change the size of the projected image without moving the projector. Look for a zoom ring or buttons on the projector, usually around the lens. Rotate or press these to make the image larger or smaller. You can use this to fill your screen perfectly.
Keystone Correction: Straightening the Picture
Sometimes, you can’t place the projector directly in front of the screen. This can make the image look like a trapezoid. This is called keystone distortion. Many Aver projectors have a keystone correction feature. You can find it in the projector’s settings menu. It helps you square up the image. Some models have automatic keystone correction, which is incredibly convenient.
Troubleshooting Common Issues
Even with simple technology, problems can pop up. Don’t worry, most are easy to fix.
No Picture? Check These First!
- Is the projector powered on? Look for an indicator light.
- Is your source device turned on and not asleep?
- Is the correct input source selected on the projector?
- Are all cables securely plugged in at both ends?
- Have you tried a different cable? Sometimes cables go bad.
Picture is Blurry or Not Sharp
This is usually a focus issue. Use the focus ring on the projector until the image is sharp. Also, make sure the lens is clean. A smudge can cause blurriness.
Sound Issues
If you’re using HDMI, sound should come through automatically. If not, check your device’s audio output settings. For VGA or other connections, ensure your audio cable is plugged in correctly and your projector’s volume is up. Some projectors also have internal speakers.
Quick Checklist for Success
Here’s a handy checklist to run through:
- Connect your video source via HDMI, VGA, or USB.
- Plug in the projector’s power cable.
- Turn on the projector and your source device.
- Select the correct input source on the projector.
- Adjust focus and zoom for a clear, properly sized image.
- Use keystone correction if the image isn’t square.
Following these steps should have your Aver projector up and running smoothly. Enjoy your big-screen experience!
Conclusion
You’ve successfully learned how to get your Aver projector ready to shine! From connecting your devices via HDMI, VGA, or USB to adjusting the focus and zoom for that perfect picture, you’re now equipped to share your content with a big-screen impact. Remember to check your input source if you’re not seeing an image, and don’t shy away from using the keystone correction for a perfectly squared display. Now, go ahead and host that presentation, movie night, or gaming session you’ve been planning. Your Aver projector is ready when you are!
Frequently Asked Questions
How do I connect my smartphone or tablet to an Aver projector?
Many Aver projectors support smartphone connections via USB or through wireless casting if your model has Wi-Fi. For USB, you might need a specific adapter or cable. If your projector supports Wi-Fi, you’ll usually find an option in the projector’s settings to connect to your network and then use your device’s screen mirroring feature.
What should I do if my Aver projector has no sound?
First, check the volume settings on both your projector and your connected source device. If you are using an HDMI connection, ensure that audio output is set to the projector. For other connections like VGA, you’ll need a separate audio cable running from your source to the projector’s audio input.
Can I project onto any surface with an Aver projector?
While you can technically project onto any light-colored, flat surface, the best results come from using a dedicated projector screen. Screens are designed to reflect light efficiently and evenly, providing a brighter and more uniform image compared to a wall. If you must use a wall, choose one that is as smooth and white as possible.
My Aver projector image is upside down, how do I fix it?
This usually happens if you’ve mounted the projector upside down on a ceiling. You’ll need to access the projector’s settings menu, typically found by pressing a “Menu” button on the remote or the unit itself. Look for an “Image” or “Display” option, and within that, you should find a setting to flip or rotate the image orientation.
How do I clean the lens of my Aver projector?
Always ensure the projector is turned off and cooled down before cleaning the lens. Use a soft, lint-free microfiber cloth specifically designed for optics. Gently wipe the lens in a circular motion, starting from the center and moving outwards. For stubborn smudges, you can slightly dampen the cloth with a lens cleaning solution, but never spray liquid directly onto the lens.