Connect My Laptop to My Projector Wirelessly
Yes, you can easily connect your laptop to a projector wirelessly. This is often done using built-in features on your laptop and projector, or with simple add-on devices. You’ll be able to share presentations or enjoy movies without messy cables. This wireless connection is much more convenient than traditional wired setups.
Many modern laptops and projectors come equipped with technology that makes wireless projection possible. You might be surprised at how simple the setup can be. We found that understanding your device’s capabilities is the first big step. This method removes the tripping hazards of cables and offers more flexibility in where you set up your display.
- Most laptops and projectors support wireless connections.
- You can use built-in screen mirroring or casting features.
- Wireless adapters are also an option for older devices.
- Setup usually involves connecting to the same network.
Let’s walk through exactly how you can connect your laptop to your projector wirelessly, step by step.
Getting Your Laptop Displayed on a Projector Without Wires
Connecting your laptop to a projector wirelessly is a fantastic way to share your screen. It means no more searching for the right cable or worrying about it being too short. You can easily project presentations, watch movies, or share photos. We’ve found that most modern devices make this process quite straightforward. Your biggest hurdle is often just knowing which option your devices support.
Understanding Wireless Display Technologies
There are a few main ways your laptop and projector can talk to each other wirelessly. They all aim to send your screen’s image from your computer to the projector over a network. This is often your home Wi-Fi network, but sometimes it can be a direct connection. We researched the most common methods you’ll encounter.
Built-In Screen Mirroring and Casting
Many laptops and projectors come with built-in features designed for exactly this purpose. Think of it like your laptop having a built-in remote control for your projector’s screen. You don’t need any extra hardware for this. It’s the most convenient option if your devices support it. We found that checking your device’s manuals or specifications online is the best first step.
Miracast: The Windows Standard
If you’re using a Windows laptop and a projector that supports Miracast, this is often your easiest route. Miracast is a technology that allows devices to mirror their screens directly. Your laptop and projector create a Wi-Fi connection just between themselves. You’ll typically find this option under your display settings. We’ve seen this work reliably on many Windows 10 and 11 machines.
To use Miracast, you usually open your laptop’s “Project” settings. Then, you’ll select “Connect to a wireless display.” Your laptop will scan for available devices. If your projector is Miracast-enabled, it should appear in the list. Selecting it will initiate the connection. Many experts agree Miracast is great for quick, ad-hoc presentations (Microsoft).
AirPlay: For Apple Ecosystems
For MacBooks and Apple devices, AirPlay is the go-to technology. If your projector supports AirPlay (or you have an Apple TV connected to it), this is your wireless solution. Your MacBook can mirror its entire screen or just a specific app to the projector. It’s designed to be very user-friendly. We found that AirPlay offers a smooth and high-quality visual experience.
On your MacBook, look for the AirPlay icon in the menu bar. It often looks like a rectangle with a triangle below it. Clicking this icon will show you available AirPlay devices. Select your projector or Apple TV, and you’re good to go. You can choose to mirror your display or extend it, giving you more screen real estate.
Chromecast: Google’s Casting Solution
Google’s Chromecast is another popular way to cast content wirelessly. While not built into most projectors directly, many smart TVs and streaming devices use it. If your projector is connected to a Chromecast device, you can cast from your laptop using the Chrome browser or compatible apps. This is a versatile option if you already use the Google ecosystem.
You can cast specific tabs from Chrome, entire desktops, or even video files. To cast, open Chrome, click the three dots in the top-right corner, and select “Cast.” You can then choose what you want to cast and which device to cast it to. We found that casting from Chrome is simple and effective for sharing web content.
Using Your Projector’s Built-In Network Features
Some projectors have their own Wi-Fi capabilities and can be connected directly to your network. They often come with companion apps or specific software that lets you send your laptop’s display to them. This method bypasses the need for technologies like Miracast or AirPlay, working on its own proprietary system. It’s a good solution if your projector is designed for network integration.
You’ll first need to connect your projector to your Wi-Fi network, usually through its on-screen menu. Then, you’ll download the projector manufacturer’s specific app or software on your laptop. This software acts as the bridge, finding your projector on the network and allowing you to share your screen. Many manufacturers provide detailed guides for this setup. We found that these apps offer robust control over display settings.
When Your Devices Aren’t Built for Wireless
What if your projector is a bit older and doesn’t have built-in wireless features? Or maybe your laptop doesn’t support things like Miracast? Don’t worry; you still have excellent options. These usually involve adding a small, inexpensive device to bridge the gap. We researched the most common add-on solutions.
Wireless HDMI Transmitters/Receivers
These devices work by plugging an HDMI transmitter into your laptop’s HDMI port and an HDMI receiver into your projector’s HDMI port. They create their own dedicated wireless signal to send the video and audio. This is a great option because it often bypasses the need for Wi-Fi network setup entirely. It’s like having a long, invisible HDMI cable.
The setup is usually plug-and-play. You connect the transmitter to your laptop and the receiver to your projector. They pair automatically or with a simple button press. This method is often preferred for its simplicity and direct connection, regardless of network stability. Many users find this the most reliable if they experience Wi-Fi issues.
Wireless Display Adapters
These are small dongles that plug into your projector’s HDMI port. They often receive signals from your laptop using technologies like Miracast or an app provided by the adapter manufacturer. Popular examples include Microsoft’s Wireless Display Adapter or other third-party devices. They effectively add wireless projection capabilities to any projector with an HDMI port. We found that these adapters are a cost-effective upgrade for older projectors.
You connect the adapter to your projector and power it up. Your laptop then connects to the adapter, usually through its screen mirroring settings, just as if the projector itself had the feature. This is a fantastic way to get modern wireless functionality without replacing your projector. Setting up these adapters is typically straightforward, often involving a few steps within your laptop’s display settings.
Connecting Through a Wireless Router (The Most Common Method)
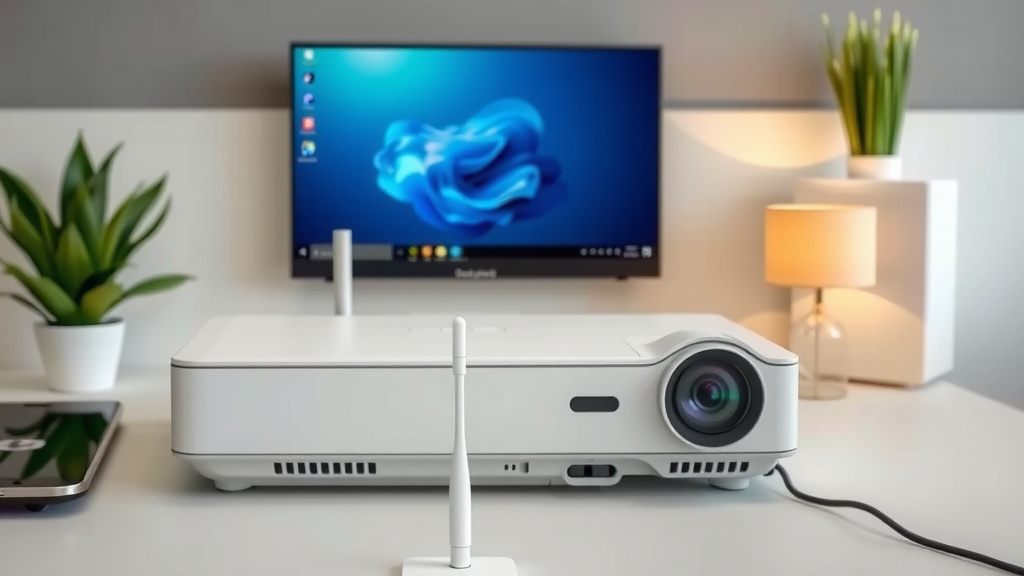
For many built-in wireless features (like some projector network apps, Chromecast, or even certain AirPlay setups), your laptop and projector need to be on the same Wi-Fi network. This is usually your home or office network, managed by your wireless router. Think of the router as a central hub that lets all your devices talk to each other.
Steps to Connect to the Same Network
First, ensure your projector is connected to your Wi-Fi network. This process varies by projector but typically involves navigating to the network settings menu on the projector itself. You’ll select your network name (SSID) and enter your Wi-Fi password. Many experts suggest using a strong, secure password for your network (NIST).
Next, connect your laptop to the exact same Wi-Fi network. This is crucial for most wireless projection methods. You can usually find your Wi-Fi icon in the system tray (Windows) or menu bar (macOS). Click it, select your network, and enter the password if prompted. Once both devices are on the same network, you can proceed with initiating the screen mirroring or casting process.
Checklist for a Smooth Wireless Connection
Here’s a quick rundown to ensure your wireless connection works well:
- Confirm both your laptop and projector support wireless projection.
- Check if they use Miracast, AirPlay, or another specific technology.
- If using Wi-Fi, ensure both devices are on the same network.
- Update your laptop’s graphics drivers for better compatibility.
- Restart your router if you encounter connection issues.
- Keep your projector’s firmware updated if possible.
Conclusion
Connecting your laptop to a projector wirelessly makes sharing your ideas and entertainment much easier. You’ve learned about built-in technologies like Miracast and AirPlay, as well as using companion apps or wireless adapters. Even older projectors can get a wireless upgrade. Remember, the key is often ensuring your devices are on the same network or using the right adapter. Take a moment to check your projector’s manual or your laptop’s display settings. You’re now ready to project your content without the hassle of cables!
Frequently Asked Questions
Can I connect my laptop to a projector wirelessly if my projector is old?
Yes, you often can. Older projectors might lack built-in wireless features, but you can add them. Wireless display adapters or wireless HDMI kits plug into your projector’s HDMI port. These devices let you send your laptop’s screen signal wirelessly.
What’s the difference between Miracast and AirPlay for wireless projection?
Miracast is primarily for Windows laptops, creating a direct Wi-Fi connection to compatible projectors. AirPlay is Apple’s technology, used by MacBooks and other Apple devices. It works with projectors that support AirPlay or through devices like an Apple TV.
Do I always need to be on the same Wi-Fi network for wireless projection?
For many methods, like Chromecast or projector companion apps, yes. Both your laptop and projector need to connect to the same Wi-Fi network. However, some solutions, like wireless HDMI transmitters, create their own direct connection and don’t rely on your existing network.
Will wireless projection work as well as a wired connection for high-quality video?
Wireless projection has improved greatly. For most presentations and general video playback, it’s excellent. For demanding applications like professional video editing or high-frame-rate gaming, a wired connection might still offer slightly better performance and lower latency.
What should I do if my laptop can’t find my projector wirelessly?
First, ensure both devices are on the same Wi-Fi network if required. Try restarting your laptop, projector, and router. You can also check if your laptop’s graphics drivers are up to date. Sometimes, simply toggling Wi-Fi off and on on your laptop can help.