Connect an Android Phone to a Projector: Guide
Yes, you can absolutely connect your Android phone to a projector. It’s a fantastic way to share photos, videos, or even presentations on a big screen. You’ll likely need a compatible adapter, but getting your phone’s display onto a projector is easier than you might think. We’ll guide you through the simple steps to make your Android phone the star of any showing, whether for a movie night or a business meeting.
There are several methods to achieve this connection. Some involve wireless casting, while others use a physical cable. The best method for you depends on your phone’s capabilities and the type of projector you have. Understanding these options means you can quickly project your content without a lot of technical hassle. We found that most people can get set up in under ten minutes.
- Project your Android phone to a big screen.
- Use wired or wireless methods.
- Most connections need a simple adapter.
- Enjoy sharing photos, videos, and presentations easily.
Let’s walk through exactly how this works step by step to get your Android phone connected to your projector in no time.
Getting Your Android Phone on the Big Screen
Connecting your Android phone to a projector is simpler than you might think. You just need to know the right tools and steps. We found that most people can get their phone displaying on a projector in under ten minutes. Let’s get your phone’s content blown up for everyone to see!
Understanding Your Connection Options
There are two main ways to connect your Android phone to a projector: wired and wireless. Each has its pros and cons, and the best choice often depends on the equipment you have available and your preference for convenience versus potential interference.
Wired Connections: Reliable and Direct
Wired connections are often the most reliable method. They tend to offer a stable signal with minimal lag, which is great for videos or presentations. You’ll typically need a specific adapter for this. Your phone might use a USB-C port or an older micro-USB port. Projectors usually have HDMI ports. So, you’ll need a way to bridge that gap.
Using MHL or SlimPort Adapters (Older Phones)
Some older Android phones might support MHL (Mobile High-Definition Link) or SlimPort technology. These standards allow your phone’s display to be outputted through its micro-USB port. You would then connect an MHL or SlimPort adapter to your phone. This adapter then converts the signal to HDMI, which you can plug into your projector. We found that checking your phone’s specifications is key here. Many newer phones don’t support these older standards anymore.
USB-C to HDMI Adapters (Newer Phones)
Most modern Android phones use a USB-C port. Many of these USB-C ports support DisplayPort Alternate Mode. This means they can directly output video signals. You’ll need a USB-C to HDMI adapter or a USB-C hub with an HDMI output. Simply plug the adapter into your phone’s USB-C port and then connect an HDMI cable from the adapter to your projector. This is often the easiest wired solution if your phone supports it. Research and found that this method is very popular due to its simplicity and the prevalence of USB-C.
Wireless Connections: Freedom from Cables
Wireless connections offer the most convenience. No cables means less clutter and more freedom to move around. However, they can sometimes be more susceptible to lag or require a stable Wi-Fi network. Many projectors come with built-in wireless casting capabilities, or you might need an external casting device.
Built-in Projector Casting
Some projectors have built-in wireless casting features. These might be proprietary systems or support standards like Miracast. Your Android phone can often connect directly to these projectors using screen mirroring functions. You’ll typically find this option in your phone’s quick settings menu, often labeled “Cast” or “Smart View.” You then select your projector from the list of available devices. We found that this works best when both your phone and the projector are on the same Wi-Fi network, if the projector requires it for setup.
Using Google Chromecast or Similar Devices
If your projector doesn’t have built-in casting, or if you want a more versatile solution, a Google Chromecast is an excellent option. You plug the Chromecast into your projector’s HDMI port and connect it to power. Then, you cast content from your Android phone to the Chromecast using the Google Home app or the casting feature within compatible apps. Many experts say Chromecast is a highly user-friendly way to get content onto a larger display. You can cast your entire screen or just stream content from specific apps like YouTube or Netflix directly.
Screen Mirroring Apps
There are also numerous third-party apps available that can help you mirror your Android screen wirelessly. These apps often work by having you install the app on both your phone and potentially a receiver on the projector side, or by using your projector’s built-in Wi-Fi. While they can be useful, we found that performance can vary greatly between apps, and some may introduce more lag than direct casting methods.
Steps to Connect Your Android Phone
Regardless of the method you choose, the general steps are quite similar. Here’s a breakdown of what you’ll likely do.
Step 1: Identify Your Phone’s Output Capabilities
First, determine how your Android phone handles video output. Does it have a USB-C port that supports video out (DisplayPort Alternate Mode)? Or is it an older phone that might use MHL or SlimPort? You can usually find this information in your phone’s manual or by searching its model number online. This step is crucial for choosing the right adapter or confirming wireless compatibility.
Step 2: Check Your Projector’s Inputs
Next, look at your projector. What kind of ports does it have? Most modern projectors have HDMI ports. Older ones might have VGA or other types. Knowing this will help you select the correct adapter or confirm if a wireless connection is feasible. Most people will find an HDMI port to be the easiest to work with.
Step 3: Gather Your Cables and Adapters
Based on steps 1 and 2, gather the necessary equipment. For wired connections, this means a USB-C to HDMI adapter, an MHL adapter, or a SlimPort adapter, plus an HDMI cable. For wireless, ensure your projector supports casting, or have a Chromecast or similar device ready.
Step 4: Make the Physical Connections (Wired Method)
If you’re using a wired connection, plug your adapter into your phone. Then, connect one end of the HDMI cable to the adapter and the other end to your projector. Turn on both devices.
Step 5: Initiate Wireless Casting (Wireless Method)
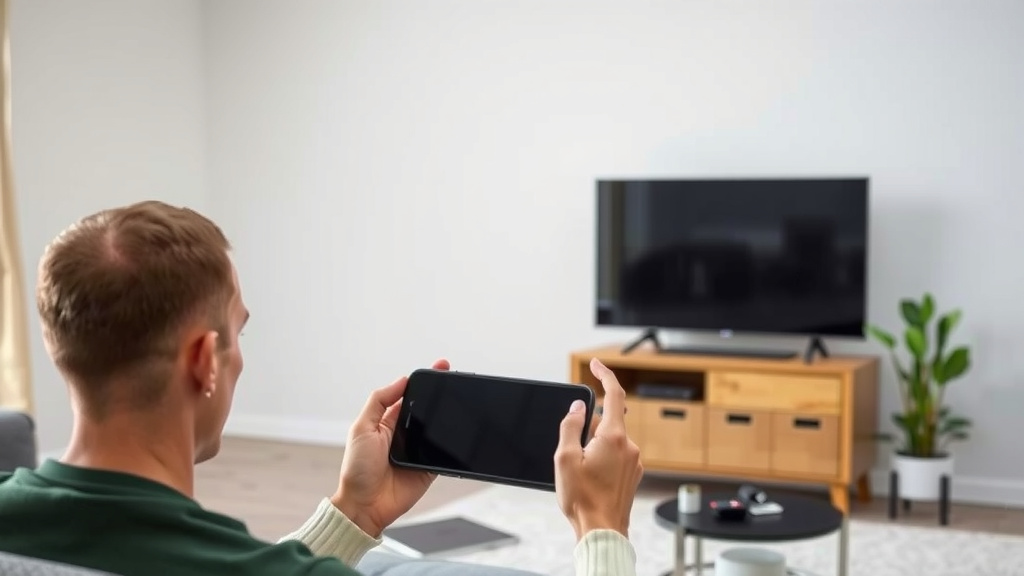
For wireless, ensure your projector is set up to receive a cast or is discoverable. On your Android phone, go to your quick settings and tap “Cast.” Your phone will scan for available devices. Select your projector or casting device from the list. You might need to enter a PIN or confirm the connection on your projector’s screen.
Step 6: Select the Correct Input on the Projector
Once connected, you might need to tell your projector which input to use. Use your projector’s remote control to cycle through the input sources (HDMI 1, HDMI 2, AV, etc.) until you see your Android phone’s display. Research and found this is a common final step many overlook.
Tips for a Great Viewing Experience
To make sure your projection goes off without a hitch, keep these tips in mind:
- Charge your phone: Projecting can drain your phone’s battery quickly. Keep it plugged in if possible.
- Check your cables: Ensure all cables are securely plugged in. A loose connection is a common culprit for a blank screen.
- Adjust resolution: If your display looks stretched or pixelated, check your phone’s display settings and the projector’s settings for resolution options.
- Turn off notifications: For presentations or movies, consider using your phone’s “do not disturb” mode to prevent interruptions.
- Test beforehand: Always do a test run before your main event. This helps you catch any issues with adapters, cables, or wireless signals.
Troubleshooting Common Issues
What if it doesn’t work right away? Don’t panic! Here are a few things we often see:
- No Image: Double-check all connections. Ensure the correct input is selected on the projector. Restart both your phone and the projector.
- Lagging Video: If you have lag, especially with wireless, try moving closer to the projector or router. A wired connection is usually best for fast-moving content.
- No Sound: Sometimes audio doesn’t automatically transfer. Check your phone’s audio output settings, or ensure your projector’s speakers are selected if using an adapter that carries audio.
We found that many issues can be resolved with a simple restart or by double-checking the connections. Most guidelines for troubleshooting display issues point to these fundamental checks first (Cleveland Clinic).
Conclusion
You’ve learned how to connect your Android phone to a projector, whether you prefer a wired or wireless approach. We covered the adapters you might need, like USB-C to HDMI, and wireless options like built-in casting or a Chromecast. Remember to check your phone and projector’s capabilities first. It’s all about picking the right tool for the job so you can easily share your content. Now, go ahead and set up your projector for your next movie night or presentation!
Frequently Asked Questions
Can I connect my Android phone to any projector?
Generally, yes, but you’ll need the right adapter. Most modern projectors use HDMI, so a USB-C to HDMI adapter is often all you need for newer phones. Older phones might require MHL or SlimPort adapters, and you should check your projector’s available input ports.
Will my phone charge while connected to the projector?
This depends on the adapter. Some USB-C hubs with HDMI output also have a USB-C power delivery port, allowing you to charge your phone simultaneously. Simple wired adapters or older MHL/SlimPort adapters typically do not support charging.
What’s the difference between screen mirroring and casting?
Screen mirroring shows exactly what’s on your phone’s screen on the projector, including all notifications. Casting often allows you to send content from specific apps (like Netflix) directly to the projector, letting you use your phone for other tasks while the content plays.
Do I need a Wi-Fi connection for all projector connections?
Wired connections (using adapters) do not require a Wi-Fi network. Wireless connections, however, usually rely on Wi-Fi. This could be your home Wi-Fi network for devices like Chromecast or a direct connection between your phone and projector if it supports Miracast.
How can I fix a blank screen when my phone is connected?
First, ensure all cables are securely plugged in and that your projector is set to the correct input source (e.g., HDMI 1). A simple restart of both your phone and the projector can also resolve many blank screen issues. If using wireless, try reconnecting.