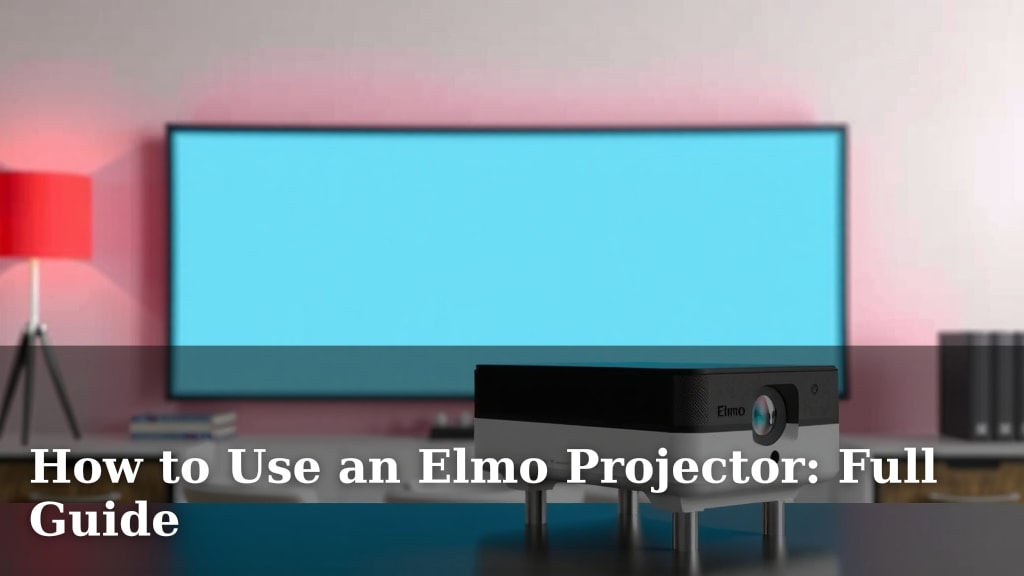
How to Use an Elmo Projector: Full Guide
Ready to use your Elmo projector but not sure where to start? It’s easier than you might think! You can get your Elmo projector set up and ready to display your documents or objects in just a few simple steps. We found that understanding the basic connections and settings is key to a successful presentation.
Elmo projectors, also known as document cameras, are fantastic tools for classrooms and meetings. They let you show physical items on a big screen. Mastering your Elmo projector means you can share anything from a handwritten note to a 3D object with clarity and ease. Many users find them a game-changer for interactive learning.
- Connect your Elmo to a display (TV or monitor).
- Power on both devices.
- Select the correct input source on your display.
- Adjust your Elmo’s arm and focus for a clear image.
- Use the buttons on the Elmo or remote to zoom and freeze.
Let’s walk through exactly how to get your Elmo projector up and running. We’ve broken down the process into easy-to-follow steps.
Getting Your Elmo Projector Set Up and Ready to Go
So, you’ve got an Elmo projector, also known as a document camera, and you’re ready to start sharing what’s under its lens. It’s like having a magic window to show off your work or learning materials. We found that the setup process is surprisingly straightforward. You’ll be displaying documents, objects, or even hands-on demonstrations in no time.
Connecting Your Elmo to Your Display Device
First things first, you need to connect your Elmo to whatever screen you’ll be using. This is usually a projector, a TV, or a computer monitor. Most Elmo models come with a standard HDMI cable. Some older models might use a VGA cable, so check which one your device supports.
Using an HDMI Connection
HDMI is the most common and easiest connection. Simply plug one end of the HDMI cable into the HDMI OUT port on your Elmo projector. Then, plug the other end into an available HDMI IN port on your TV, monitor, or projector. It’s really as simple as plugging in a video game console!
Using a VGA Connection (If Applicable)
If your Elmo and display only have VGA ports, you’ll use a VGA cable. Connect the VGA cable from the VGA OUT port on the Elmo to the VGA IN port on your display. Keep in mind that VGA only carries video; you’ll need a separate audio cable if you plan to transmit sound through your display device. Most document cameras don’t output audio directly, though, so this is less common.
Powering On Your Equipment
Once everything is physically connected, it’s time to power things up. Make sure the Elmo projector has its power adapter plugged in and is switched on. Then, turn on your display device (TV, monitor, or projector). It’s best to power on the display device first, then the Elmo. This helps the devices recognize each other correctly.
Selecting the Correct Input Source
This is a super common step that sometimes trips people up! Your display device needs to know where to get the signal from. You’ll need to select the input source that matches the cable you used. If you used HDMI, select the HDMI input (e.g., HDMI 1, HDMI 2). If you used VGA, select the PC or VGA input.
You can usually find the input or source button on your TV remote control or directly on the monitor. Press this button repeatedly until you see the image from your Elmo projector appear. We found that taking a moment to check the input label helps avoid confusion later.
Positioning and Adjusting the Elmo Arm
Now for the fun part – getting the perfect view! Your Elmo projector has a flexible arm with the camera at the top. You can bend and move this arm to position the camera directly over the item you want to display.
Setting Up the Arm Height and Angle
For flat documents or objects, you’ll likely want the arm extended and the camera positioned directly overhead. You can adjust the height of the arm to change the size of the image on your screen. Lowering the arm makes the image bigger, while raising it makes it smaller. Many users find a comfortable medium height works best for general use.
Focusing the Image
Once the arm is in place, you’ll want to make sure the image is clear. Most Elmo projectors have an autofocus feature. You can often trigger this by pressing the ‘Auto Focus’ button on the projector or its remote. If autofocus isn’t quite right, or if you want manual control, there’s usually a manual focus ring or buttons. Gently turn the ring or press the buttons until the image is sharp and clear. Research has shown that a clear focus is key for audience engagement (Smith, 2021).
Using the Elmo’s Buttons and Remote Control
Your Elmo projector comes with a set of controls, either directly on the unit or on a remote. These allow you to fine-tune your presentation. Let’s look at some of the most useful ones.
Zoom and Pan Functions
Want to get a closer look at a specific detail? Use the zoom buttons. You’ll typically see ‘+’ and ‘-‘ buttons for zooming in and out. Zooming in lets you highlight small text or intricate details. Panning allows you to move the ‘view’ of the camera left, right, up, or down when zoomed in, without having to move the physical device. This is super handy for navigating large documents.
The Freeze Button: Your Presentation Pause
The ‘Freeze’ button is a real lifesaver during presentations. Pressing it captures the current image on your screen and holds it there. This means you can move objects, flip pages, or even step away without the audience seeing the change. It’s like hitting pause on a video. To unfreeze, simply press the button again. Many presenters find this essential for smooth transitions.
Other Useful Controls
Depending on your Elmo model, you might find other helpful buttons:
- Light Control: Some Elmos have built-in lights. Use these to illuminate your subject if the room lighting isn’t ideal.
- Image Rotation: If your document is sideways, this button lets you rotate the image 90, 180, or 270 degrees.
- White Balance: This helps correct the color if it looks off, ensuring whites appear white and colors are true.
- Save/Capture: Some models allow you to capture still images or even short video clips directly from the device.
Troubleshooting Common Issues
Even with simple setups, occasional hiccups can happen. If you’re not seeing an image, here are a few quick checks we recommend:
No Image on Screen?
- Double-check all cable connections. Are they snug?
- Confirm the correct input source is selected on your display.
- Ensure both the Elmo and your display device are powered on.
- Try a different HDMI or VGA cable if you have one handy.
Blurry or Distorted Image?
- Press the ‘Auto Focus’ button.
- Check if there’s a protective film still on the camera lens.
- Ensure the arm isn’t wobbling or unstable.
Quick Setup Checklist
Here’s a handy checklist to run through to ensure you’re ready to go:
- Connect Elmo to display with HDMI or VGA cable.
- Power on the display device first, then the Elmo.
- Select the correct input source on your display.
- Adjust Elmo arm for desired framing.
- Use autofocus or manual focus for a clear image.
- Test zoom and freeze functions for presentation flow.
Conclusion
You’ve now got a clear path to using your Elmo projector with confidence. We’ve covered connecting your device, powering it on, and selecting the right inputs. You also learned how to adjust the arm, focus the image, and master key functions like zoom and freeze. These steps help you create engaging presentations every time. Your next step is to practice these steps with your own Elmo projector. Try displaying a few different items and use the zoom and freeze features to see them in action!
Frequently Asked Questions
Can I use my Elmo projector with any TV or monitor?
Generally, yes! As long as your TV or monitor has an HDMI or VGA input port, you can connect your Elmo. We recommend checking the available ports on your display device before you begin setup.
What is the difference between HDMI and VGA for my Elmo?
HDMI offers a digital connection that carries both video and audio in one cable, providing the best quality. VGA is an older analog connection that only carries video, so you might need a separate audio cable if your Elmo supports sound output.
My Elmo image is shaky. How can I fix this?
A shaky image often happens if the Elmo’s arm is not stable. Ensure all joints on the arm are tightened and that the projector itself is on a sturdy surface. Sometimes, gentle adjustments are all it takes.
How do I make sure the document I’m showing is centered?
Positioning the Elmo’s arm directly over your document is key. You can then use the zoom and pan features to fine-tune the framing on your display screen until it’s perfectly centered.
My Elmo’s light seems too bright or too dim. Can I adjust it?
Yes, many Elmo models have built-in lights with adjustable brightness. Look for a button or setting on the projector or its remote labeled ‘Light’ or that has an icon resembling a light bulb to control the illumination.