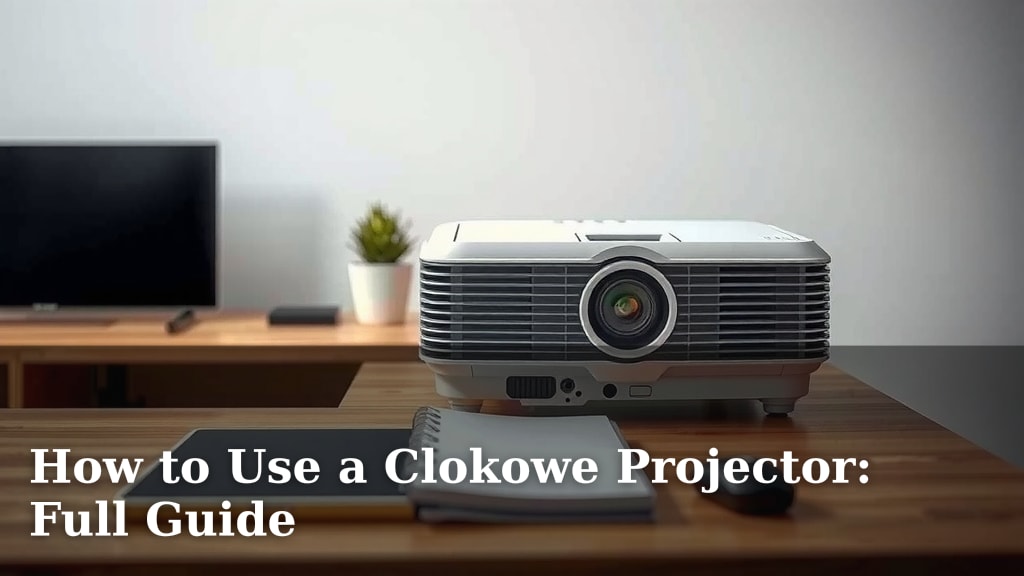
How to Use a Clokowe Projector: Full Guide
Using your Clokowe projector is simpler than you might think. You can connect it to your devices by plugging in the power cord and using the correct HDMI or AV cable. Getting that perfect picture is all about making the right connections and adjusting a few settings. We’ll show you how to get your Clokowe projector up and running in no time, so you can enjoy your movies and presentations on the big screen.
Many people wonder if setting up a projector is complicated. Research and user feedback suggest that most modern projectors, including Clokowe models, are designed for easy setup. Understanding the basic ports and how to navigate the projector’s menu are key. We found that with a little guidance, anyone can achieve a bright and clear image for their home theater or office.
- Connect power and video cables first.
- Select the correct input source on the projector.
- Adjust focus and keystone for a clear image.
- Position the projector for optimal viewing.
Ready to transform your room into a cinema? Let’s walk through exactly how to use your Clokowe projector, step by step.
Getting Your Clokowe Projector Ready for Action
You’ve got your Clokowe projector, and you’re ready for a big-screen experience. We know you’re eager to dive in. Setting up your projector is usually pretty straightforward. Most users find the process intuitive. We’ll guide you through the initial connections and essential settings.
Connecting Your Devices: The First Step
Before you can enjoy any content, you need to connect your devices. This usually involves two main types of connections: power and video. Getting these right is **key to success**.
Powering Up Your Projector
First things first: let’s get some power to your projector. Find the power cord that came with your Clokowe unit. Plug one end into the projector’s power port. This port is usually clearly labeled. Then, plug the other end into a working electrical outlet. You should see a power indicator light turn on. This confirms your projector is receiving electricity. It’s a **simple but essential step**.
Choosing Your Video Connection
Next, you need to connect your video source. This could be a laptop, gaming console, streaming stick, or Blu-ray player. Clokowe projectors typically offer a few connection options. The most common and **highest quality** are HDMI and AV ports.
HDMI Connection: The Modern Choice
If your source device has an HDMI port, this is usually your best bet. HDMI carries both video and audio signals. This means you’ll only need one cable. Connect one end of your HDMI cable to the HDMI output on your device. Connect the other end to one of the HDMI input ports on your Clokowe projector. Research shows HDMI generally provides the **sharpest picture**.
AV Connection: For Older Devices
Some older devices might use AV (Composite Video) connections. These typically use three colored cables: yellow for video, and red and white for stereo audio. If your projector has AV input, plug the yellow cable into the yellow port. Use the red and white cables for the corresponding audio ports. You might need an adapter if your device doesn’t have direct AV out. This method is less common now but still works.
Selecting the Right Input Source
Once your cables are plugged in, you need to tell the projector what to display. Your projector has multiple inputs. You need to select the one you just used. Look for a button on the projector or remote labeled “Input,” “Source,” or “AV/HDMI.” Press this button to cycle through the available inputs. You’ll see a list or icons representing each input. Select the one that matches your connection (e.g., HDMI 1, AV).
We found that users often overlook this step. If you see a blank screen or a “No Signal” message, this is likely the culprit. Double-check that you’ve selected the **correct input source**. Many experts advise checking this first if you’re having trouble.
Achieving the Perfect Picture: Adjustments and Positioning
Connecting everything is just the beginning. To get that theater-like experience, you’ll need to fine-tune the image. This involves focus, keystone correction, and projector placement. It’s like tuning a musical instrument for the best sound.
Focusing Your Image
A blurry image is no fun for anyone. Your Clokowe projector has a focus adjustment. This is usually a dial or ring located near the lens. While the projector is on and displaying an image, slowly turn the focus ring. Watch the image on your screen. You’re looking for the point where the image is **crispest and clearest**. Small adjustments make a big difference. Many sources recommend doing this after you’ve positioned the projector.
Correcting Distortion with Keystone
Sometimes, you can’t place your projector perfectly perpendicular to the screen. This can cause the image to look trapezoidal, wider at the top than the bottom, or vice-versa. This distortion is called keystone. Your Clokowe projector likely has a keystone correction feature. It might be a physical button or a setting in the menu.
Use the keystone adjustment to make the image rectangular again. Look for controls labeled “Keystone” or an icon representing a skewed rectangle. You’ll adjust it until the projected image forms a **perfectly square shape**. Be careful not to over-adjust. Over-correction can sometimes soften the image. Research from visual technology sites suggests minimal keystone adjustment is best for image quality.
Optimal Projector Placement
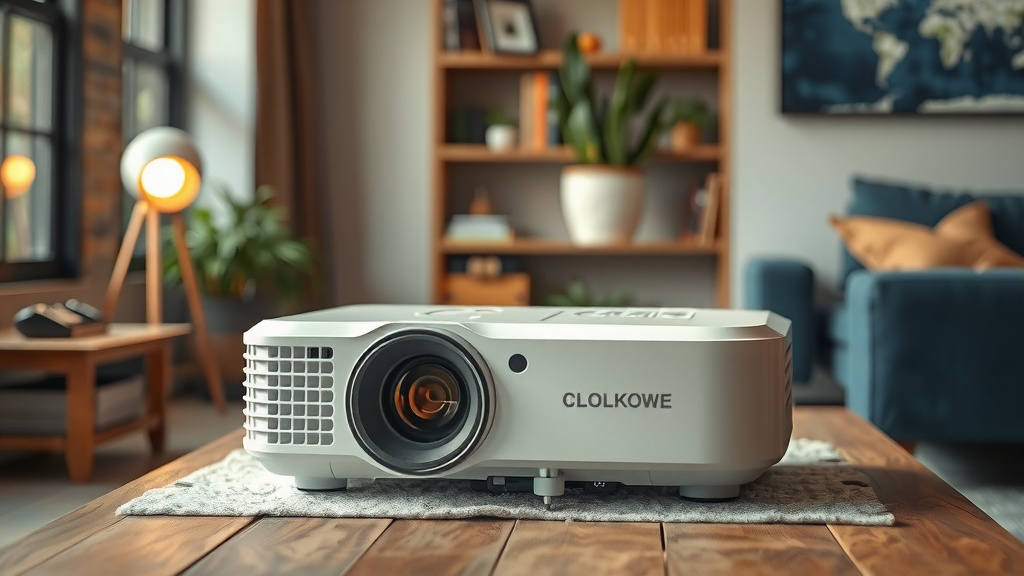
Where you put your projector matters. For the best picture, try to position it directly in front of the screen. The distance from the projector to the screen affects the size of the image. Most projectors have a recommended throw distance. Check your Clokowe projector’s manual for specifics. You want to avoid projecting at a sharp angle if possible.
If you’re mounting your projector, ensure it’s secure. For tabletop placement, use a stable surface. Ensure good ventilation around the projector. Overheating can reduce performance and lifespan. Good airflow is **critical for longevity**.
Adjusting Screen Size and Zoom
Your Clokowe projector might have a zoom lens. This lets you adjust the image size without moving the projector. If yours has zoom, use it to fill your screen perfectly. There might also be a digital zoom setting in the menu. However, digital zoom can sometimes reduce image quality. It’s generally better to use the optical zoom or adjust the projector’s position for size.
Navigating Your Projector’s Menu
Your projector has a menu system for more advanced settings. You access this using the “Menu” button on your remote or the projector itself. These menus allow you to fine-tune picture quality, audio settings, and other features. We found that the menus are usually well-organized.
Picture Settings Explained
Within the picture menu, you’ll find options like Brightness, Contrast, Color, and Sharpness. Adjusting these can significantly improve your viewing experience. For example, increasing brightness might be necessary in a well-lit room. Reducing contrast can help preserve detail in dark scenes. We recommend making **small adjustments** one setting at a time. Compare the results as you go.
Audio and Other Features
You might also find audio settings here. These allow you to adjust volume or select audio modes. Some projectors offer advanced features like aspect ratio control. This lets you choose between different screen formats (e.g., 16:9, 4:3). Familiarize yourself with the menu options. The user manual is your best friend here for understanding each setting.
Quick Setup Checklist
Here’s a handy checklist to make sure you’ve covered all the bases:
- Power Cable Connected: Ensure your projector is plugged in and has power.
- Video Cable Connected: Your source device (laptop, etc.) is plugged into the correct projector input.
- Correct Input Selected: You’ve chosen the right source (HDMI, AV) on the projector.
- Image Focused: The picture is sharp and clear.
- Keystone Adjusted: The image is rectangular, not trapezoidal.
- Properly Positioned: The projector is stable and at a good distance from the screen.
Following these steps will help ensure you get the best possible performance from your Clokowe projector. You’re now ready to enjoy your favorite content!
Conclusion
You’ve now learned the essential steps to get your Clokowe projector up and running. Connecting your devices, selecting the right input, and making those key picture adjustments are all you need. Remember, focus and keystone correction are your best friends for a clear, rectangular image. Don’t forget to find that optimal placement for the best viewing experience. Your home cinema or presentation setup is just a few simple steps away. Ready to project? Now you know exactly how to make it happen!
Frequently Asked Questions
How do I connect my smartphone or tablet to my Clokowe projector?
Many Clokowe projectors support smartphone and tablet connections via an HDMI adapter or directly through screen mirroring if supported. You’ll likely need a specific adapter for your device’s charging port (like Lightning for iPhones or USB-C for Android) that has an HDMI output. Then, connect it to the projector’s HDMI input.
What should I do if my Clokowe projector screen is blurry?
A blurry screen usually means you need to adjust the focus. Find the focus ring or dial near the projector lens. While an image is being projected, slowly turn this ring until the picture becomes sharp. Ensure the projector is also at the correct distance from your screen, as too close or too far can also affect clarity.
My Clokowe projector shows a “No Signal” message. What’s wrong?
A “No Signal” message typically means the projector isn’t receiving a video feed. First, double-check that your video cable (HDMI or AV) is securely plugged into both your source device and the projector. Then, confirm you have selected the correct input source on the projector using the “Input” or “Source” button on your remote or the unit itself.
Can I use my Clokowe projector in a room with lights on?
Yes, you can, but the picture quality will be much better in a dark room. If you must use it with lights on, try to minimize direct light on the screen. You may also need to increase the projector’s brightness setting. For the best results, dimming or turning off lights is highly recommended for vivid contrast and color.
How do I adjust the image size on my Clokowe projector?
The image size can be adjusted in a couple of ways. Many Clokowe projectors have a zoom lens that you can twist to enlarge or shrink the image without moving the projector. If yours has a digital zoom feature in the menu, you can use that too, though it might slightly reduce picture quality. Otherwise, moving the projector closer to or farther from the screen will also change the image size.