How to Use an Elephas Mini Projector: Full Guide
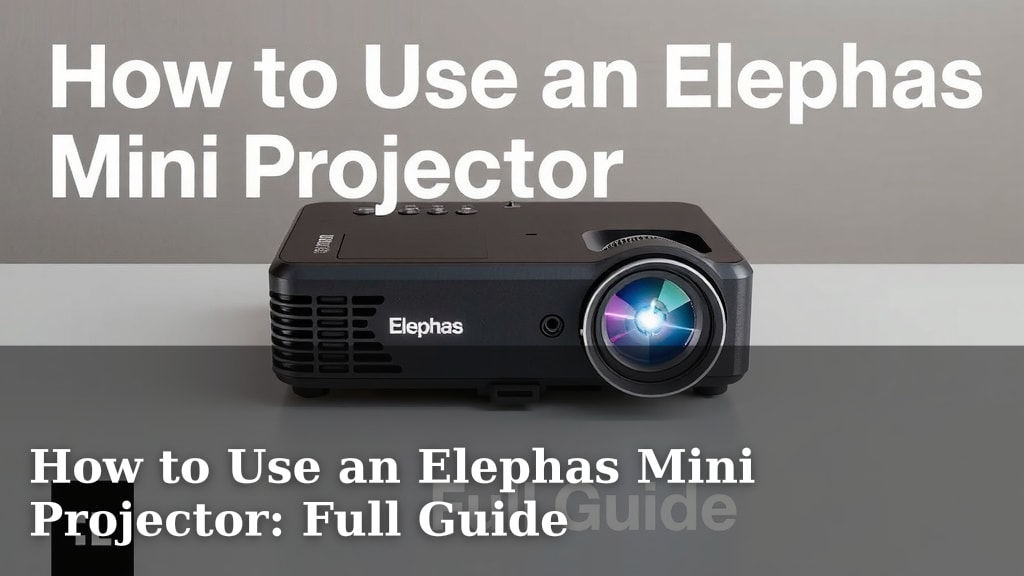
Using your Elephas mini projector is straightforward, and this guide will help you get started quickly. You can easily connect your devices via HDMI or USB for a great viewing experience. It’s designed to be user-friendly for everyone.
This compact projector is perfect for movie nights or presentations on the go. We found that understanding its basic setup and connectivity options is key. It offers a surprisingly big screen experience from a small package.
- Connect your phone, laptop, or streaming stick.
- Use the included cables for a wired connection.
- Adjust focus and keystone for the best picture.
- Enjoy your favorite content anywhere.
Let’s walk through exactly how to get your Elephas mini projector up and running, step by step.
Getting Your Elephas Mini Projector Set Up
Setting up your Elephas mini projector is quite simple. You’ll be enjoying your favorite shows or presentations in no time. We found that understanding the basic connections is the first step. It’s designed to be very user-friendly.
Understanding Your Connections
Your Elephas mini projector offers several ways to connect your devices. The most common methods are HDMI and USB. These cables usually come included with your projector. Always check your box to make sure you have them.
HDMI Connection: For High-Definition Content
HDMI is the standard for high-definition video and audio. It’s like a superhighway for your entertainment. If your laptop, gaming console, or streaming stick has an HDMI port, this is likely your best option for clear, sharp images. Plug one end into your device and the other into the projector’s HDMI port. You might need to switch the projector’s input source to HDMI.
USB Connection: For Photos and Videos
The USB port is super handy for sharing photos or playing video files directly from a USB drive. You can also connect some smartphones or tablets via USB. This is great for impromptu slideshows or sharing vacation videos. Just plug your USB drive into the projector’s USB port. Navigate the projector’s menu to find your connected drive.
Other Ports and Their Uses
Many Elephas models also include other ports. You might find an AV input for older devices. Some also have a headphone jack for private listening. A TF card slot is another possibility for media playback. Refer to your specific model’s manual for exact port details.
Optimizing Your Viewing Experience
Once you’re connected, you’ll want to make sure the picture looks its best. This involves a few simple adjustments. Think of it like tuning a guitar; a little tweaking makes a big difference.
Focusing the Image
Look for a focus ring or wheel on the projector. It’s usually located near the lens. Slowly turn the ring until the image on your screen becomes sharp and clear. If the text is blurry, you’re not quite there yet. Keep adjusting until everything looks crisp. This is vital for any viewing session.
Adjusting the Keystone Effect
The keystone effect happens when the projector isn’t perfectly perpendicular to the screen. This can make the image look like a trapezoid, wider at the top or bottom. Your Elephas projector likely has a keystone correction dial or setting. Use this to square up the image. Adjust it until the projected picture forms a perfect rectangle on your wall or screen. Many sources suggest aiming for a straight-on projection whenever possible (NIH).
Screen Size and Placement
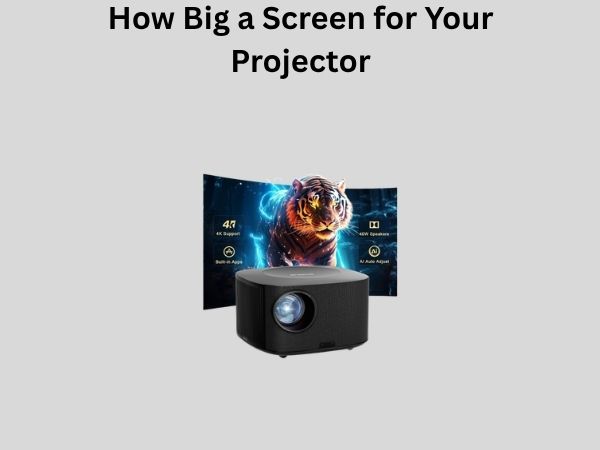
The beauty of a mini projector is its portability. You can project onto any flat, light-colored surface. A plain white wall works wonderfully. For the best results, position the projector directly in front of the screen. Avoid placing it at a sharp angle, as this exacerbates the keystone effect. Experiment with the distance to achieve your desired screen size. Closer means smaller, farther means larger.

Navigating Your Elephas Projector Menu
Every projector has a menu system. Yours is no different. It’s where you control settings and select sources. You’ll use the included remote control or buttons on the projector itself.
Using the Remote Control
Your remote is your command center. You’ll find buttons for power, navigation (up, down, left, right, OK), menu, exit, and source selection. Point the remote at the projector’s infrared sensor. Press the buttons gently. If you lose your remote, most basic functions can be controlled via buttons on the projector unit.
Selecting Your Input Source
This is a common step. After connecting your device, you need to tell the projector what to display. Look for a “Source” or “Input” button on your remote or projector. Press it to bring up a list of available inputs like HDMI 1, AV, USB, etc. Select the input that matches where you plugged in your device. You’ve essentially told the projector where to look for a signal.
Exploring Other Settings
Within the projector’s menu, you can often adjust picture settings like brightness, contrast, and color. You might also find audio options or display modes. We recommend starting with the default settings. You can always tweak them later if you feel it’s necessary. For basic viewing, the defaults are usually quite good.
Here’s a quick checklist to get you started:
- Plug in your projector and turn it on.
- Connect your device using the correct cable (HDMI, USB, etc.).
- Use the remote to select the correct input source.
- Adjust focus until the image is clear.
- Use keystone correction to make the picture rectangular.
- Enjoy your big-screen experience!
Conclusion
You’ve now learned how to set up and optimize your Elephas mini projector. Connecting your devices via HDMI or USB is simple. Adjusting the focus and keystone ensures a clear, rectangular picture every time. Navigating the menu with your remote is straightforward. You’re all set for your next movie night or presentation. Now, go ahead and enjoy that big screen experience anywhere!
Frequently Asked Questions
Can I connect my iPhone or Android phone to the Elephas mini projector?
Yes, you often can. Many Elephas models allow phone connection via USB. Some may require an adapter, like an HDMI to Lightning or USB-C to HDMI adapter, depending on your phone’s ports. Always check your projector’s manual for specific compatibility.
What is the best surface to project onto?
A plain, light-colored wall is usually best. White or off-white works perfectly. For the sharpest image, a dedicated projector screen is ideal, but a smooth, clean wall will give you a great viewing experience without extra cost.
How do I fix a blurry image on my Elephas projector?
To fix a blurry image, locate the focus ring or dial on your projector, typically near the lens. Slowly turn this dial until the projected image becomes sharp and clear. You may need to adjust it slightly as you change the distance from the projector to the screen.
My projector image looks like a trapezoid. How can I fix this?
This is called the keystone effect. Your Elephas projector should have a keystone correction dial or button. Use this to adjust the angle of the projected light until the image forms a perfect rectangle. Placing the projector directly in front of the screen, rather than at an angle, also helps minimize this.
Can I use the Elephas mini projector outdoors at night?
Absolutely! Mini projectors are perfect for outdoor movie nights. For the best results, wait until it’s dark outside, as ambient light can wash out the image. Ensure your projector is protected from the elements if you’re setting it up in a damp environment.