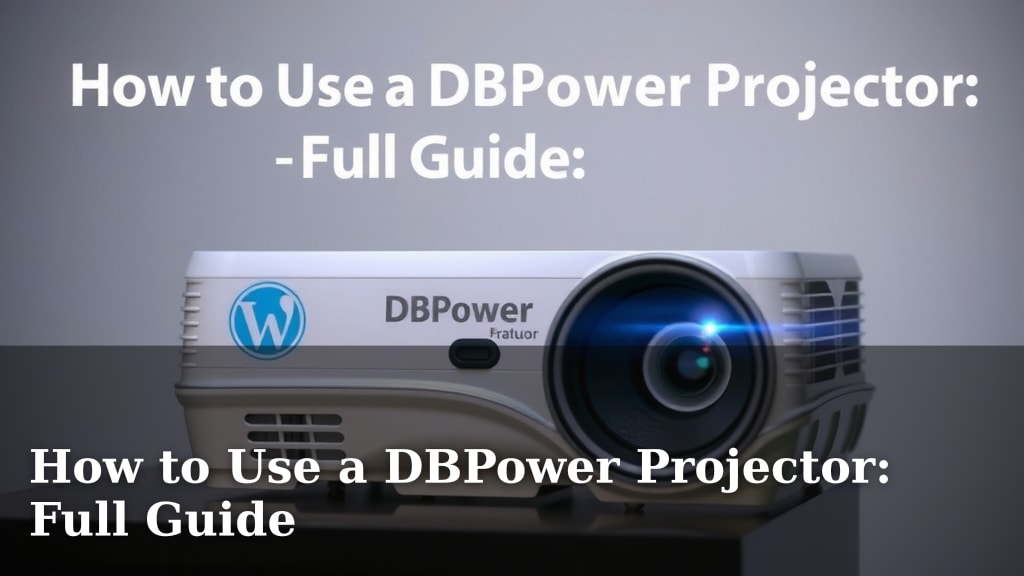
How to Use a DBPower Projector: Full Guide
Using your DBPower projector is straightforward once you know the steps. You’ll want to connect your device, adjust the focus, and select your input source to start watching your favorite movies or giving presentations. Most models include an easy-to-use remote for quick adjustments.
Getting your DBPower projector set up correctly ensures the best viewing experience. This involves more than just plugging it in; it’s about optimizing image quality and sound. We found that proper setup can make a big difference for both home entertainment and business use.
- Connect your video source (laptop, streaming stick, etc.).
- Adjust lens for a clear, sharp picture.
- Use the remote to select the correct input.
- Position the projector for optimal screen size.
Below, we’ll walk you through each step to get your DBPower projector up and running quickly. Let’s make movie night amazing!
Getting Your DBPower Projector Ready to Go
So, you’ve got your DBPower projector, and you’re ready for movie night or a big presentation. That’s fantastic! Getting it set up is mostly about a few key steps. You’ll want to find the right spot, plug everything in, and then fine-tune the image. It’s not rocket science, but a little attention to detail goes a long way. We found that spending a few extra minutes on setup makes the whole experience much better.
Connecting Your Devices
First things first, let’s get your projector hooked up to your favorite device. This is how you’ll send the picture and sound to your projector screen. DBPower projectors are pretty versatile, and they usually offer several ways to connect.
Wired Connections (HDMI and VGA)
Most modern devices, like laptops, gaming consoles, and Blu-ray players, use HDMI. It’s a simple plug-and-play solution that carries both high-definition video and audio. Just find the HDMI port on your projector and the corresponding port on your device. You’ll need an HDMI cable for this. If you’re connecting an older laptop or computer that doesn’t have HDMI, you might need to use a VGA cable. VGA typically only carries video, so you might need a separate audio cable if your projector doesn’t have built-in speakers you plan to use.
Wireless Connections (Wi-Fi and Bluetooth)
Many DBPower models also offer wireless connectivity, which can be super convenient. Some projectors can connect to your home Wi-Fi network, allowing you to stream content directly from apps or mirror your phone or tablet screen. Check your projector’s manual to see if it supports screen mirroring or Miracast. Bluetooth is often available for connecting wireless speakers or headphones, giving you more audio options. Pairing is usually as simple as selecting your device from a list and confirming a code.
USB and SD Card Options
Don’t forget about USB ports and SD card slots! These are great for playing media files directly from a USB drive or memory card. If you have movies, photos, or presentations saved on a USB stick, you can often plug it straight into the projector. This is a fantastic way to enjoy content without needing another device. Make sure your files are in a format the projector supports; usually, common formats like MP4 for video and JPG for pictures work well.
Powering Up and Basic Setup
Once everything is connected, it’s time to bring your DBPower projector to life. This part is pretty straightforward, but getting it right sets you up for the best picture quality.
Plugging In and Turning On
Find the power adapter that came with your projector. Plug one end into the projector and the other into a wall outlet. You’ll usually see a power button on the projector itself, often near the lens or on the back. Press it, and you should see a power indicator light come on. If nothing happens, double-check that the power cord is securely plugged in at both ends.
Remote Control Basics
Your projector likely came with a remote control, which is your best friend for adjustments. Familiarize yourself with the main buttons. You’ll typically find power, input selection, navigation arrows, an OK/Enter button, and buttons for menu settings like focus and keystone correction. Keep the batteries fresh, and try to keep the remote handy so you don’t have to get up every time you need to change something.
Adjusting for the Perfect Picture
Now for the magic! Making the picture sharp and clear is key to enjoying your DBPower projector. This involves a couple of simple adjustments.
Focusing the Image
Look for a focus ring or dial on the projector lens. It might be a sliding ring or a rotating dial. As you adjust it, you’ll see the image on your screen change. Turn it slowly until the picture is as sharp and clear as possible. Text should be easy to read, and edges should be crisp. If the image is still a bit blurry, try moving the projector slightly closer or further from the screen and then refocus. We found that slight adjustments can make a big difference.
Correcting Keystone (Trapezoid) Distortion
Sometimes, when you place a projector at an angle to the screen, the image can look like a trapezoid instead of a rectangle. This is called keystone distortion. Most DBPower projectors have a keystone correction feature. You can usually find this in the projector’s on-screen menu under ‘Picture’ or ‘Display Settings.’ There might be a physical dial or button on the projector for this, too. Adjust it until the image appears square. Many sources suggest that proper keystone correction is vital for a good viewing experience (ProjectorCentral).
Getting the Right Screen Size and Position
The size of the image is determined by how far the projector is from the screen. The further back you place it, the larger the picture will be, and vice-versa. Experiment with the projector’s placement until you achieve your desired screen size. Make sure the projector is stable on a flat surface or securely mounted. A wobbly projector means a wobbly picture!
Selecting Your Input Source
This is a critical step that trips up a lot of people. Your projector can receive signals from many different places, but it only knows what to show if you tell it which one to look at.
Using the Remote for Input Selection
Grab your remote control. You’ll see a button labeled ‘Input,’ ‘Source,’ or something similar. Press this button, and a list of available input options will appear on your screen. These will correspond to the ports you used to connect your devices (e.g., HDMI 1, HDMI 2, VGA, USB). Use the arrow keys on your remote to highlight the input source you want to use, and then press ‘OK’ or ‘Enter’ to select it. If you connected your laptop via HDMI, choose the HDMI input that the cable is plugged into.
Troubleshooting Input Issues
If you select the correct input and still see a blank screen or a ‘No Signal’ message, don’t panic! First, double-check that your cables are securely plugged into both the projector and your device. Sometimes, a loose connection is the culprit. If you’re using a laptop, make sure your laptop is set to output video to an external display. You can usually do this by pressing the ‘Function’ key (often labeled ‘F1’ through ‘F12’) along with a key that has a screen icon. If you’re still having trouble, try unplugging and replugging the cables, or even try a different HDMI port if your projector has more than one.
Optimizing Your Viewing Experience
Once you have a picture, a few more tweaks can really enhance your viewing pleasure.
Adjusting Brightness and Contrast
Your projector’s menu settings will allow you to fine-tune the brightness and contrast. Brightness controls the overall lightness of the image, while contrast affects the difference between the darkest darks and the brightest whites. Many experts recommend starting with the projector’s default settings and then making small adjustments to suit your room’s lighting conditions (Rtings.com). Too much brightness can wash out the image, while too little can make it dull.
Sound Settings and Options
If your projector has built-in speakers, you can usually adjust the volume through the remote or the on-screen menu. For a more immersive experience, consider connecting external speakers. You can often do this via Bluetooth if your projector supports it, or by using an audio output jack on the projector connected to your sound system. Many users find that external audio makes a huge difference for movies.
Quick Checklist for Success
- Confirm all cables are securely connected.
- Select the correct input source on the projector.
- Adjust the focus ring for a sharp image.
- Use keystone correction for a rectangular picture.
- Position projector for desired screen size.
- Test audio output.
Conclusion
You’ve now got a clear roadmap for using your DBPower projector. We walked through connecting your devices, whether wired or wireless. You learned how to get that perfect picture with focus and keystone adjustments. Remember, selecting the right input source is key to seeing your content. A little attention to these steps ensures you’re ready for amazing movie nights or professional presentations. Now, go ahead and enjoy that big-screen experience you’ve set up!
Frequently Asked Questions
What do I do if my DBPower projector shows a blank screen after connecting?
This usually means the projector isn’t receiving the correct signal. First, double-check that your cables are securely plugged into both the projector and your source device. Next, use your remote to make sure you’ve selected the correct input source (like HDMI 1 or VGA) on the projector’s menu.
How do I get a clear, sharp image from my DBPower projector?
To achieve a sharp image, you’ll need to adjust the focus. Locate the focus ring or dial on the projector’s lens. Slowly rotate it while looking at the projected image until the picture is crisp and text is easy to read. If it’s still not quite right, try moving the projector a bit closer or further from the screen and refocus.
My DBPower projector image looks like a trapezoid. How do I fix this?
That’s keystone distortion, and it happens when the projector isn’t perfectly perpendicular to the screen. Most DBPower projectors have a keystone correction setting in their on-screen menu. Use this feature to adjust the image shape until it’s a perfect rectangle. Some models may also have a physical dial for this adjustment.
Can I connect my DBPower projector wirelessly to my phone?
Yes, many DBPower projectors support wireless connections like Wi-Fi screen mirroring or Miracast. Check your projector’s manual or on-screen menu for these options. You’ll typically need to ensure both your phone and the projector are connected to the same Wi-Fi network to get this working.
What’s the best way to get good sound with my DBPower projector?
While many DBPower projectors have built-in speakers, they might not offer the best audio quality for movies. For a more immersive sound, consider connecting external speakers. You can often do this via Bluetooth if your projector supports it, or by using the projector’s audio output jack connected to a soundbar or stereo system.