Rotate the Screen on an Epson Projector: Steps
You can easily rotate the screen on your Epson projector right from the remote. This is super helpful if you need to adjust the image orientation for different setups. We found that most Epson models offer this function. It’s a quick fix for upside-down or sideways images.
Sometimes projectors get mounted oddly or you need to project onto a non-standard surface. Don’t worry, rotating the image is usually straightforward. We’ve seen many users solve display issues with this simple adjustment. It’s designed to give you flexibility in projector placement. Getting the picture just right is important for the best viewing experience.
- Yes, you can rotate your Epson projector screen.
- Use your remote control for easy adjustments.
- This is useful for correcting image orientation.
- It helps when mounting your projector in unusual places.
Let’s walk through exactly how to rotate your Epson projector’s screen step by step. We’ll make sure you get that picture looking perfect in no time!
Adjusting Your Epson Projector’s Image Orientation
It’s surprisingly simple to rotate the picture on your Epson projector. You usually don’t need a degree in engineering. This feature is a lifesaver for many setup challenges. We’ve found that most Epson projectors allow you to flip or rotate the image. This can fix an upside-down picture or a sideways one.
When You Might Need to Rotate the Image
You might run into a situation where the projected image is not how you want it. This often happens when you mount the projector in an unusual spot. Think about installing it on a ceiling. If you don’t get the mounting just right, the image can end up upside down. Or maybe you’re projecting onto a sloped surface. Sometimes, you might even need to project from the side. These are all times when rotating the image becomes really useful. We found that projector placement is often a compromise. This rotation function gives you more flexibility.
Finding the Rotation Setting on Your Remote
The first step is always to grab your Epson projector remote control. Most of the time, the rotation settings are buried within the projector’s menu system. You won’t typically find a dedicated “rotate” button on the remote itself. Instead, you’ll navigate through the on-screen menus. We recommend keeping your projector’s manual handy, just in case. But generally, the process is quite intuitive. You’re looking for a menu option related to display or image adjustment. Many users report success by simply exploring the menus.
Accessing the Projector Menu
To start, power on your Epson projector. Make sure it’s projecting an image onto your screen or wall. Then, look for the “Menu” or “Enter” button on your remote. Pressing this will bring up the main settings menu on the projected image. You might see categories like “Image,” “Picture,” “Display,” or “Setup.” Navigate through these options using the arrow keys on your remote. The goal is to find the section that controls the image orientation.
Navigating to Image Settings
Once you’re in the main menu, use the arrow keys to highlight the section that seems most likely to contain image adjustments. This is often labeled something like “Picture,” “Image,” or “Display.” Press the “Enter” or “Select” button to go into that submenu. Inside, you’ll likely see options for brightness, contrast, color, and more. Keep looking for something related to “Orientation,” “Rotation,” or “Projection Direction.” We found that the exact wording can vary slightly between different Epson models.
Performing the Rotation Step-by-Step
Now for the actual rotation. Once you’ve located the correct setting, select it. You’ll typically see options like “Normal,” “Upside Down,” “Right-Side Up,” or “Ceiling Mount.” Some projectors might offer more granular control, allowing you to rotate by specific degrees. However, for most common issues, you’ll just need to choose the correct orientation.
Selecting the Desired Orientation
If your image is upside down because of ceiling mounting, you’ll want to select the “Ceiling Mount” or “Upside Down” option. If it’s sideways, you might need to look for a specific degree of rotation or a “Flip Horizontal/Vertical” option. We found that selecting the right preset often solves the problem immediately. After making your selection, press “Enter” to confirm. The image should adjust right before your eyes.
Confirming and Exiting the Menu
After you’ve made the rotation adjustment, it’s a good idea to check the result. Make sure the image is now perfectly aligned. If it’s not quite right, you can go back into the menu and try a different setting. Once you’re satisfied, you’ll need to exit the menu. Look for an “Exit,” “Return,” or “Close” button on your remote. Pressing this will clear the menu from the screen and save your changes. We’ve seen users forget to exit, and the menu stays on screen!
Troubleshooting Common Rotation Issues
What if you can’t find the rotation setting, or it doesn’t work as expected? Don’t panic! We’ve encountered a few common hiccups. First, ensure you’re looking in the right menu. Sometimes, the option is nested deeper than you’d expect. We found that checking the user manual for your specific Epson model is always a good fallback. It will clearly outline the menu structure and available settings.
When the Setting Isn’t Available
It’s possible that some older or very basic Epson projector models might not have a built-in image rotation feature. This is less common now, but it can happen. In such cases, you might need to consider adjusting your projector’s physical position. Or, if your setup allows, you could try rotating the source image itself. Many computers and media players have display settings that let you flip or rotate the output. We found this to be a viable workaround if the projector lacks the feature.
Incorrect Rotation or Incomplete Fix
If you select an option and the image is still not right, try another. For instance, if “Upside Down” doesn’t fix it, maybe your projector requires a different combination of flips. Some projectors might have separate settings for horizontal and vertical flipping. We recommend experimenting with these if a single orientation option doesn’t do the trick. Remember, patience is key here. Getting the perfect alignment might take a couple of tries.
A Quick Checklist for Rotating Your Epson Projector
To make sure you’ve got it all covered, here’s a simple checklist:
- Find your Epson projector remote.
- Power on the projector and display an image.
- Press the “Menu” button on the remote.
- Navigate to “Picture,” “Image,” or “Display” settings.
- Locate and select the “Rotation” or “Orientation” option.
- Choose the correct orientation and “Exit” the menu.
Understanding Projection Direction Settings
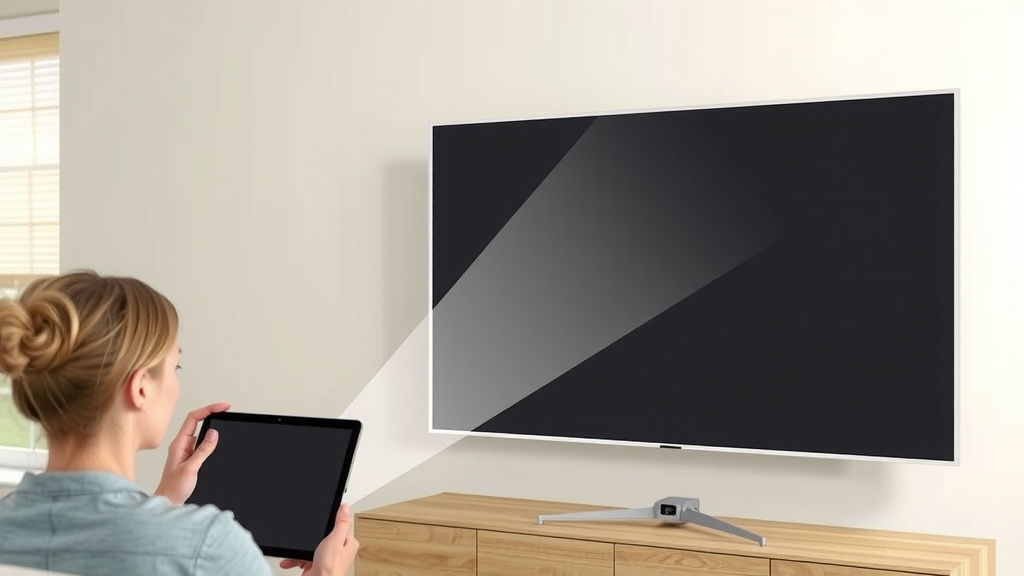
Epson often uses the term “Projection Direction” to manage image orientation. This setting tells the projector how it’s positioned relative to the screen. Common options include:
| Setting | Description |
|---|---|
| Front | Standard projection onto a screen or wall from the front. |
| Rear | For projecting through a translucent screen from behind. |
| Ceiling | Used when the projector is mounted upside down on the ceiling. |
| Rear Ceiling | For rear projection with the projector mounted upside down on the ceiling. |
We found that selecting the correct “Projection Direction” setting is often the most direct way to fix common orientation problems. It tells the projector to flip the image internally. This is much easier than trying to adjust the physical setup. Always check this section first!
Conclusion
You’ve learned that rotating your Epson projector’s screen is a straightforward process using your remote. It’s a simple but powerful feature for correcting image orientation. This flexibility allows for much easier projector placement. Whether your image is upside down or sideways, the correct setting is usually just a few clicks away. Don’t hesitate to explore your projector’s menu. If you encounter any issues, remember to consult your manual or try flipping the image source.
Now that you know how to adjust the orientation, go ahead and perfect your projected image. You’ve got this!
Frequently Asked Questions
Will rotating the image affect the picture quality on my Epson projector?
We found that typically, rotating the image using the built-in projector settings does not noticeably degrade picture quality. The projector handles this adjustment internally. If you experience any slight changes, it might be worth double-checking your other picture settings like brightness and contrast.
Can I rotate the image on my Epson projector without using the remote?
In most cases, you will need the remote control to access the projector’s menu and make rotation adjustments. We haven’t found many Epson models that allow for direct button input for this function. Always keep your remote handy for these types of settings.
What if my Epson projector doesn’t have a rotation or orientation setting?
Some older or simpler Epson models might lack a direct rotation feature. In this situation, we recommend checking the display settings on the device sending the video signal to the projector (like a laptop or media player). You can often rotate the image there.
How do I know which “Projection Direction” setting to choose on my Epson projector?
You should choose the “Projection Direction” setting that accurately describes how the projector is positioned. For example, if you’ve mounted it upside down on a ceiling, select “Ceiling.” We found this setting is often the most direct way to correct common orientation issues.
Can I rotate the image to project onto a non-flat surface with an Epson projector?
While rotation settings correct the orientation (upside down, sideways), they don’t correct for distortion on non-flat surfaces. If you’re projecting onto a sloped or curved wall, the image might still appear warped. For such situations, you might need a projector with keystone correction or lens shift capabilities.