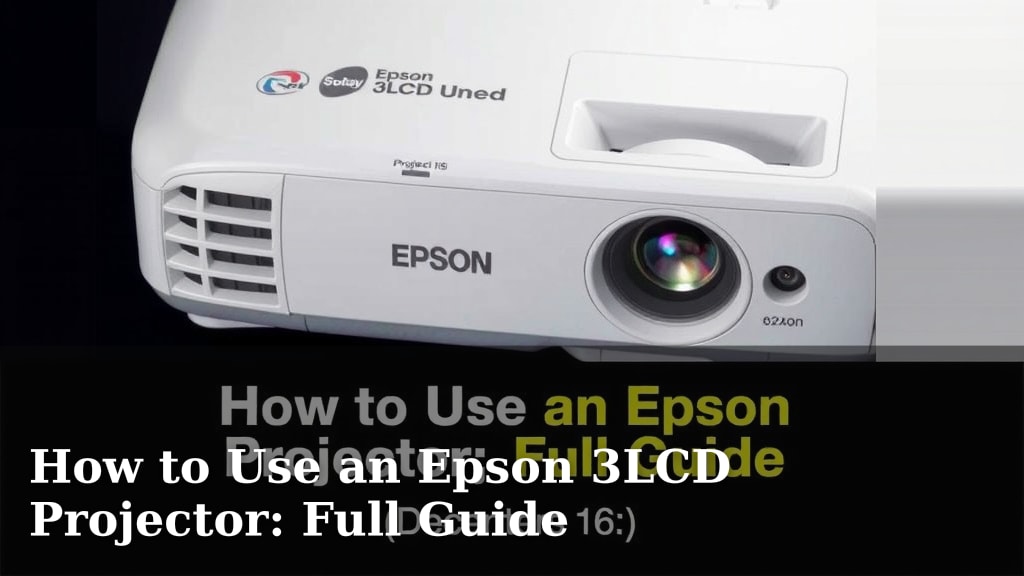
How to Use an Epson 3LCD Projector: Full Guide
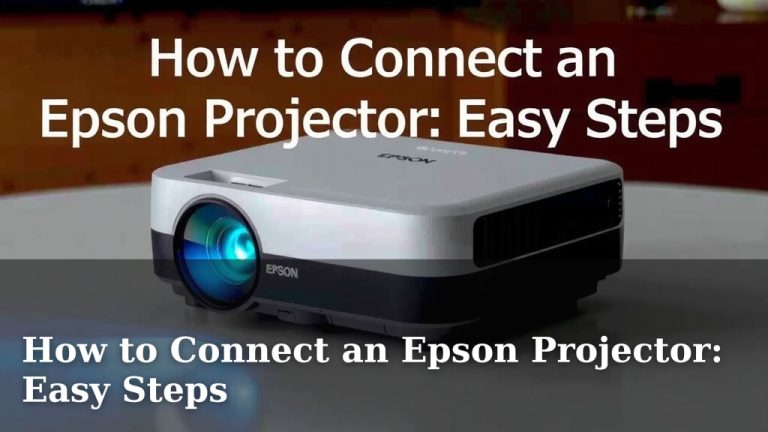
Using your Epson 3LCD projector is actually quite straightforward. You’ll want to ensure it’s properly connected to your device and that the lens is focused for a clear image. Many 3LCD projectors offer simple setup wizards to guide you through the initial connection process.
This technology is known for its bright and vivid colors, making it a popular choice for home theaters and presentations alike. Understanding your projector’s basic functions, like input selection and picture adjustments, will greatly improve your viewing experience. We found that even beginners can get great results with minimal effort.
- Connect your video source (laptop, Blu-ray player).
- Select the correct input on your projector.
- Adjust focus and zoom for a sharp image.
- Place the projector for an optimal viewing angle.
Ready to get your Epson 3LCD projector up and running? Let’s walk through exactly how to set it up and start enjoying your favorite movies or presentations.
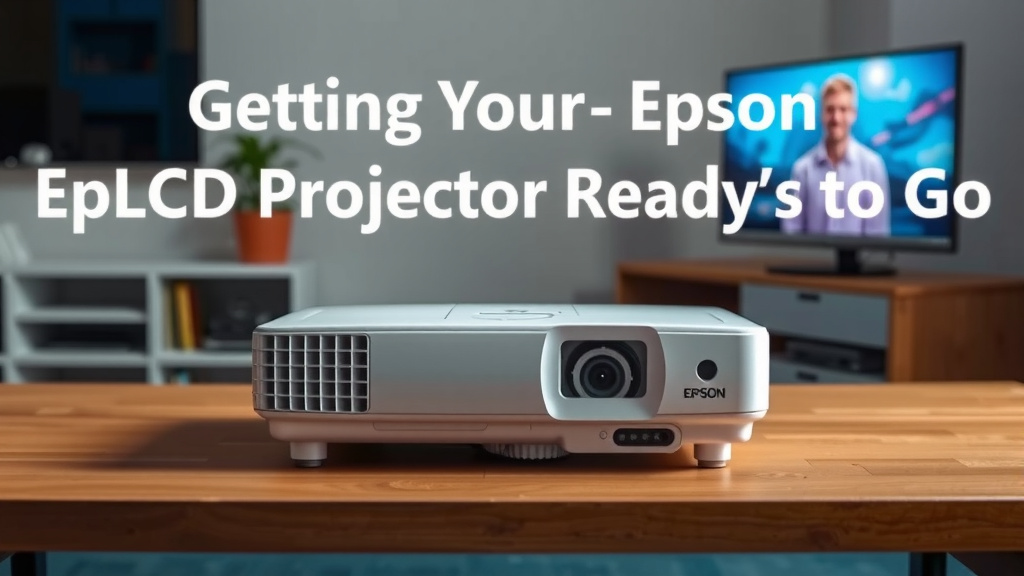
Getting Your Epson 3LCD Projector Ready to Go
So, you’ve got your Epson 3LCD projector and you’re ready to immerse yourself in big-screen magic. That’s fantastic! Getting it set up is easier than you might think, and we’re here to guide you every step of the way. Let’s make sure you’re not staring at a blurry image or a “no signal” message.
Connecting Your Devices: The First Crucial Step
The most common way to connect your projector is via an HDMI cable. This is like the universal language for video and audio. You’ll find an HDMI port on the back or side of your projector. Simply plug one end into the projector and the other into your source device. This could be your laptop, a Blu-ray player, a streaming stick, or even some gaming consoles.
What If HDMI Isn’t an Option?
Some older projectors might use different connection types like VGA or Component. While HDMI is preferred for its quality, if you’re using an older device, you might need a different cable. Your projector manual will show you which ports are available and what type of cable they use. Finding the right cable is key to a good connection.
Selecting the Right Input Source
Once everything is plugged in, you need to tell your projector what to display. Think of your projector as having multiple “doors” for different devices. You’ll need to open the correct door using your projector’s remote control or buttons on the unit itself. Look for a button labeled “Input,” “Source,” or an icon that looks like a rectangle with an arrow pointing into it.
Pressing this button will bring up a menu on your screen. You’ll see a list of available inputs, like HDMI 1, HDMI 2, VGA, etc. Use the arrow keys on your remote to highlight the input you used for your connection (e.g., HDMI 1 if you plugged into that port). Press “Enter” or “OK” to select it. You should now see your device’s screen appear!
Achieving a Crisp, Clear Picture: Focus and Zoom
Now that you have an image, let’s make it look its best. You’ll likely see two rings or dials on the projector lens. The larger one is typically for zoom, and the smaller one is for focus.
First, use the zoom ring to adjust the size of the image so it fits your screen or wall perfectly. Once the size is right, it’s time for focus. Turn the focus ring slowly until the image appears sharp and clear. Sometimes, you might need to adjust both zoom and focus a few times to get it just right. A good test is to look at the text on your screen – if it’s sharp, your focus is spot on.
Understanding Keystone Correction
Ever notice how the top of the projected image is wider than the bottom, making it look like a trapezoid? That’s called keystone distortion. Most Epson projectors have a feature called keystone correction to fix this. You can usually find this in the projector’s settings menu under “Image” or “Picture.”
There are often two types: manual and automatic. Manual correction lets you adjust the image shape with buttons or sliders. Automatic correction does it for you. We found that using keystone correction can dramatically improve your viewing experience by making the image perfectly rectangular. Many experts recommend this for optimal viewing (Epson Support).
Optimizing Your Projector Placement
Where you place your projector makes a big difference. For the best results, try to position it directly in front of your screen or wall. This minimizes keystone distortion. You want the projector lens to be centered with your screen.
Considering Your Viewing Distance
Projectors have a recommended viewing distance, which is related to their zoom and throw ratio. This is the distance from the projector lens to the screen. The projector’s manual will usually provide a chart or formula for this. Getting this distance right ensures you get the best possible image quality and size without straining the projector.
The Importance of Ventilation
Projectors generate heat, so they need good airflow. Make sure there’s plenty of space around your projector, especially at the vents. Don’t place it in a confined cabinet or cover it up. Overheating can shorten the projector’s lifespan and even cause it to shut down. Good ventilation is critical for performance.
Navigating Your Projector’s Settings Menu
Your Epson projector comes with a comprehensive settings menu that lets you fine-tune your picture. While the exact names might vary slightly between models, most menus have common sections.
Picture Adjustments for Vivid Viewing
Under the “Picture” or “Image” menu, you’ll find options like Brightness, Contrast, Color, and Tint. Adjusting these can make a big difference. For a movie night, you might want slightly higher contrast and color saturation. For a presentation, you might prefer a more natural look.
We found that starting with the presets can be helpful. Look for modes like “Cinema,” “Dynamic,” or “Presentation.” Then, you can make minor tweaks. Keep in mind that many experts suggest calibrating your projector for the best possible picture, but for everyday use, these basic adjustments are usually enough (Projector Central Reviews).
Sound Settings Explained
Some projectors have built-in speakers. If yours does, you can control the volume through the projector’s menu or remote. However, for a true home theater experience, we highly recommend using external speakers or a soundbar. You can usually connect these via an audio output port on your projector or by connecting them directly to your source device.
Quick Checklist for a Smooth Setup
- Connect your video source to the projector using the correct cable (usually HDMI).
- Select the matching input source on your projector using the remote.
- Adjust the zoom to fit your screen size.
- Fine-tune the focus for a sharp, clear image.
- Use keystone correction if the image is distorted.
- Ensure the projector has adequate ventilation.
Conclusion
You’re now equipped to get the most out of your Epson 3LCD projector. We’ve covered connecting your devices, fine-tuning the picture for clarity, and ensuring your projector runs smoothly with proper placement and ventilation. Remember that the settings menu offers great ways to personalize your viewing. With these steps, you’re ready for an amazing big-screen experience. Start by trying out the “Cinema” picture mode for your next movie night!
Frequently Asked Questions
How do I know which input to select on my Epson projector?
You’ll need to select the same input source on your projector that you used to connect your device. If you plugged your laptop into the “HDMI 1” port on the projector, use your remote to select “HDMI 1” from the projector’s input menu. We found this is the most common reason for seeing a blank screen.
My projected image looks stretched. How can I fix this?
This is likely due to keystone distortion. Look for the “Keystone Correction” setting in your projector’s menu. You can usually adjust it manually using the arrow keys on your remote until the image forms a perfect rectangle. Some newer models offer automatic keystone correction, which can save you time.
What’s the best way to get a sharp picture on my Epson projector?
After adjusting the zoom to fit your screen size, you’ll use the focus ring on the projector’s lens. Slowly turn the focus ring until the image, especially text, appears crisp and clear. Sometimes, you might need to nudge both the zoom and focus rings a couple of times to get it just right.
Do I need to buy special cables for my Epson 3LCD projector?
For most modern devices, an HDMI cable is all you need. If you’re connecting older equipment, you might need a VGA or Component cable. Always check which ports your projector has and consult your device’s manual to ensure you have the correct cable for the best connection.
Why is my projector making a lot of fan noise?
Projectors generate heat, and the fan is essential for cooling them down. If you notice excessive fan noise, ensure the projector’s air vents are not blocked. Good ventilation is key. Overheating can lead to reduced performance and potentially damage the unit. Make sure it has space to breathe!