How to Use an Apeman Projector: Easy Guide
Using your Apeman projector is pretty straightforward! You can connect your devices using an HDMI cable or USB drive for an instant big-screen experience. Just make sure your input source is correctly selected on the projector.
Many users find Apeman projectors a great value for home entertainment. They’re known for their ease of setup and portability, making them perfect for movie nights or presentations. We found that understanding the basic connections is key to enjoying your Apeman.
- Connect via HDMI for most devices.
- Use a USB drive for media files.
- Select the correct input on the projector.
- Adjust focus and keystone for a clear picture.
Let’s walk through exactly how to get your Apeman projector up and running, step by step, so you can start enjoying your favorite content.
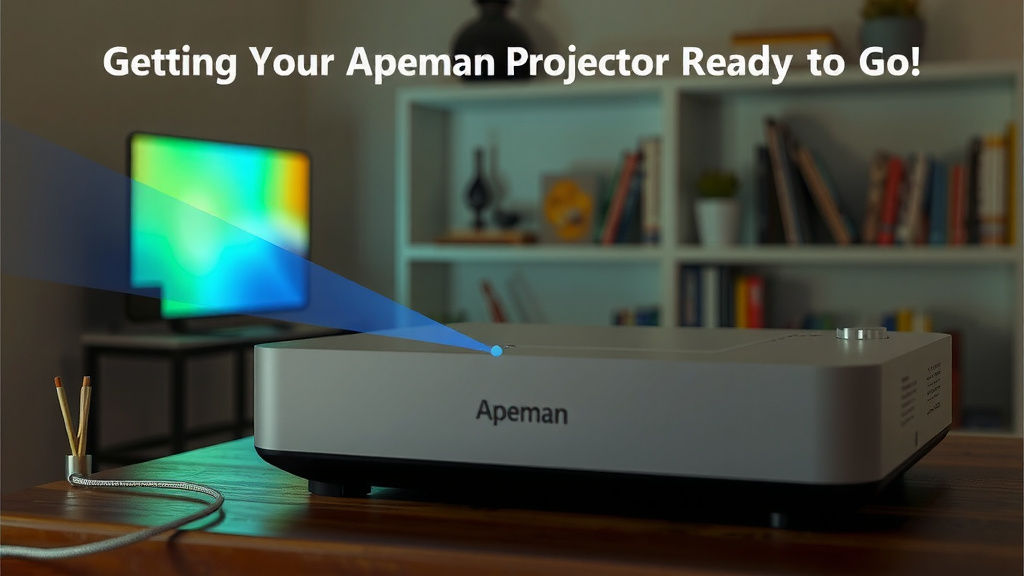
Getting Your Apeman Projector Ready to Go
So, you’ve got your Apeman projector, and you’re ready for some big-screen magic. It’s not rocket science, I promise! Let’s break down the simple steps to get you from unboxing to movie night in no time.
Making Your Connections: What Goes Where?
This is where the real action happens. Apeman projectors are designed for ease, and connecting your devices is usually the most straightforward part. You’ll find a few common ports on the back or side.
Using the HDMI Port: The Universal Connector
HDMI is your best friend for most modern devices. Think laptops, gaming consoles, streaming sticks (like Roku or Fire Stick), and even some smartphones with the right adapter. You’ll need an HDMI cable for this. Just plug one end into your Apeman projector and the other into your device. It’s like a digital handshake for your video and audio!
We found that using HDMI is often the easiest way to get a high-quality picture. It carries both video and sound, so you don’t need extra audio cables most of the time. This single cable connection simplifies things immensely.
The USB Drive Option: For Your Media Files
Got movies, photos, or presentations saved on a USB flash drive? Many Apeman models let you plug that drive directly into the projector. This is super handy if you don’t want to connect another device or if you’re on the go. Just make sure your files are in a format the projector supports – usually common ones like MP4, AVI, JPEG, or PPT.
When using a USB drive, you’ll typically navigate through the projector’s menu to find your files. It’s like having a portable media player built right in. Research suggests that using USB drives is great for quick sharing and displaying static content like photos.
Other Ports to Note (If Applicable)
Depending on your specific Apeman model, you might also see ports like AV in or VGA. AV is an older connection, often used for DVD players or older game consoles. VGA is common for older laptops. While HDMI is preferred for quality, these ports offer backward compatibility if needed.
Selecting the Right Input Source
This is a common stumbling block, but it’s easy to fix. Your projector needs to know *where* to get the picture from. You’ll find an “Input,” “Source,” or “AV” button on your projector or its remote control. Pressing this will bring up a menu showing all the available input options: HDMI 1, HDMI 2, USB, AV, VGA, etc.
Simply select the input that matches the cable you’re using. If you plugged into the HDMI port, choose HDMI. If you plugged in your USB drive, select USB. We found that making this selection is key to seeing an image. If you don’t see anything, double-check this setting first!
Fine-Tuning Your Picture for Perfection
Once you’re connected and the right input is selected, you’ll want to make that image look its absolute best. There are two main adjustments: focus and keystone correction. They work together to give you a crisp, clear picture, no matter where you place your projector.
Focusing the Image: Getting it Sharp
Look for a focus ring or dial, usually around the lens itself. You’ll see the projected image get blurry or sharp as you turn it. Move your head back and forth slightly while adjusting until the text and details are as clear as possible. Think of it like adjusting the viewfinder on an old camera.
Getting the focus just right is essential for readability. Blurry text can be frustrating, especially for presentations or reading subtitles. Take your time with this step for the best viewing experience.
Understanding Keystone Correction: Straightening the Picture
What’s keystone correction? Imagine projecting onto a wall that’s not perfectly square to the projector. The image might look like a trapezoid – wider at the top or bottom. Keystone correction fixes this distortion.
Most Apeman projectors have a manual keystone adjustment, often a dial or slider on the projector. You’ll also find digital keystone correction in the projector’s settings menu. Turning this adjusts the image so the sides are parallel and the picture looks like a proper rectangle again. We found that proper keystone use makes a huge difference in how professional your setup looks.
Horizontal vs. Vertical Keystone
Some projectors offer both horizontal and vertical keystone adjustment. Vertical correction fixes the common issue of the image being wider at the top. Horizontal correction is less common but can fix sideways distortion.
Don’t Overdo It!
While keystone correction is helpful, overusing it can sometimes slightly reduce picture quality. Aim to place your projector as squarely as possible to the screen first. Then, use keystone correction just enough to get a nice rectangular image. Many sources suggest minimal digital adjustment is best for image clarity (Epson).
A Quick Checklist for Setup Success
Feeling ready? Here’s a quick run-through to make sure you haven’t missed anything:
- Plug it in: Make sure your projector is plugged into a power source.
- Connect your device: Use the correct cable (HDMI or AV) or USB drive.
- Power on: Turn on both your projector and your connected device.
- Select input: Use the projector remote to choose the correct source (HDMI, USB, etc.).
- Adjust focus: Get the image looking sharp and clear.
- Correct keystone: Make sure your picture is a perfect rectangle.
You’re now equipped to get your Apeman projector set up and running smoothly. It’s all about those simple connections and adjustments.
Conclusion
You’ve now got the basics covered to get your Apeman projector showing a fantastic picture. Remember, it’s all about making those simple connections and a few key adjustments. Connecting via HDMI or USB is straightforward, and selecting the correct input source is your first victory. Don’t forget to fine-tune the focus and use keystone correction for a perfectly rectangular image. Your next step? Gather your friends and family, pick your favorite movie or show, and enjoy your own personal cinema experience. Happy projecting!
Frequently Asked Questions
Why is my Apeman projector not showing any picture?
The most common reason is an incorrect input source selection. Make sure you’ve pressed the “Input” or “Source” button on your remote or projector and chosen the port (like HDMI or USB) that your device is plugged into. Also, ensure both your projector and the connected device are powered on.
Can I connect my smartphone to an Apeman projector?
Yes, you often can connect your smartphone. For most Android phones and iPhones, you’ll need a compatible HDMI adapter (like an MHL adapter or a Lightning to HDMI adapter). Once connected, select the HDMI input on your projector.
How do I make the image on my Apeman projector sharper?
To get a sharper image, you’ll need to adjust the focus. Look for a focus ring or dial typically located around the projector lens. Slowly turn this dial until the text and details appear clear and crisp. This step is essential for good readability.
What is keystone correction and why do I need it?
Keystone correction fixes a distorted image where the top or bottom is wider than the other, making it look like a trapezoid. You need it when your projector isn’t perfectly perpendicular to your screen or wall. Adjusting it makes the projected image a clean rectangle again.
Can I play movies directly from a USB drive on my Apeman projector?
Yes, many Apeman projectors support playing media files directly from a USB flash drive. You’ll typically need to navigate to the media playback menu on your projector and select your USB drive. Ensure your video or photo files are in a format the projector supports.